Build Status – 8th October, 2025
Another lengthy delay between posts as the build has become slowed by coolant routing and wiring contradictions / conflicts. A brief summary of the last month is:
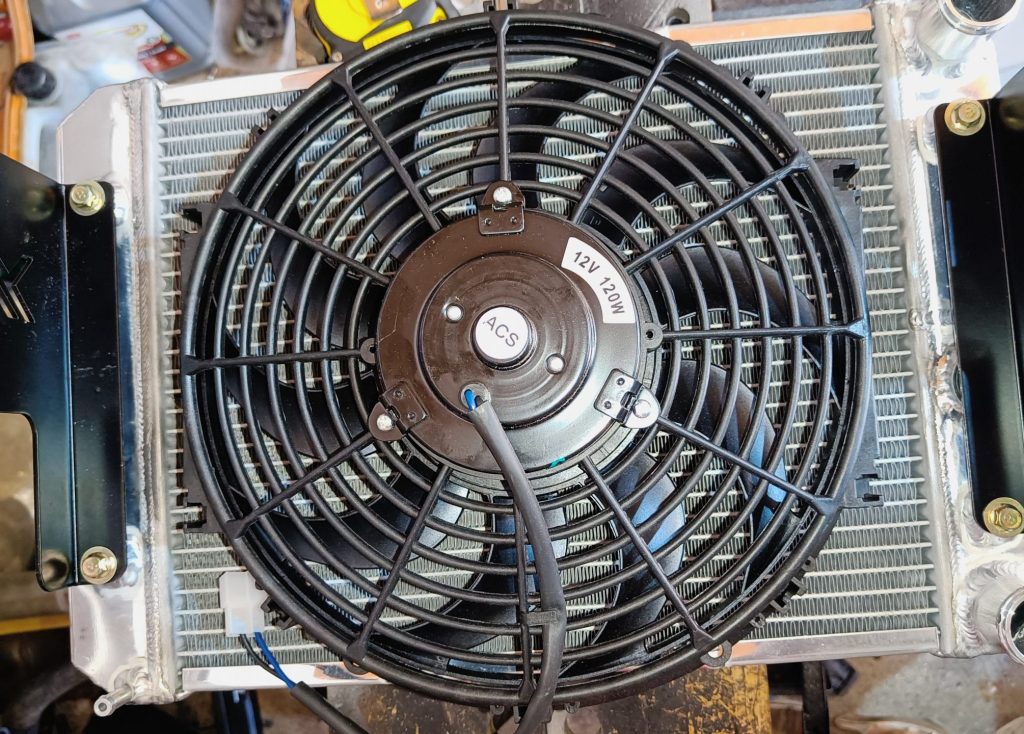
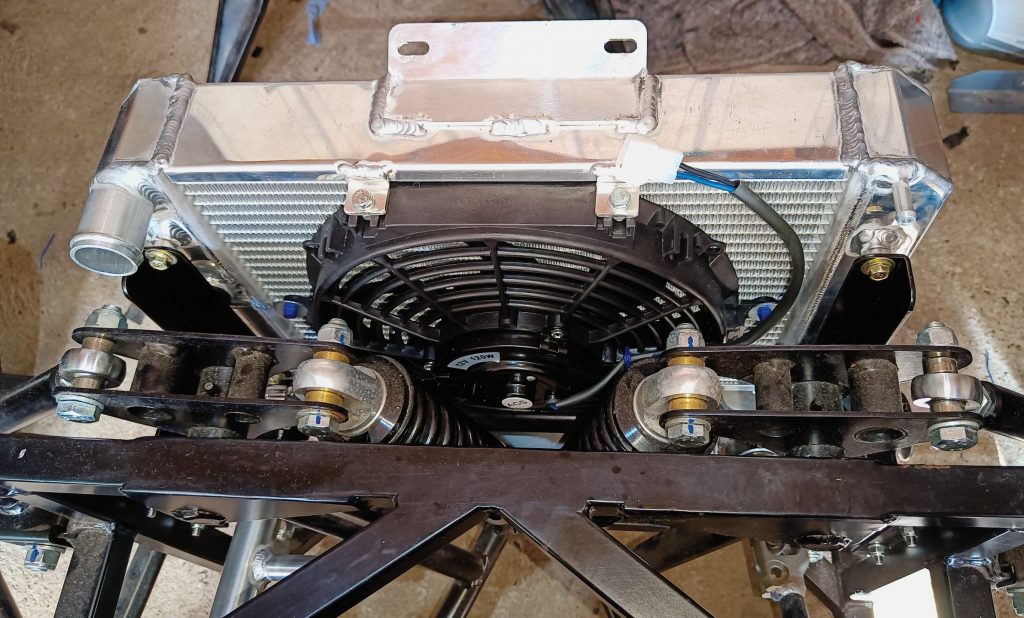
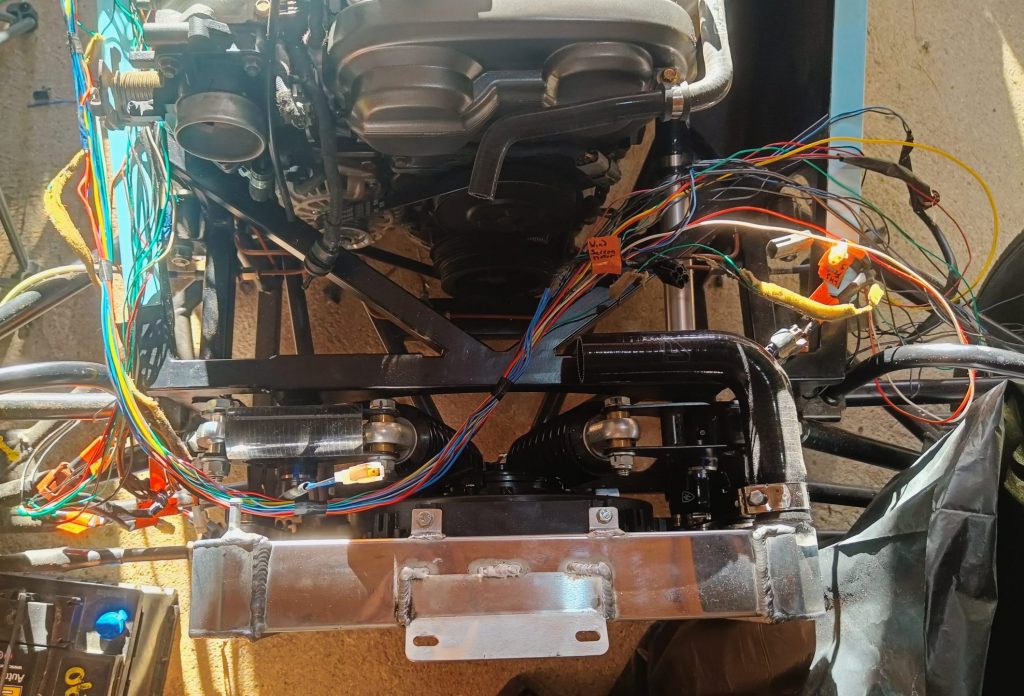
- Fitted the radiator eventually (intercooler removed for now). The fan which was in the kit was too large to fit with the aluminium tabs on the radiator. Rather than have fan cowling sticking out top & bottom of the radiator, I bought the ‘correct’ size from McGill Motorsport and was able to then fit the radiator. I’ll sell the larger version on eBay at some point.
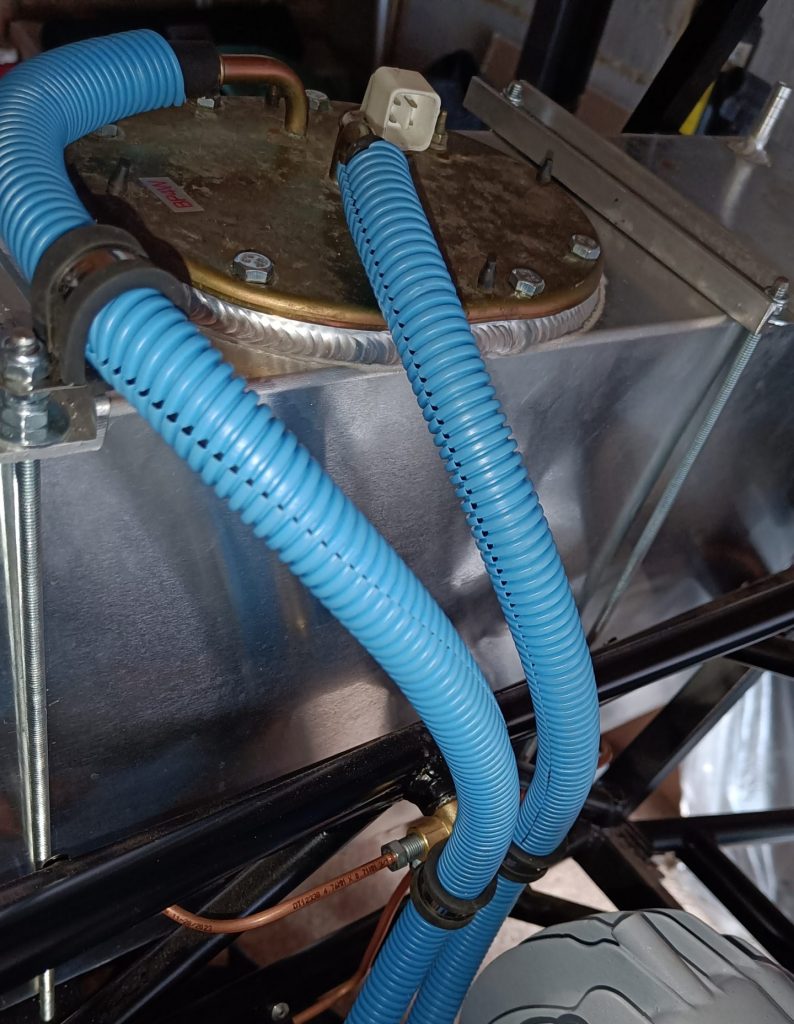
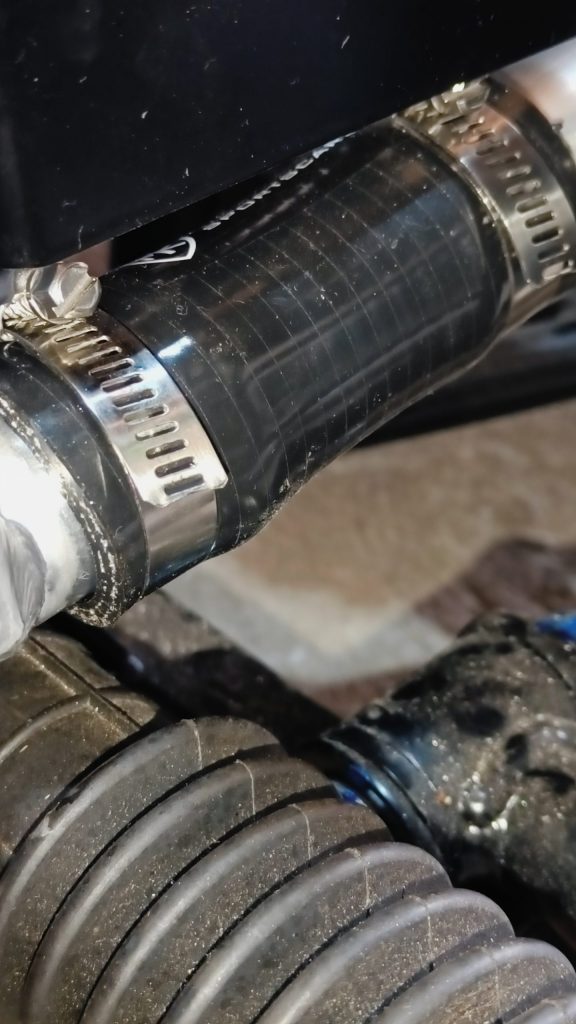
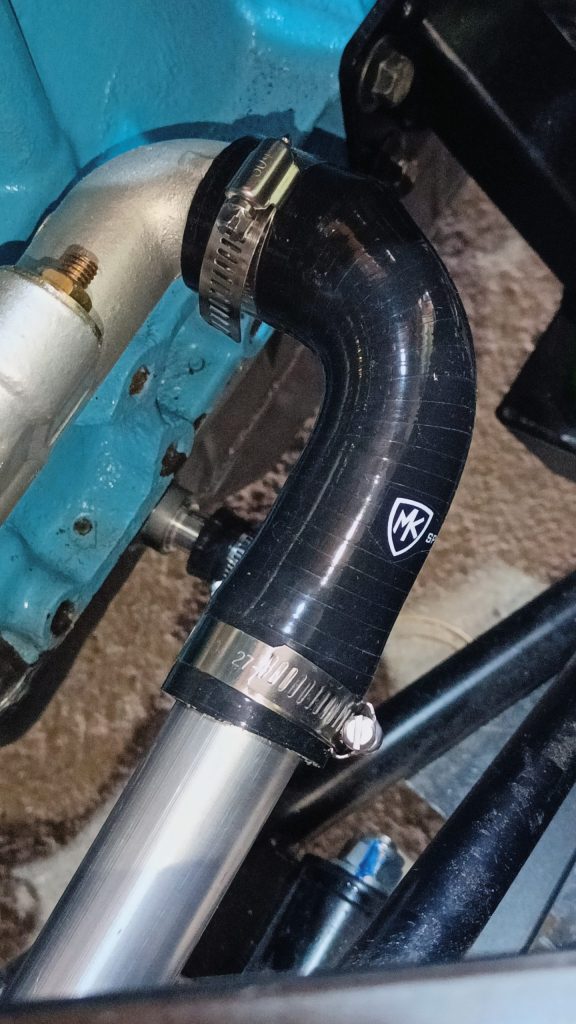
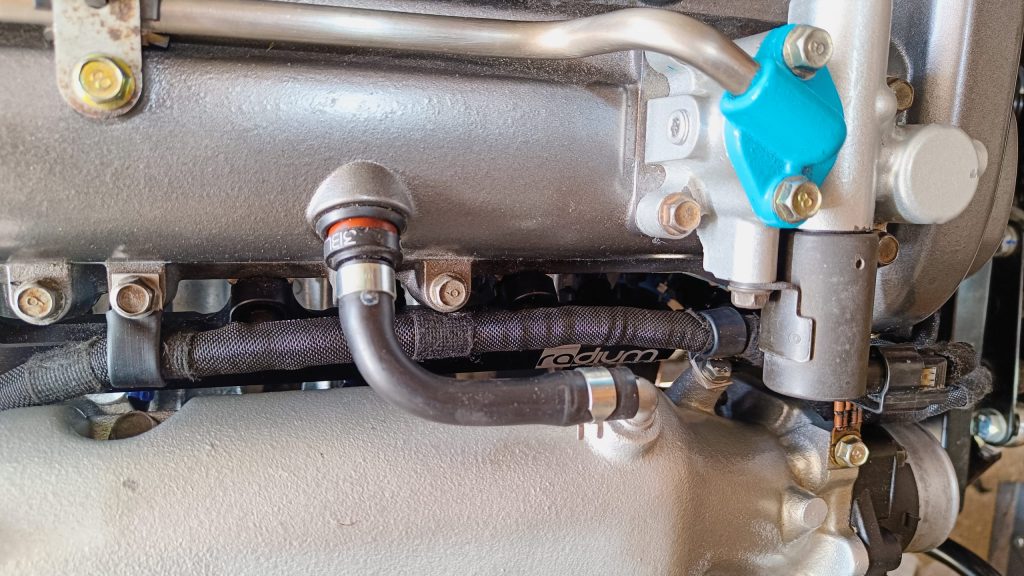
- Temporarily fitted the radiator coolant pipework. Because I decided to remove the heater loop, the throttle body and oil filter coolent loop and reroute the coolant from the rear of the engine to the rad, regrettably most of the OEM hoses were unsuitable. New hoses and clips were purchased from Auto Silicone Hoses, which did the trick. I’m also planning to reinstate the rigid heater plumbing that runs behind the exhaust manifold, and use this as the system fill from the expansion tank. Can’t see why it won’t work and indeed MK has done as much on the new RX-5 demo car.
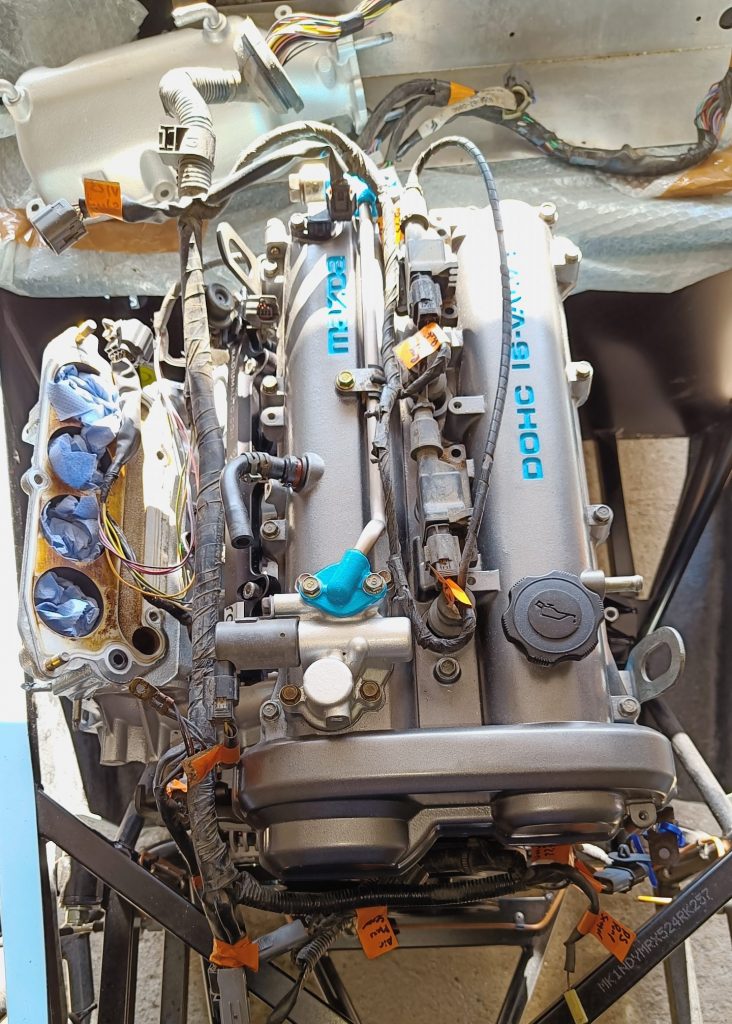
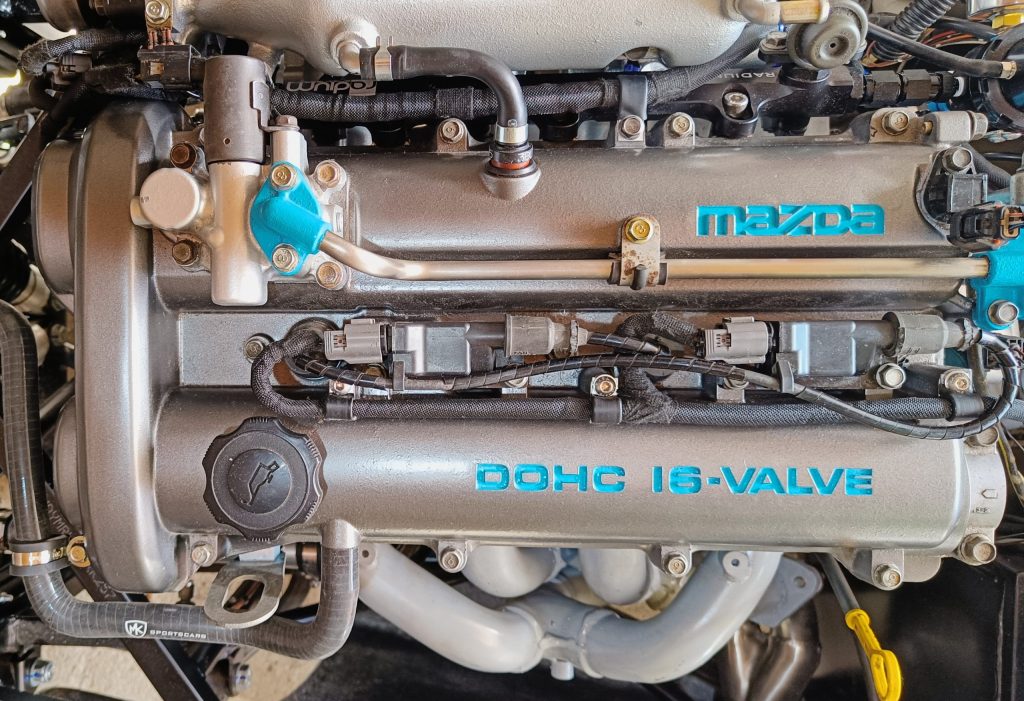
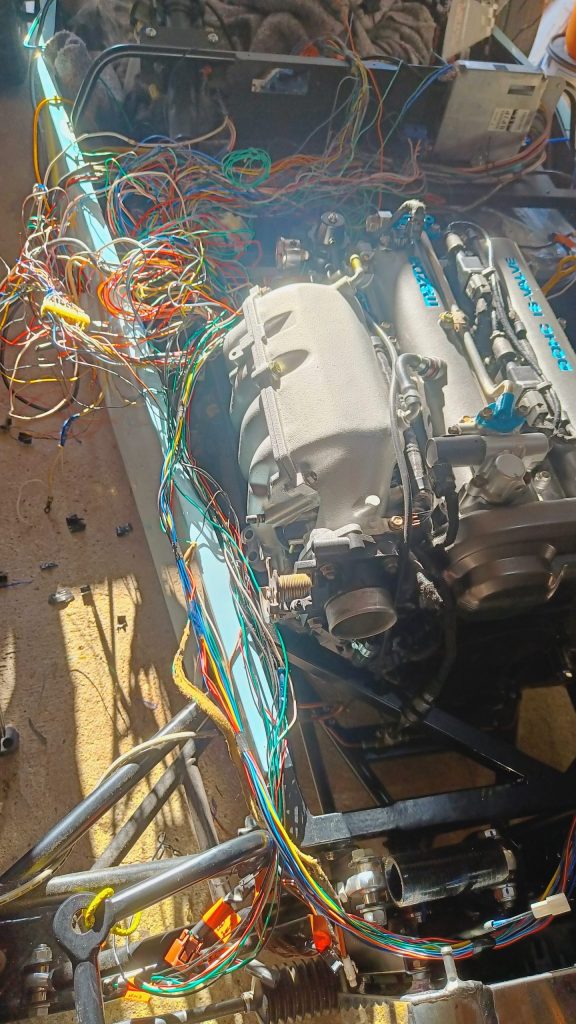
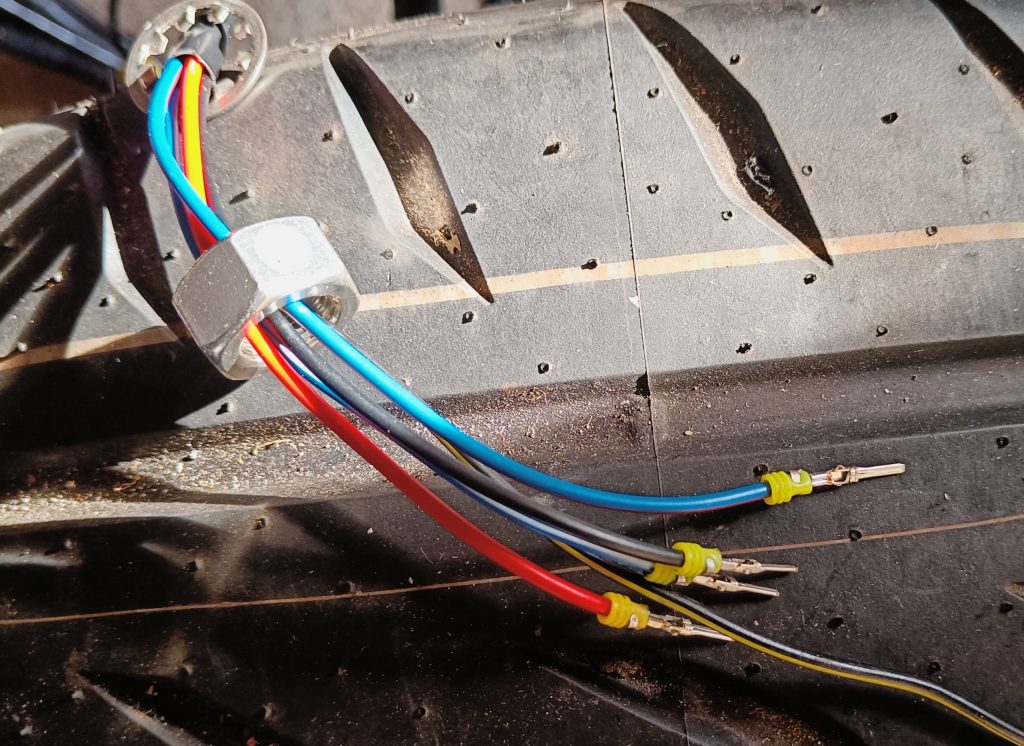
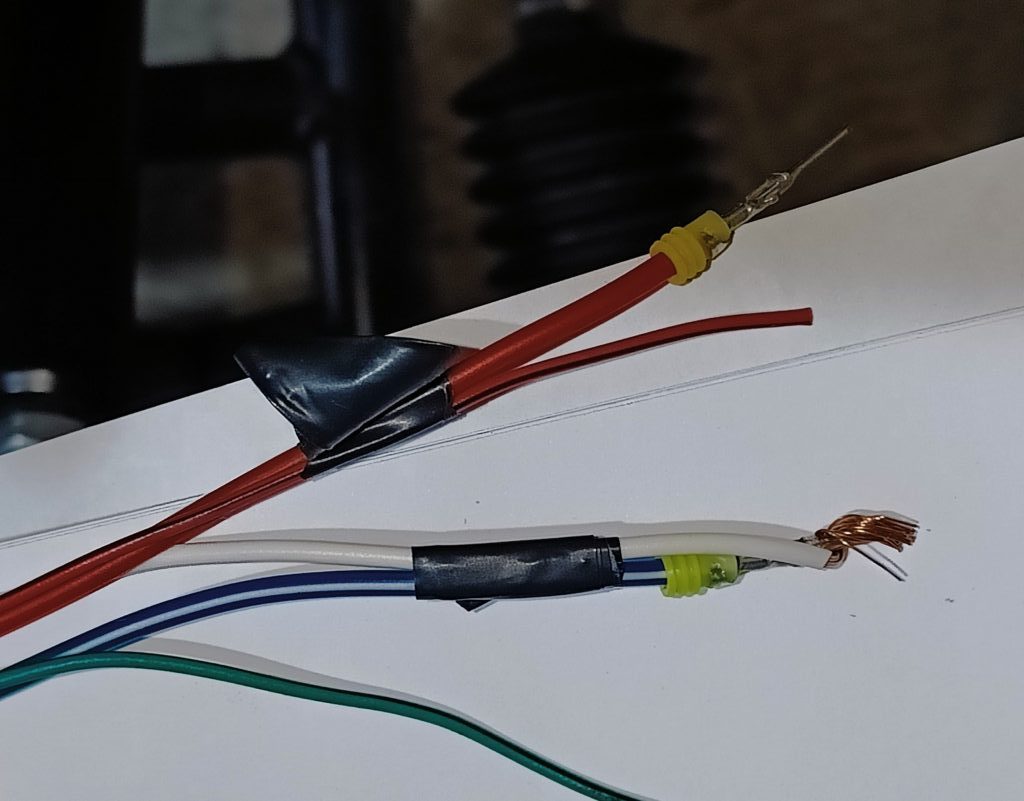
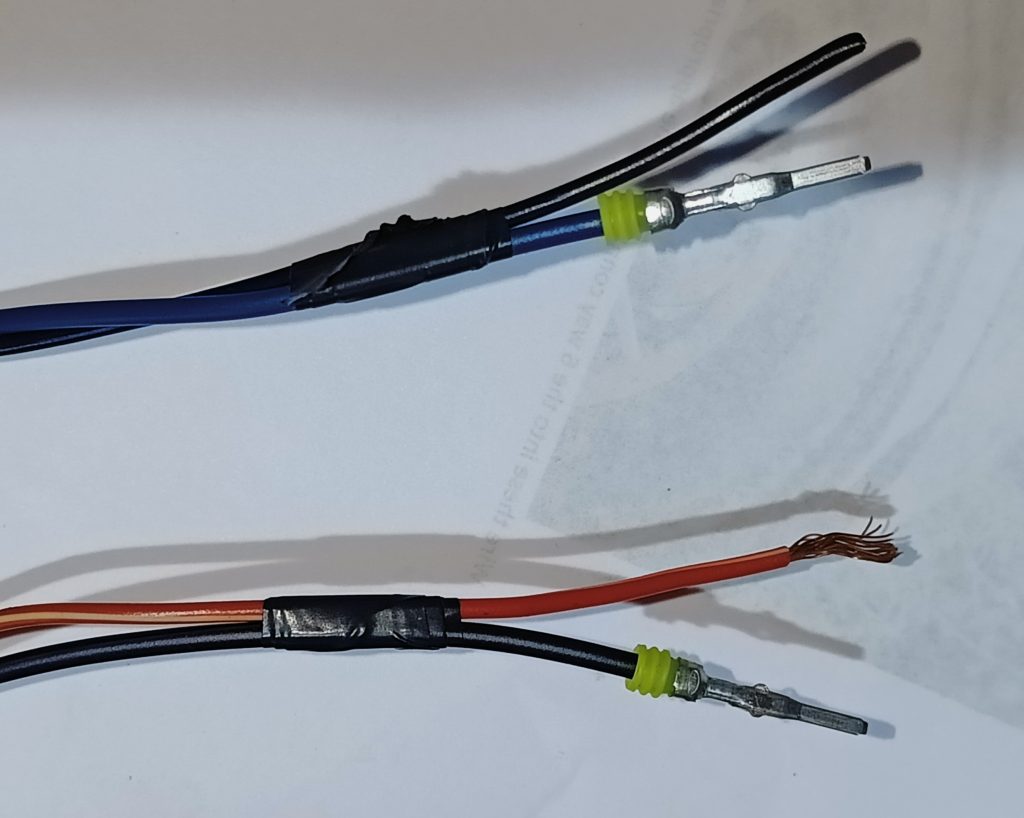
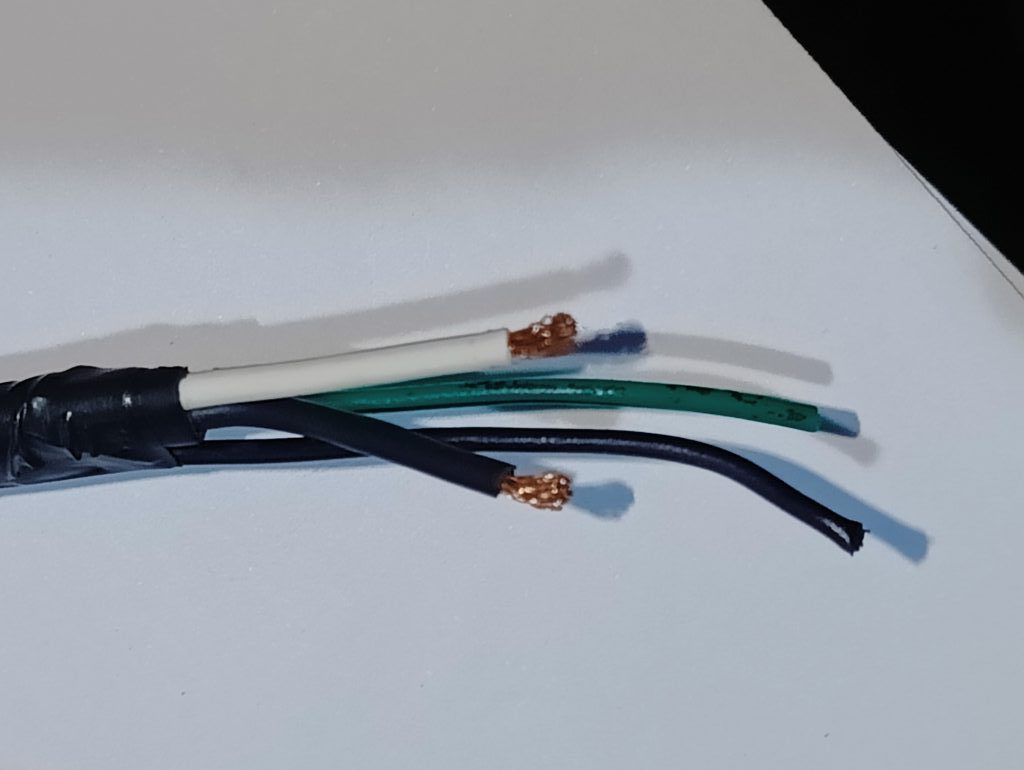
- Wrapped and fitted the engine loom. Looks great but still not overly happy with the route that the loom needs to take away from the engine to the ECU / fuse boxes. The issues are two fold; the aftermarket FPR makes the loom difficult to route around, and similarly the Skidnation coolent thermostat housing and coolent outlet.
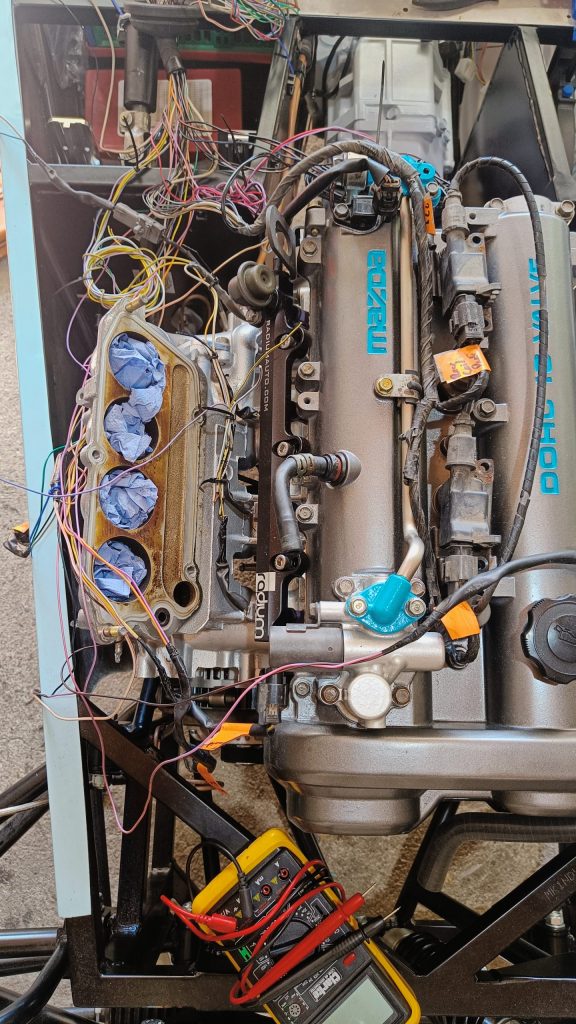
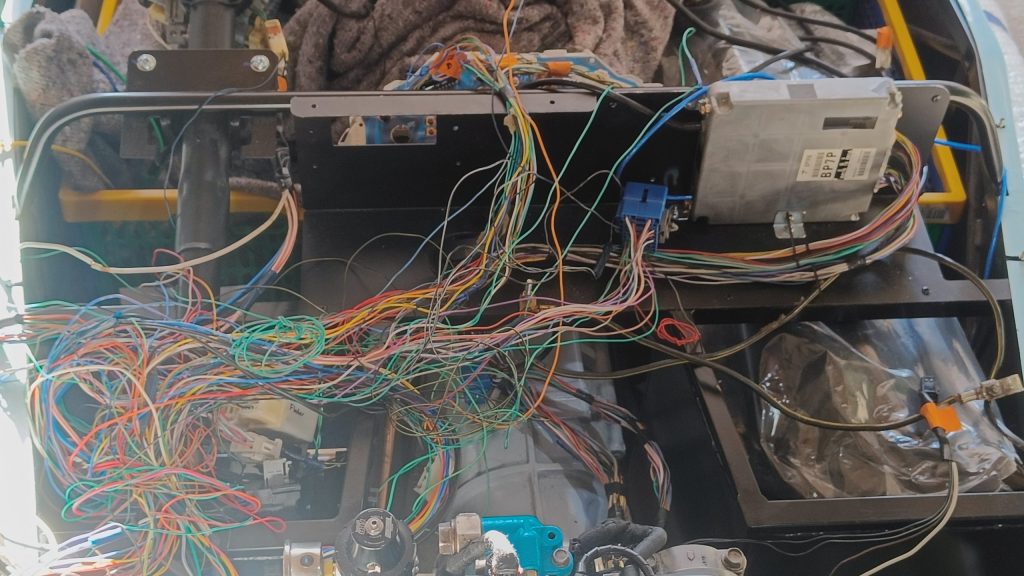
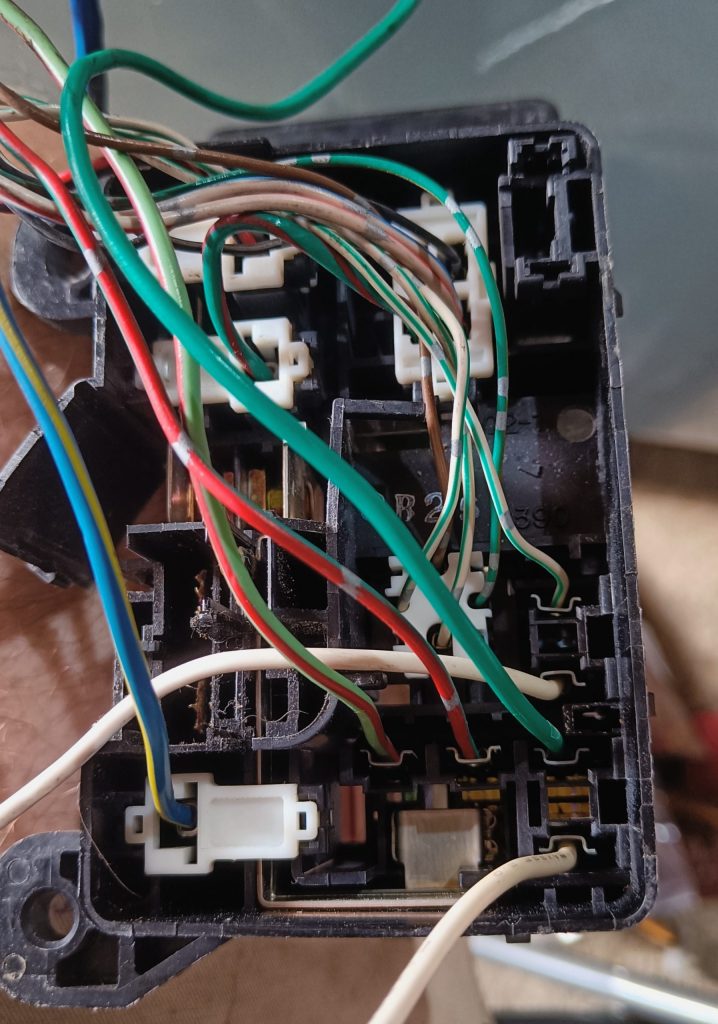
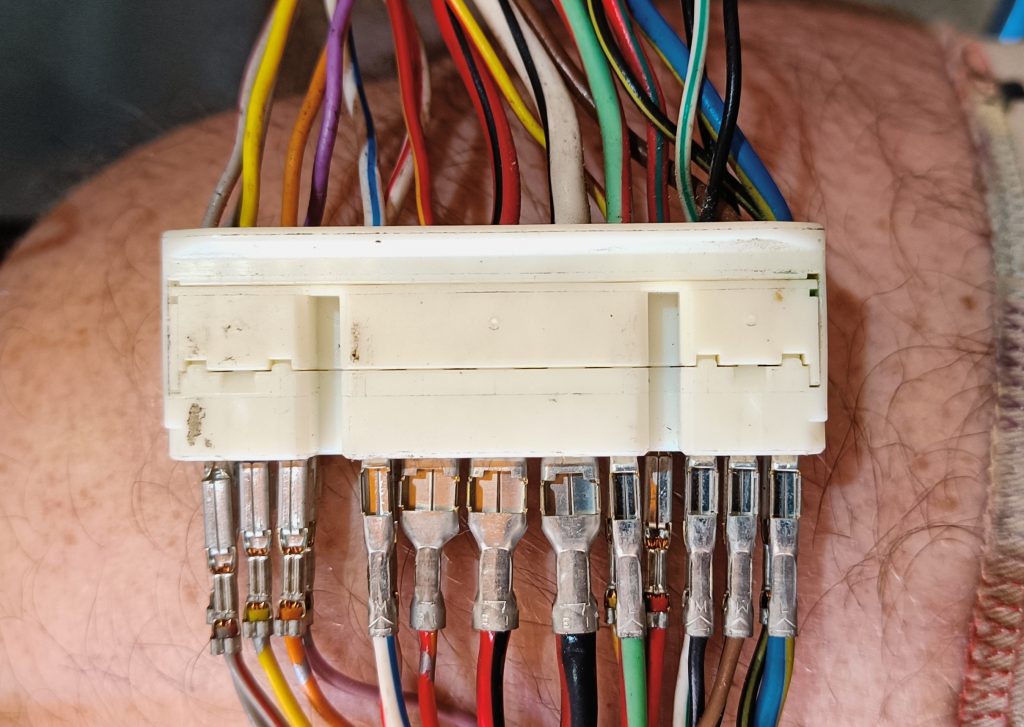
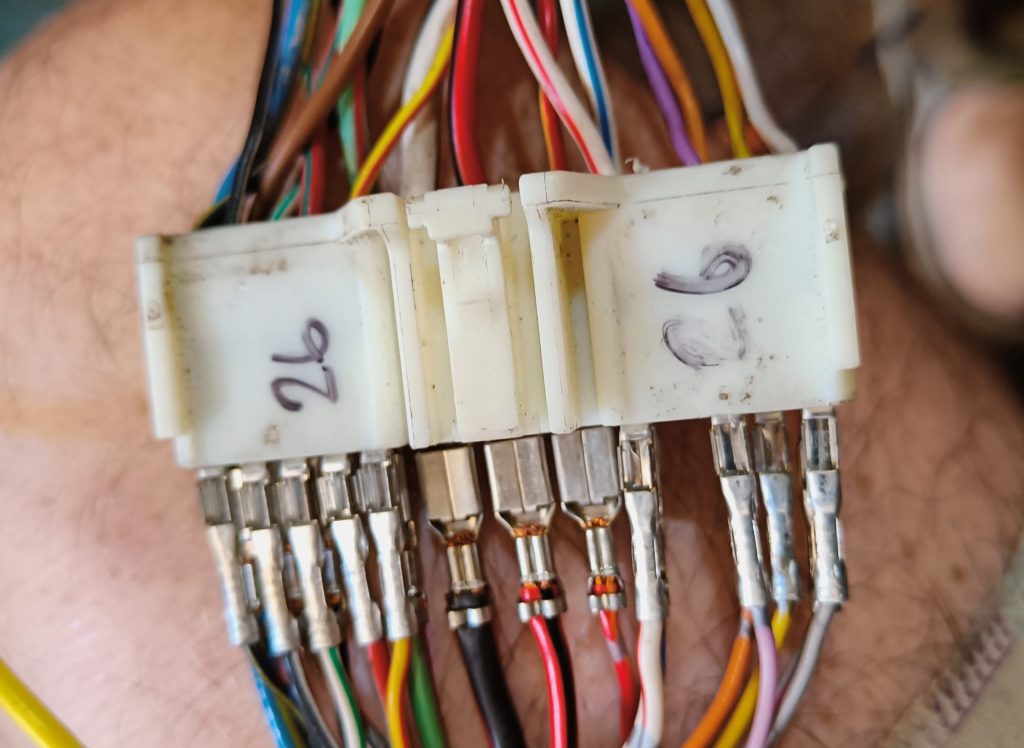
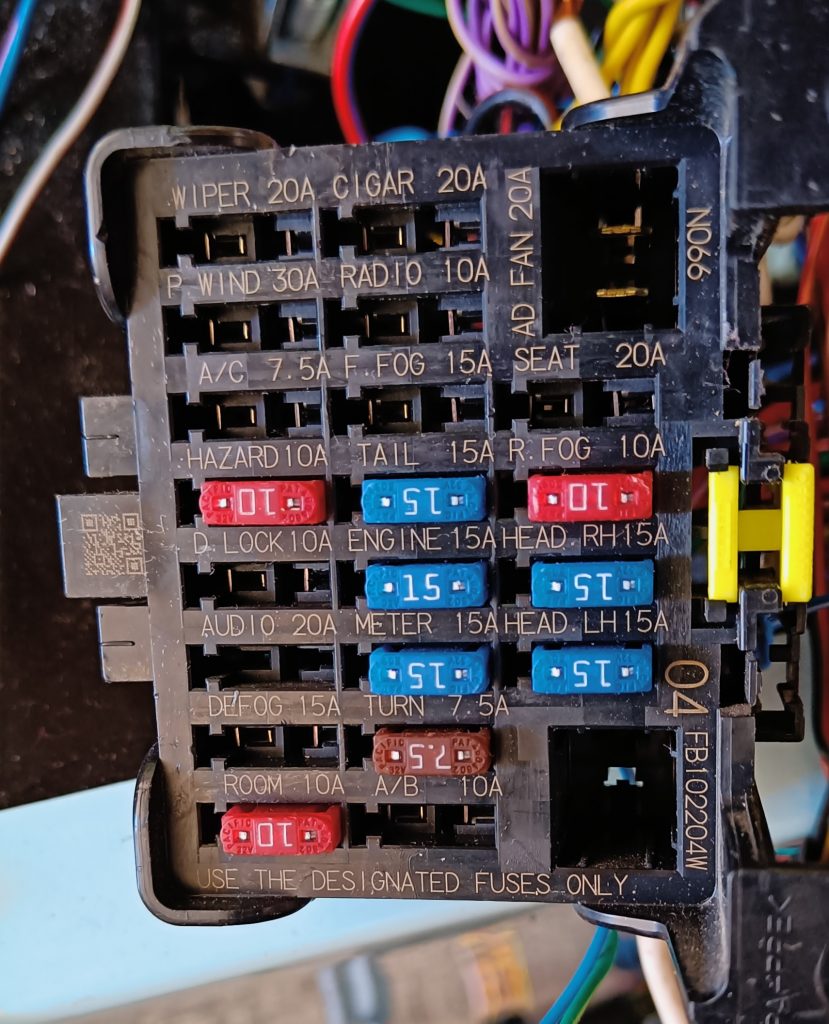
- Laid in the main wiring looms and the set about removing more unnecessary wires and connectors, including the two OEM fuse boxes. This created a considerable rat’s nest of wires but after several days of looking at the mess, some judicious cutting and labelling, things have thinned out well and I now need to order the new fuse box, relay assemblies and switches from Car Builder Solutions. I’ve also lost a pair of side cutters in the process…….!
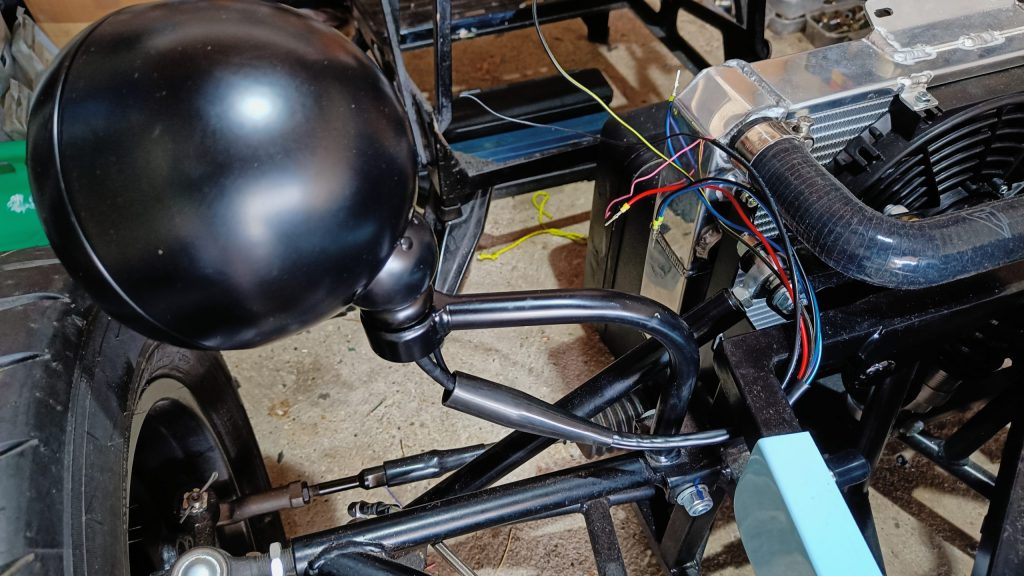
- Started to properly install the front loom. To do so I needed to fit the headlights and LED indictors onto the support brackets. Two points of confusion at this point:
- How to wire the headlamps to support Mazda’s main beam ground switching (see later). And
- How to fit the nut that holds the headlight onto the bracket given that the mounting hole has a ~20mm flange around it to facilitate the LED indictor tube mount. This and the fact that the wires exit through the lamp’s ‘bolt’ makes using any sort of spanner or socket impossible when it comes to tightening up once the aim is adjusted. Nothing in the manual about this and a solution others have used is to buy a 24mm box spanner and cut a slot in it so that the headlamp wires can pass inside the spanner. However I later found this MK RX-5 build video clip which shows their solution to the issue.
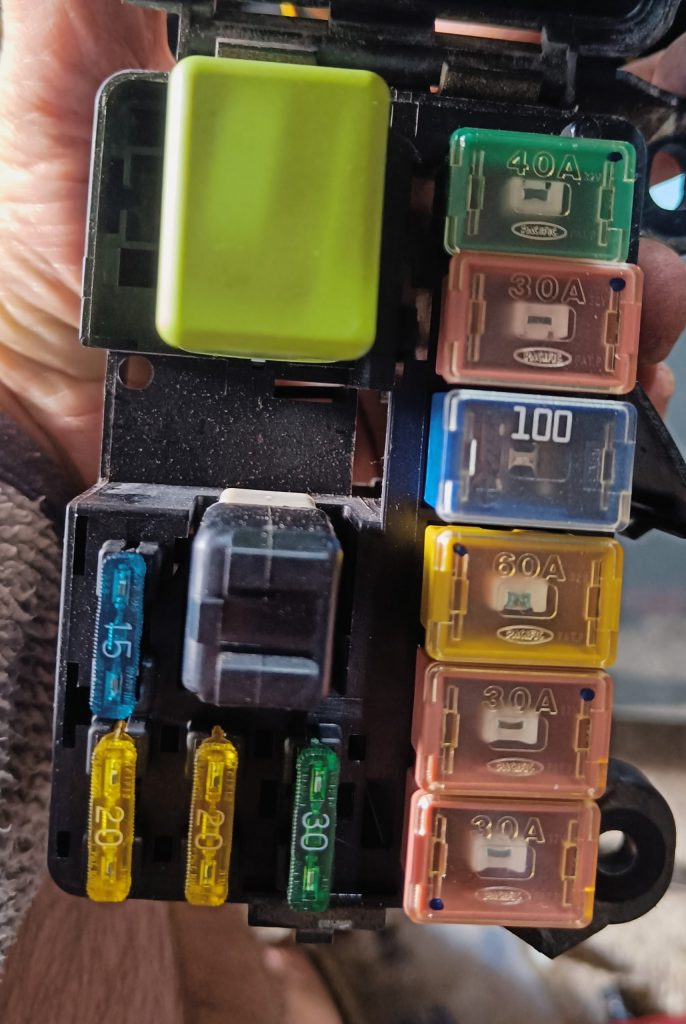
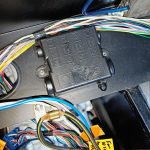
- Found a wiring anomaly in the main fuse box for the main EGI relay – took a while to fathom this out.
In all of the documentation that I have in regards the main engine / injection relay, the relay coil is switched on by the ECU (pin 3H – blue/orange wire) grounding the coil and a permanent +12v coming from the 30A Fuel Injection fuse.
However my OEM fusebox EGI relay does not have the blue/orange wire and the relay is instead activated by a permanent ground connection on one side of the coil (black wire) and the +12v coming from the 15A engine fuse (black/white wire) which is ignition key activated. A more reliable approach in my view!


A note about headlamp wiring.
The standard wiring colours for the headlights supplied with my kit were:
- Black – ground for main & dipped beam, and side light. The black wire runs to the main lamp and then there’s a loop to the headlamp housing and then another connection to the side light bulb.
- Red – side light
- Blue/White – main beam
- Blue /Red – dipped beam
The headlamp needs to be modified to cater for Mazda’s ground switching of the main beam lamp. To do this the main headlight lamp itself must be isolated from the vehicle’s ground. This is done by cutting the loop inside the headlight housing, between the main lamp and the housing, at the main lamp. The free black wire end is then extended with a wire of your choice (black and yellow in my case) and fed down through the wiring sheath. This becomes the ground for the side lamps only.
For my N/S headlight then, the Mazda loom connected as follows:
- White (Mazda – main beam switched ground) to Blue/White (Headlamp – main beam)
- Black (Mazda – ground) to Blue/Red (Headlamp – dipped beam)
- Red/Yellow (Mazda – headlights on +12v, either of the main or dipped beam wires is fine, delete the other) to Black (Headlamp – common)
- Red/Black (Mazda – side lights on +12v) to Red (Headlamp – side light)
- Black (Mazda – ground) to added Black/Yellow (added in for side light ground only)


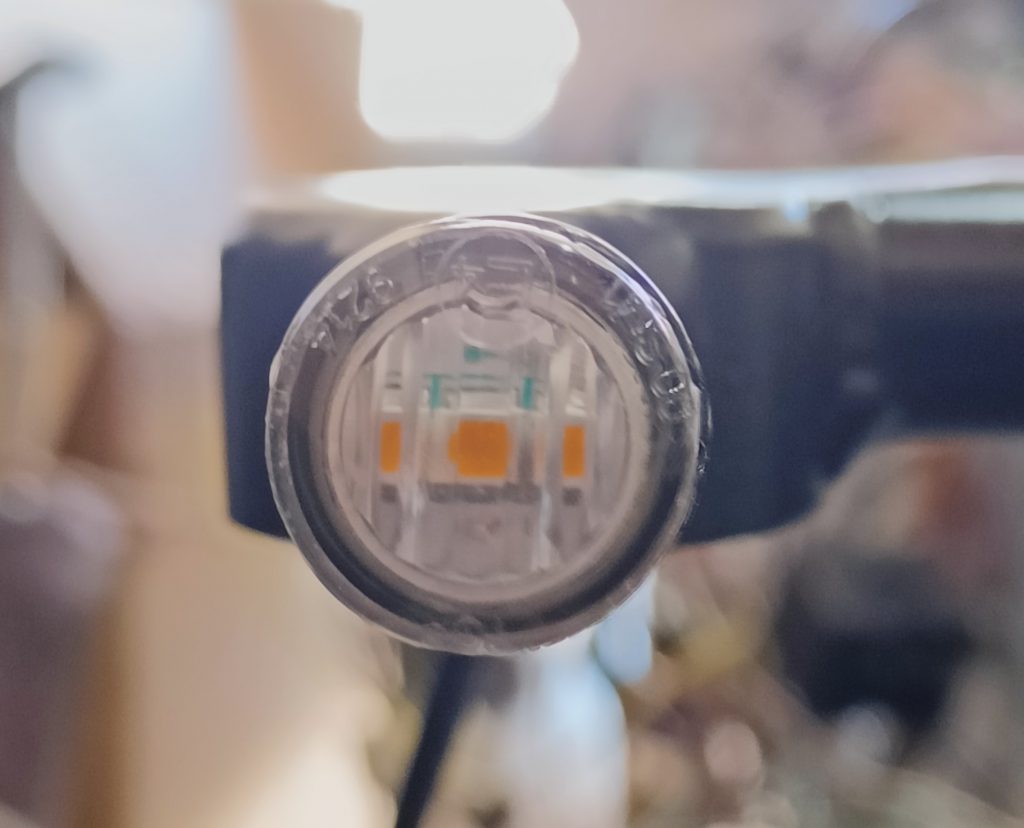


A note about LED indicators.
For the type I was supplied:
The white wire is ground 🤦🏻♂️
The black wire is switched +12v 🤷🏻♂️
13th to 18th October, 2025
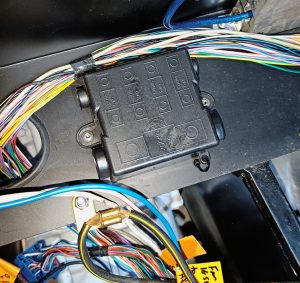
Spent most of this week using QCAD to draw out how I will arrange the fuses, relays and flasher modules in the new fuse boxes. Well worth spending the time to do this whilst the parts were in transit, rather than making it up as I go along in the garage. I think I’ve come up with a good solution – pics to follow once all installed.
I also plan to use a latching flip/flop relay module from Amazon to manage the rear fog light functionality. Here’s a link to the module – pretty sure it will do the job, in conjunction with my newly designed wiring / fuse solution.
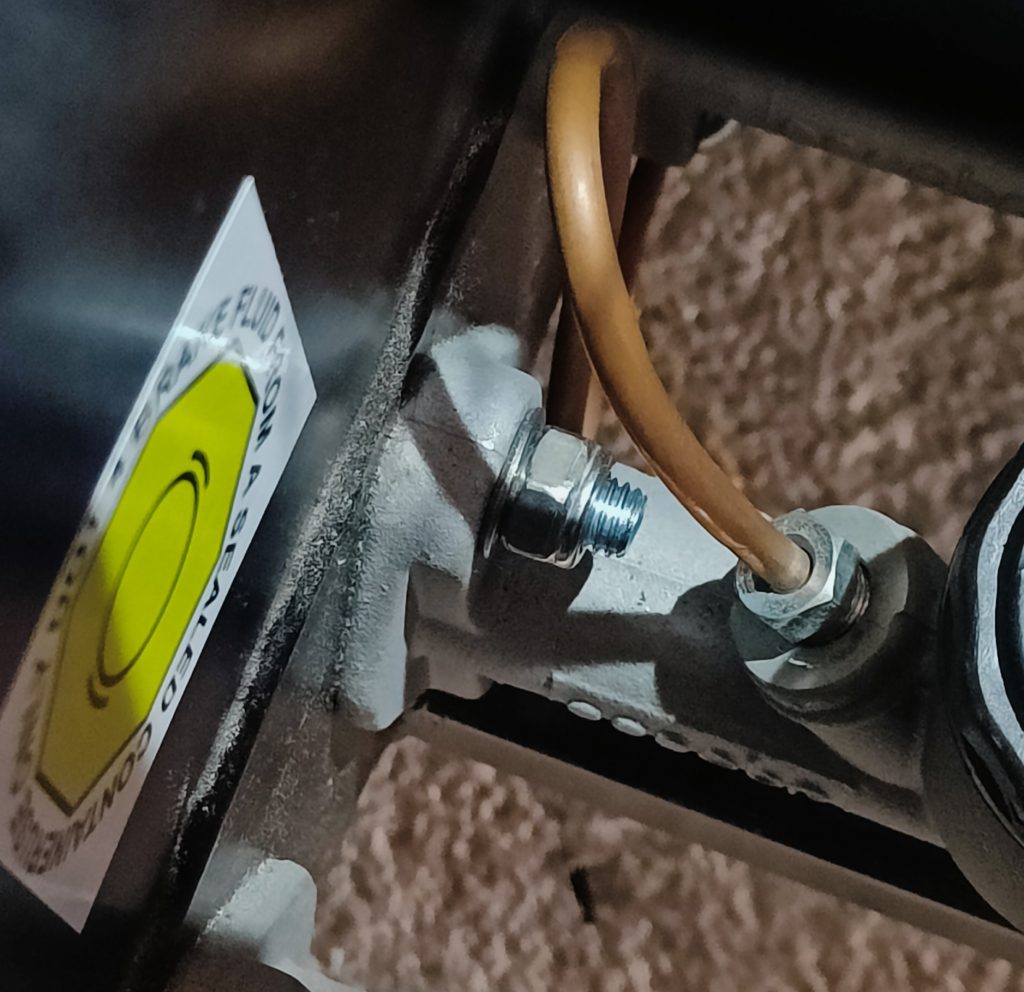
Meanwhile I changed the brake and clutch cylinder mounting bolts as the current items were too short (25mm M8 hex head bolts, now swapped to 30mm M8). Also fitted the clutch fluid hose and prepared the brake fluid level wiring for adding to the loom.
19th to 23rd October, 2025
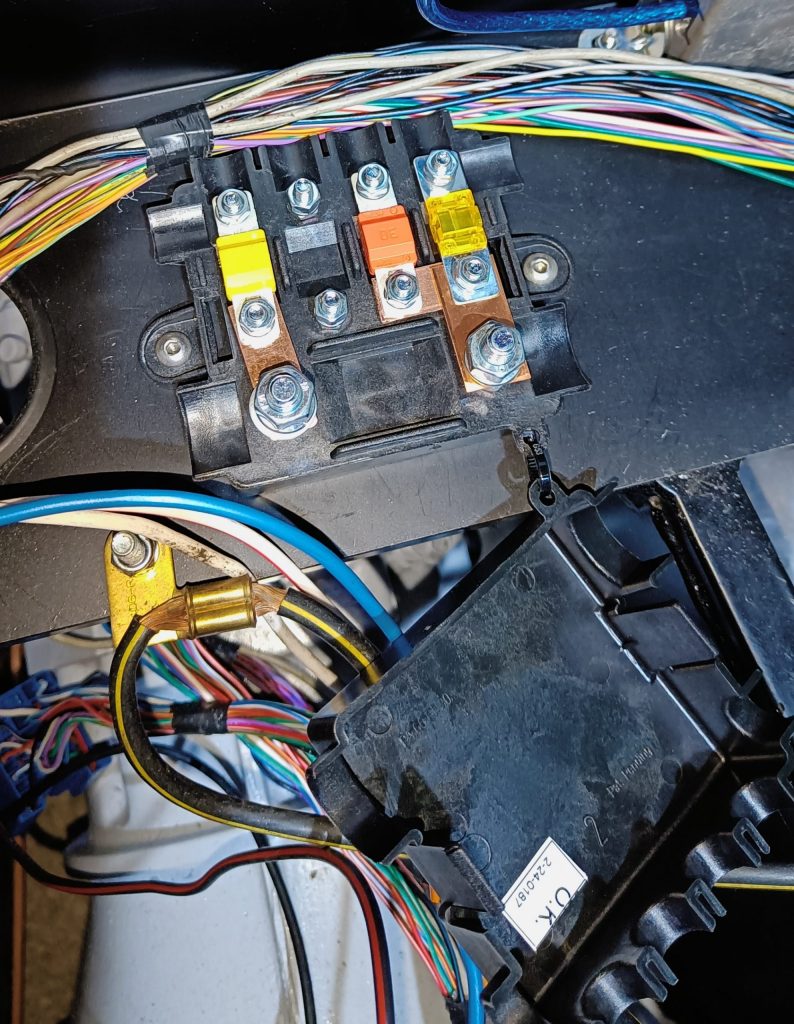
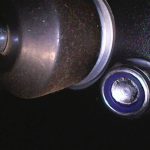
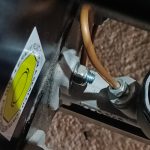
The remaining items to finish the Mazda loom modification and installation were ordered and delivered from Altec Automotive and over the last couple of days I continued to tidy and refine the loom to converge on the two new fuse boxes. I decided to try to keep to Mazda’s original fuse philosophy and have a ‘primary’ fuse box for the larger current fuses, and a ‘secondary’ fuse box for the sub-system fuses, relays and flasher units.
I started by prepping the wiring to and from the ignition key switch together with fitting the sole remaining indicator / light stalk. Deciding where exactly to mount the two fuse boxes on the ECU panel took some time as I wanted to be sure that as much of the original cable as possible would not need to be extended. I also wanted to ensure that the large capacity battery and alternator wiring would connect to the primary fuse box without any tight radius bends or restrictions.
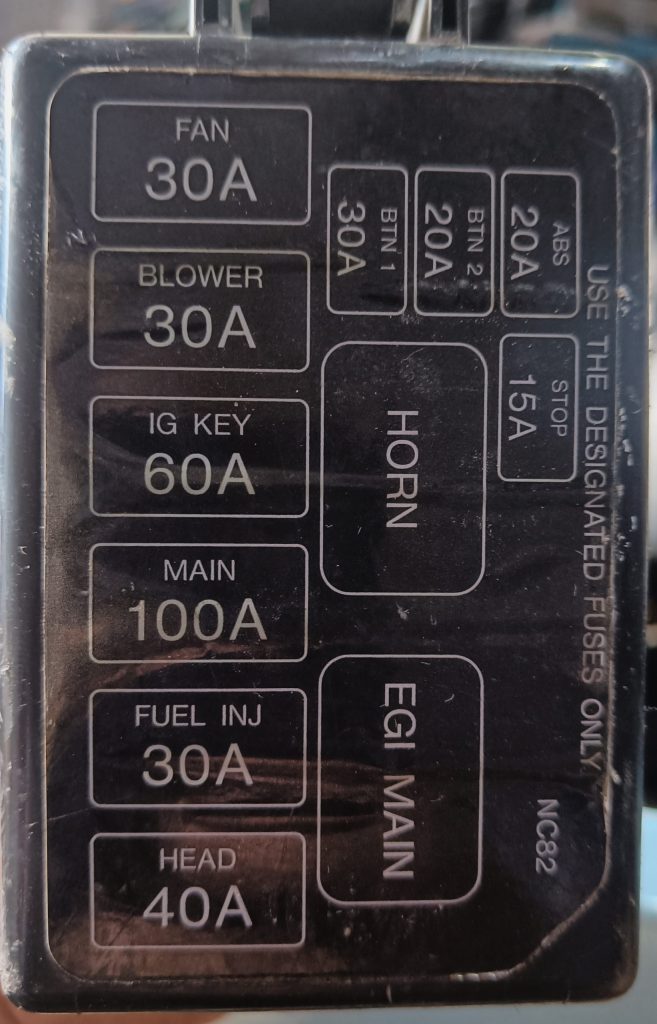
Not many images thus far but here are four which cover the most recent work. The 80A mega fuse (downrated from the OEM 100A fuse) is currently missing from the fuse box due to an ordering oversight on my part. I also modified the primary fuse box to keep the ‘head’ and ‘fuel inj’ fuses directly attached to the battery side of the main fuse, and the sub-system fuses after it, as OEM.


Current job list
- Install wiring loom from under scuttle to the front of the car and fit lights. ✅ 13th Oct.
- Install wiring loom from under scuttle to the rear of the car and fit tail lights.
- Install fuse boxes and connect to loom. 🔄
- Plumb in the cooling system (temp mount the expansion tank for now). 🔄
- Replace pedal box fixing bolts – currently too short for IVA. ✅ 18th Oct.
- Fit Throttle cable and clutch braided line. 🔄
- Set rear ride height.
- Torque inboard rear suspension bolts.
- Torque all hubs.
- Fit rear wheel arches.
- Repair differential input oil seal leak.
- Install front wheel arches.