1st – 11th April 2025
Progress a little slower than I’d like but did manage a few more hours on the build over the last two weeks or so. Notably:
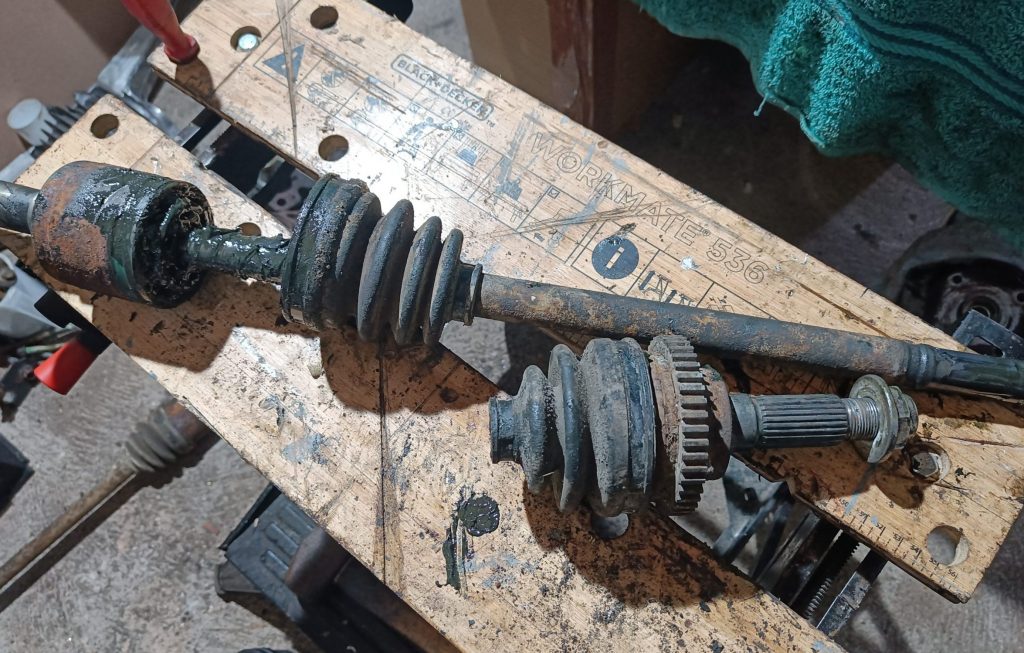
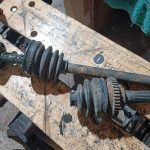
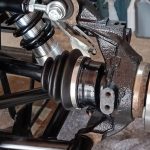
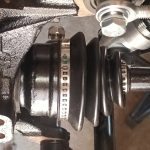
- Driveshaft refurbishment completed and fitted. One minor issue here was the lack of OEM outer CV joint boots – rarer than hen’s teeth unless you want to pay £80 each for them (apparently they just don’t make them anymore). Still Napa part NCB1004 is a very close fit and did the job.
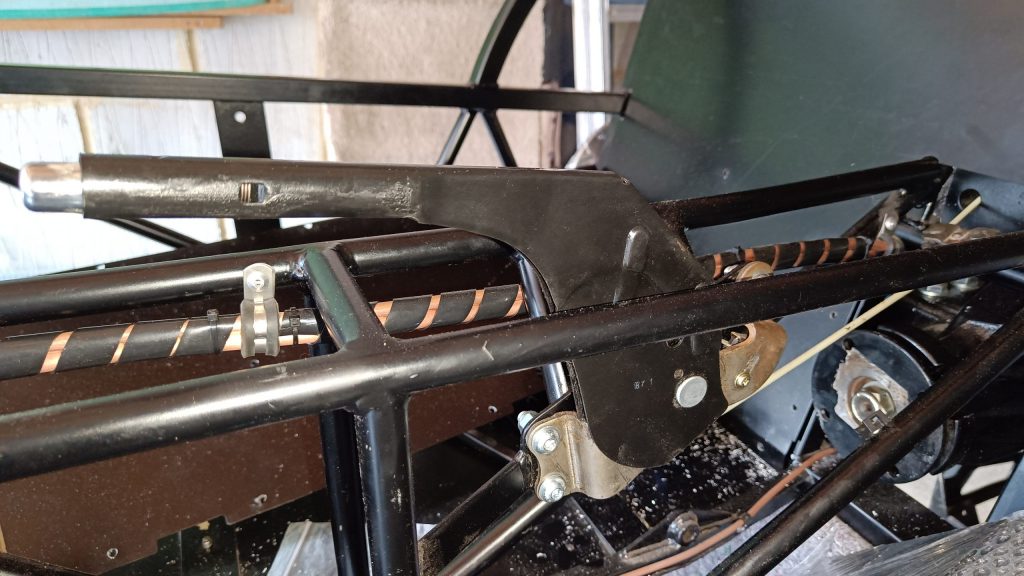
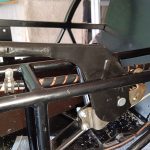
- Wiring saddles fitted to most of the chassis – ran out so 6 or so more needed at the front of the engine bay when I get to that part of the build.
- Rear brake calipers and discs trial fitted in order to fit the handbrake cables. Routing of the handbrake cables could be troublesome due to the route I took with the flexible fuel lines. There will be a solution!
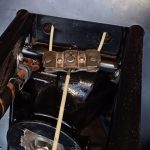
- Handbrake lever and forward cable fitted.
- Drilled and dry fitted the rear bulkhead panel and o/s tunnel panel. I don’t like drilling into round tube – never goes well for me! Tunnel top and n/s tunnel panel still to do.
Here are a few pics relating to the above list:


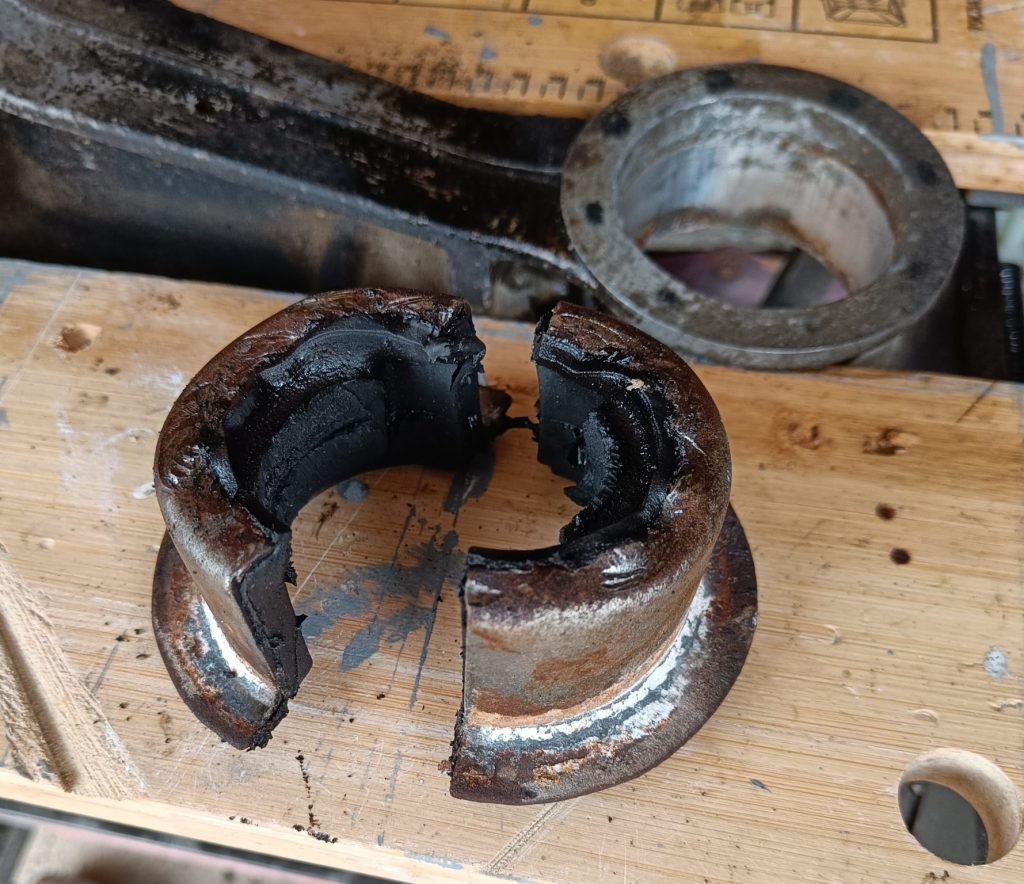
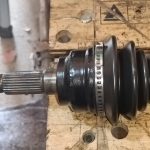
Partially dismantled driveshaft prior to refurbishment.
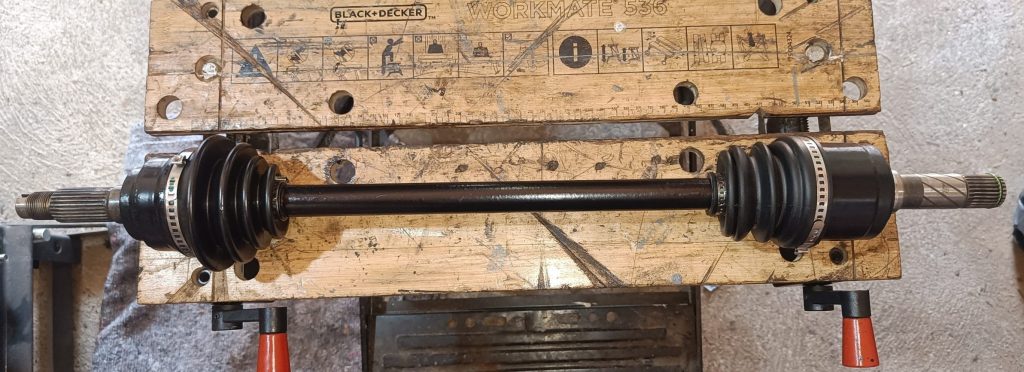
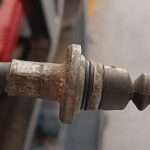
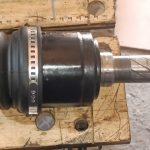
Refurbished driveshaft ready for fitting.
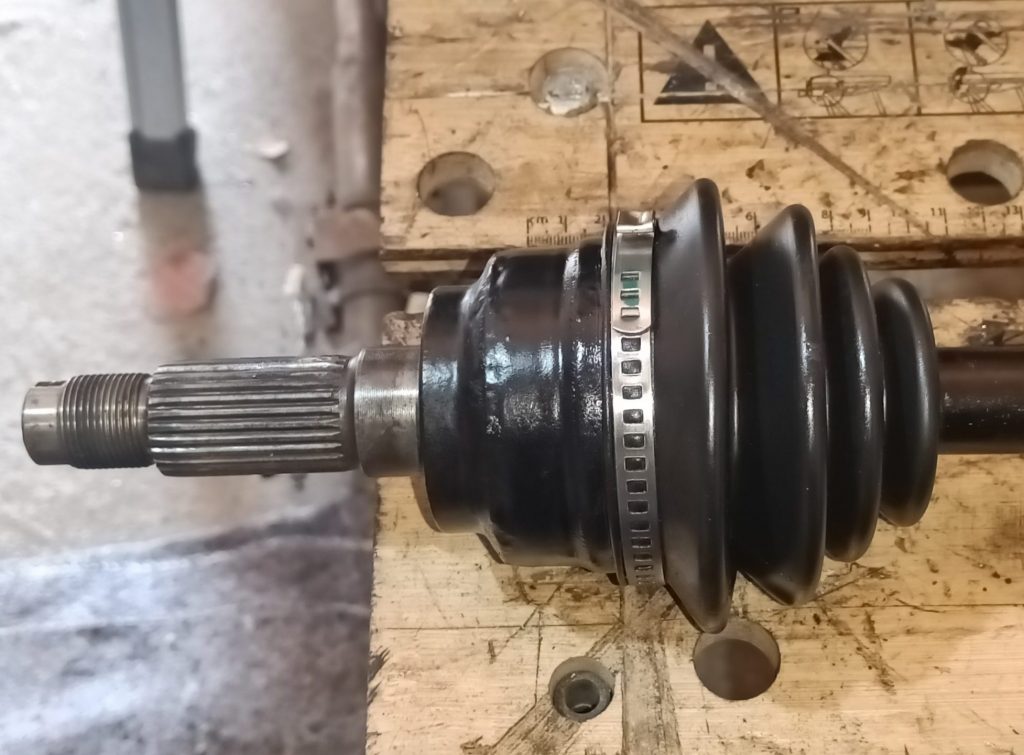
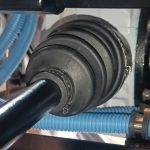
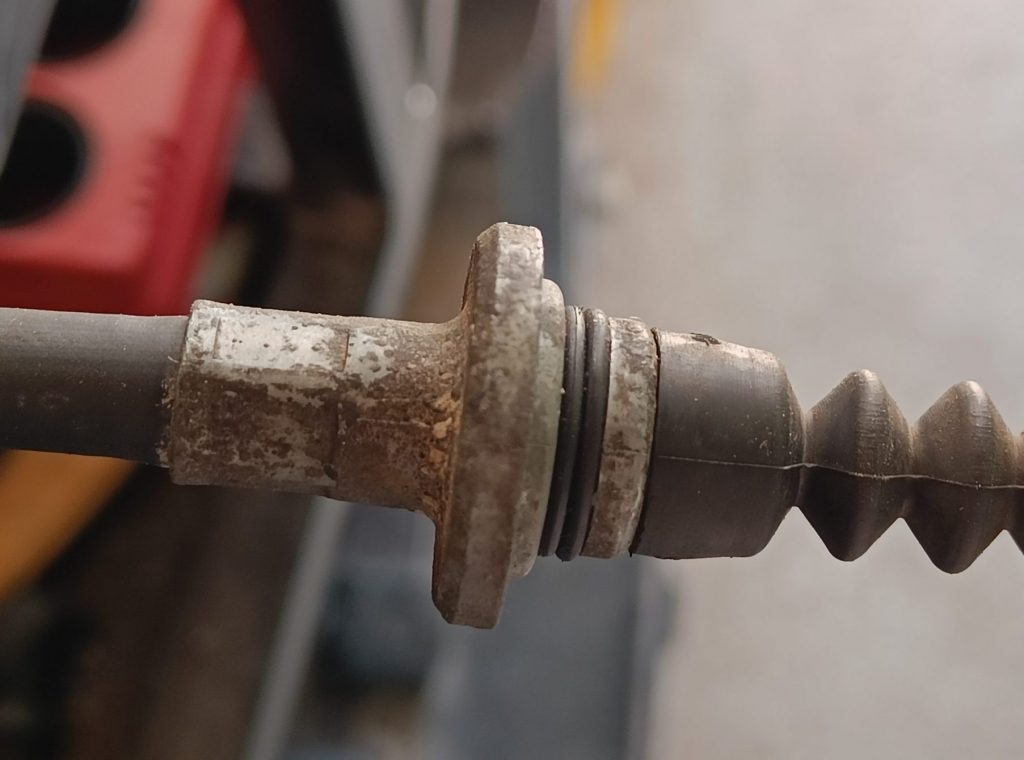
Outer CV joint end of refurbished driveshaft.
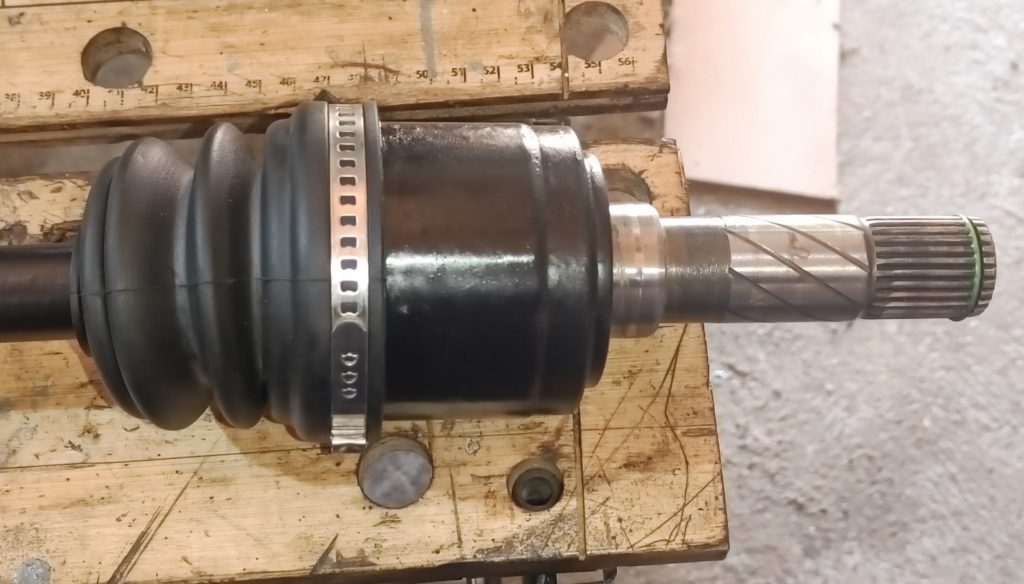
Inner CV joint end of refurbished driveshaft.
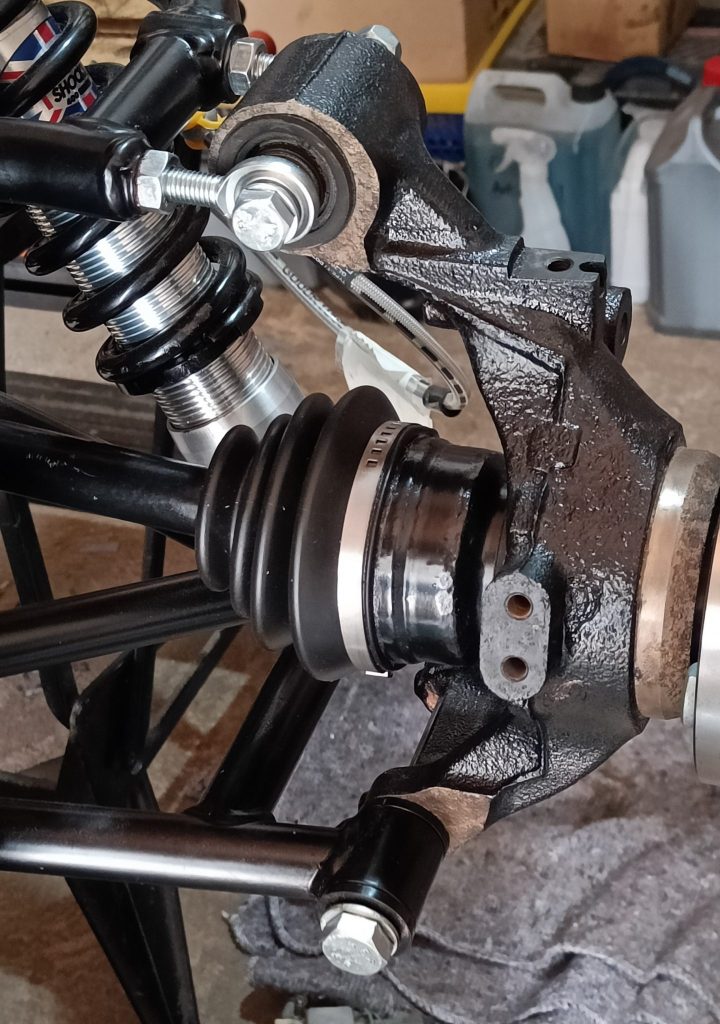
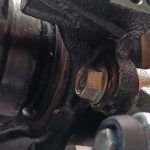
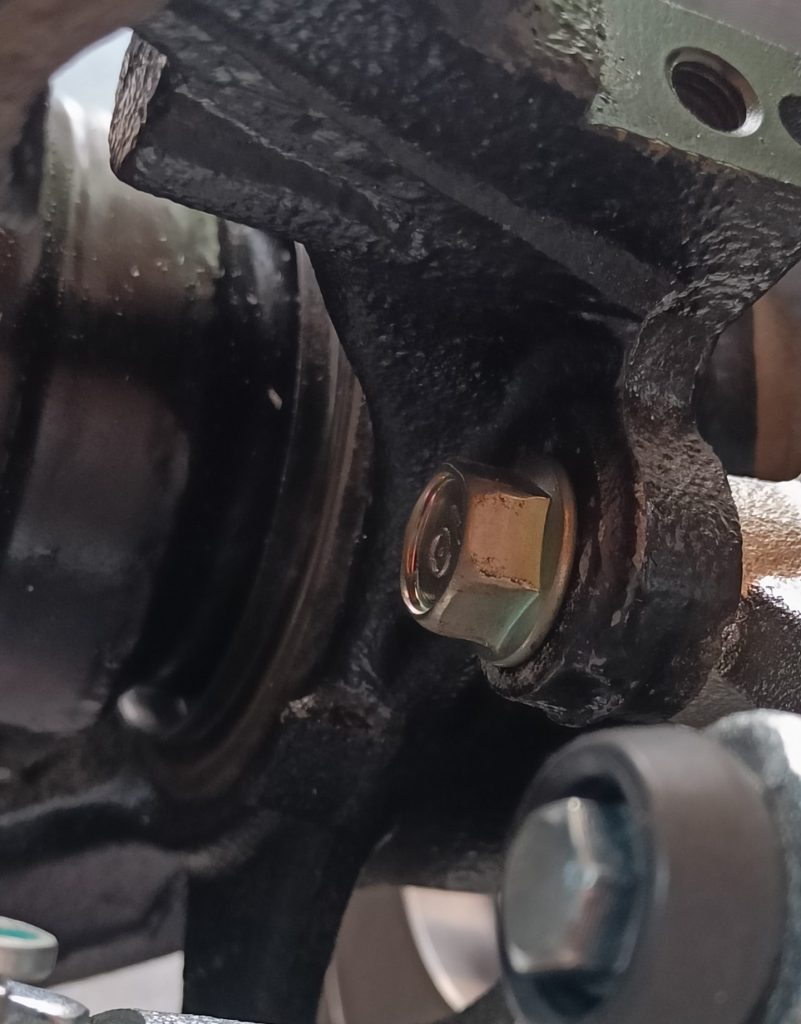
Outer CV joint end of nearside driveshaft fitted into hub.
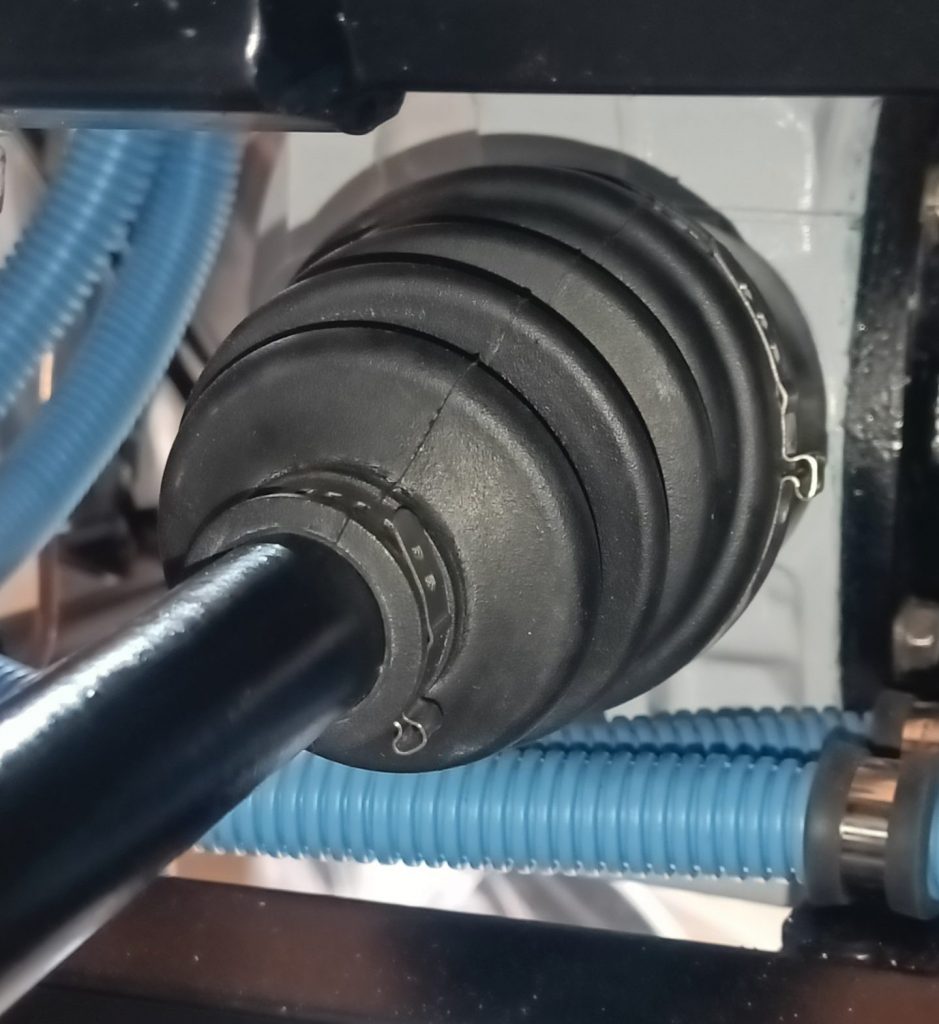
Inner CV joint end of offside driveshaft fitted into diff.
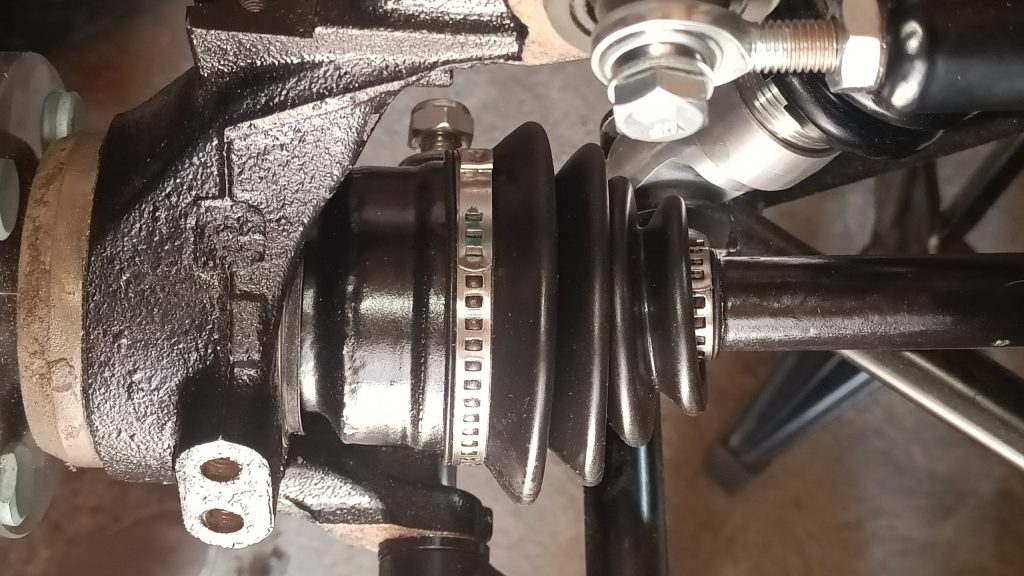
Outer CV joint end of offside driveshaft fitted into hub.
Installed handbrake lever
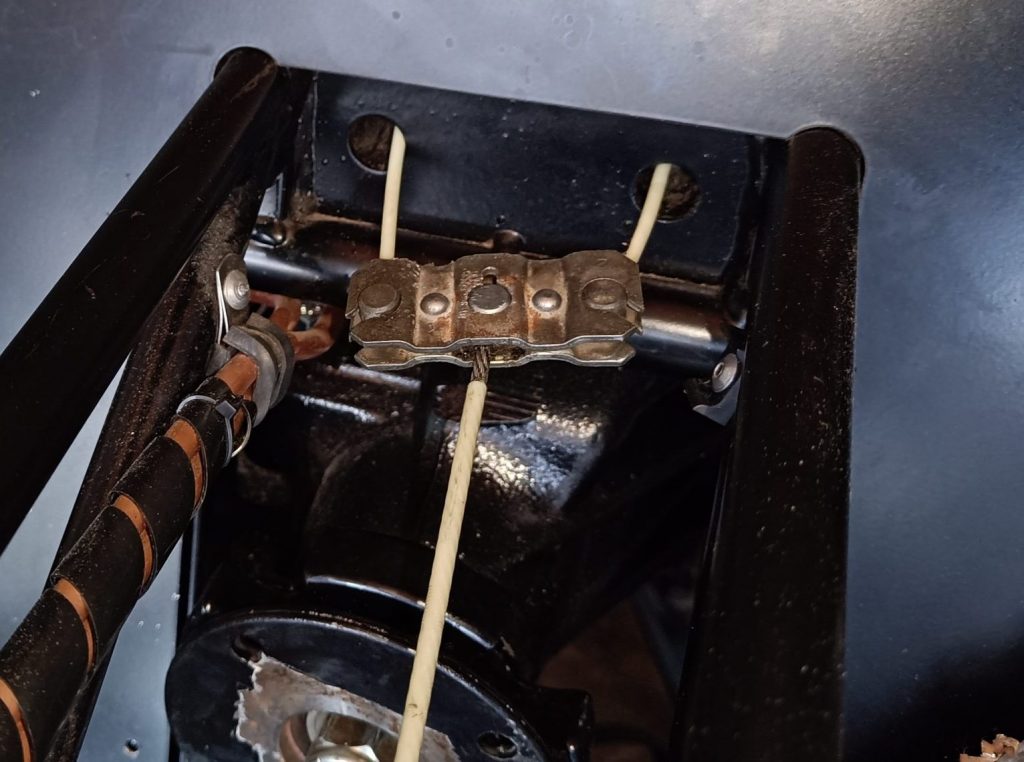
Forward handbrake cable balance bar
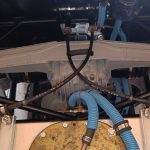
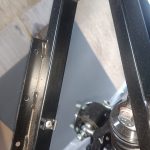
Rear tunnel wiring saddles.
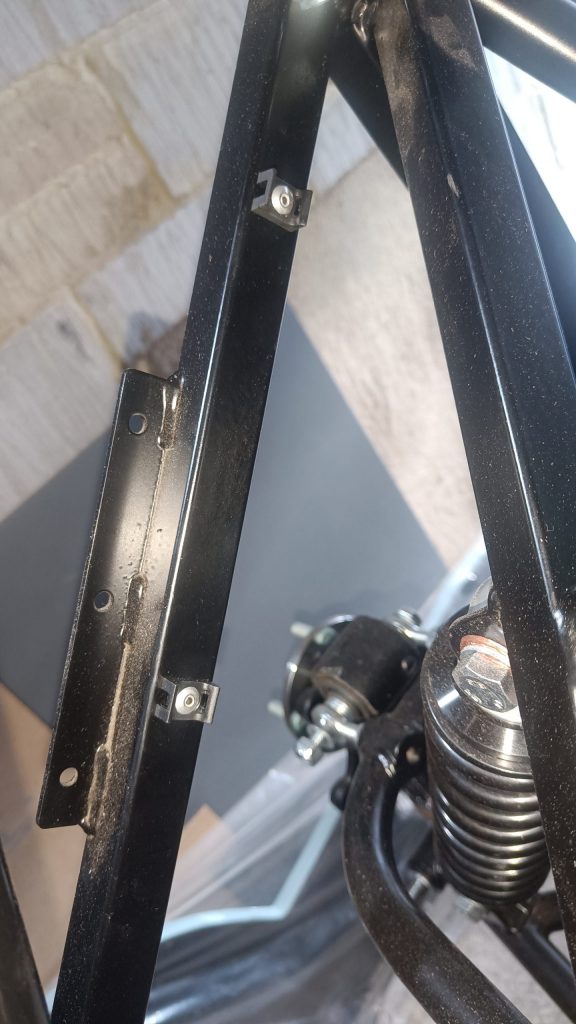
Nearside rear wiring saddles.
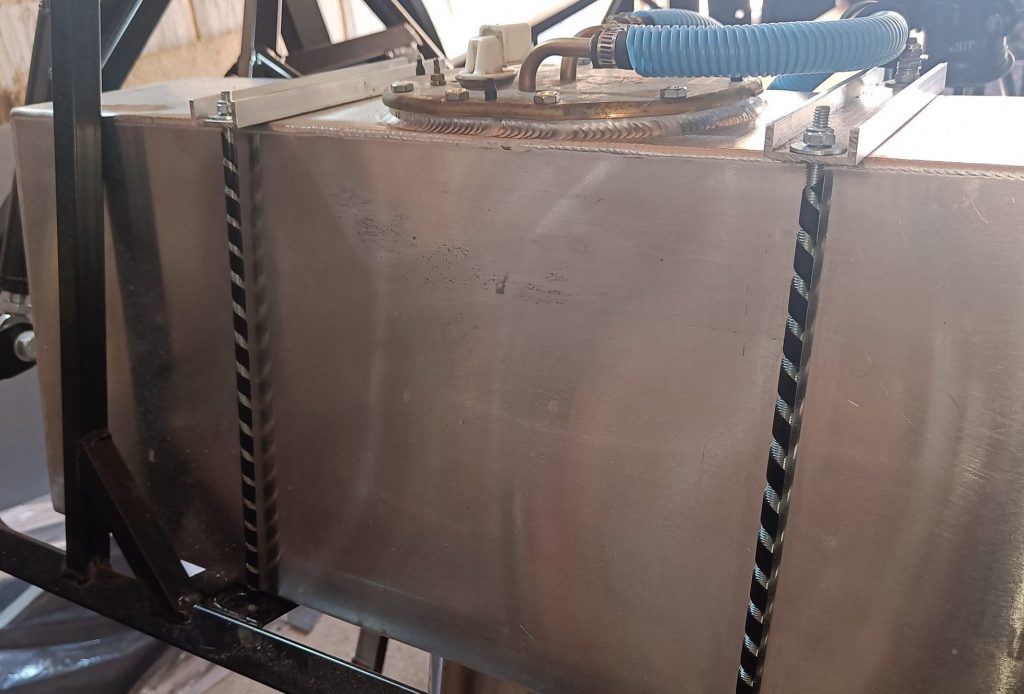
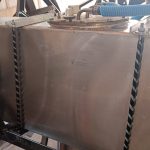
Spiral wrap applied to tank fixing rods
28th – 30th April 2025
My list of things to do this week were:
- Bolt the new rear calipers to the hub carrier using the new bolts purchased from mx5parts, since I neglected to keep the originals.
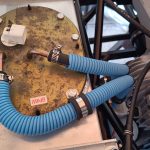
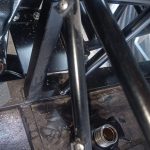
- Fit handbrake cables. I’d decided to put a couple of ‘O’ rings around the fitting that goes into the tube through the chassis to the handbrake lever. I thought it might help holding them in better but those that I tried were either too thick or two thin. Ended up putting two thin ones on each because ‘why not’! I also decided to go a little off-piste and let the brake cables follow their preferred arc to the calipers. This entailed making a small change to the fuel return routing and use the 6mm fuel tank fitting rod to mount some 12mm ‘P’ clips to hold the cables in place. Will bond a couple of small aluminium, pieces to the tank to fit a couple more ‘P’ clips closer to the caliper.
- ‘Nip’ up the rear suspension bolts. I decided that the two lower 14mm bolts are overlong and whilst they do not foul the 13″ rims, the clearance is quite small. Will remove 10mm and then ‘nip’ up once I’ve tidied up the thread with a die.
- Fit rear brake pads. Didn’t happen as the pads supplied were marked ‘not for road use’. So ordered some EBC Green Stuff pads from mx5parts along with the fitting clips (which I’d also discarded). I’ll fit these later this week.
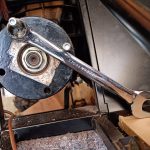
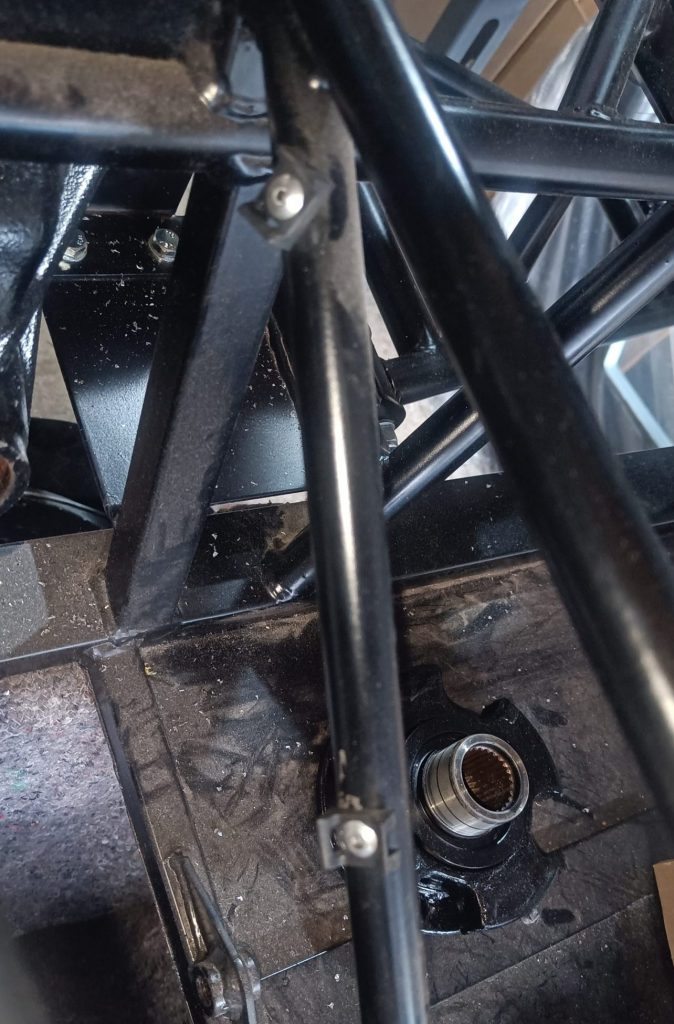
- Fit the prop shaft. To do this I firstly had to torque the pinion nut to spec. Unfortunately I did not take note of the preload torque as per the Haynes manual before removing it (to paint the flange and to change the oil seal). However this excellent YouTube video from JPM Performance pointed the way. Since (I figured) the crush tube was already ‘crushed’ then all I had to do was follow this video from the point after the new tube had been crushed and the nut backed off. According to the video this was torque to 170Nm and the Haynes manual spec is between 117Nm (min) and 177Nm (max). I didn’t want to go close to the maximum so I went for ‘middle for diddle’ and torqued to 147Nm. I guess time will tell.
Having done that I then went to fit the modified propshaft and realised that I’d left the flange bolts in the donor part when it went to MK. Ho hum! These bolts are really pricey (comparitively) at £6 each so I’ll use some high tensile hex socket head bolts (M10x25) from Accu (Accu Product Code: SSCF-M10-25-12.9-Z) at £1 each. Have ordered one to make sure that it fits (clears the ridge on the back of the diff side of the flange) and is long enough (M10x30 seemed too long). Update… the hex socket head bolt still did not pass the ridge on the back side of the flange so since these are ‘quite’ critical parts, have bitten the bullet and ordered a set of OEM nuts and bolts! - Finally, drilled the passenger side tunnel cover chassis holes ready to fit at some point. The tunnel top was not laser holed for some reason so I’ll do this later once everything is ready to close up.
And here are some pics:


New OEM rear caliper fixing bolts installed.
O rings on handbrake cable in an attempt to make them a snug fit into the chassis tubes.

Fuel return re-route to clear fixings for handbrake cables.
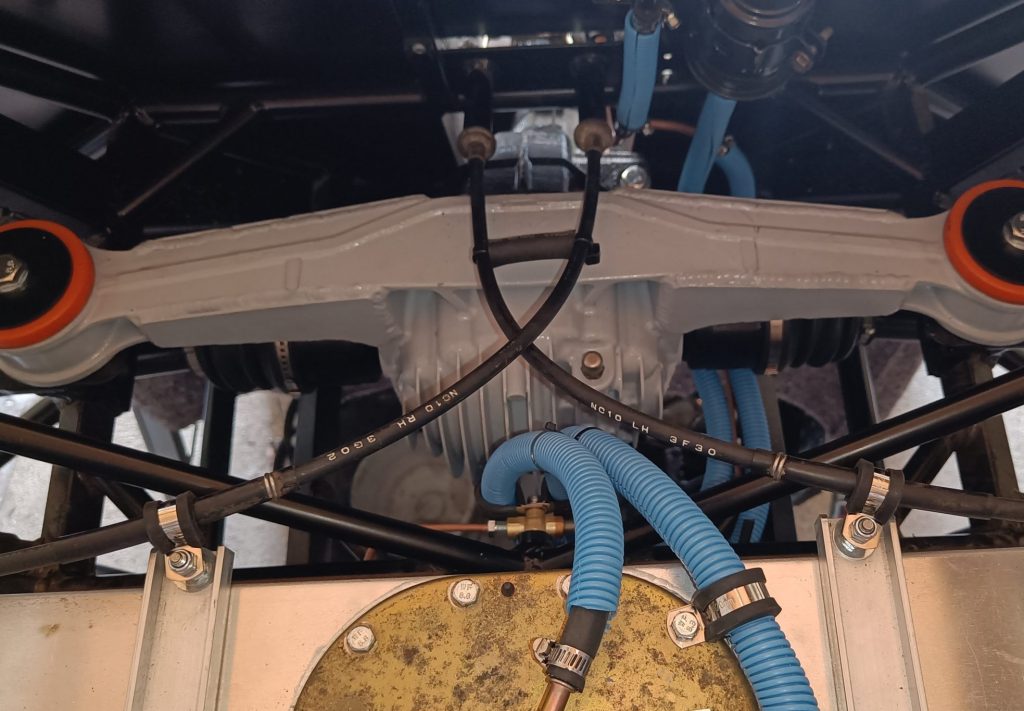
New handbrake cable fixing points
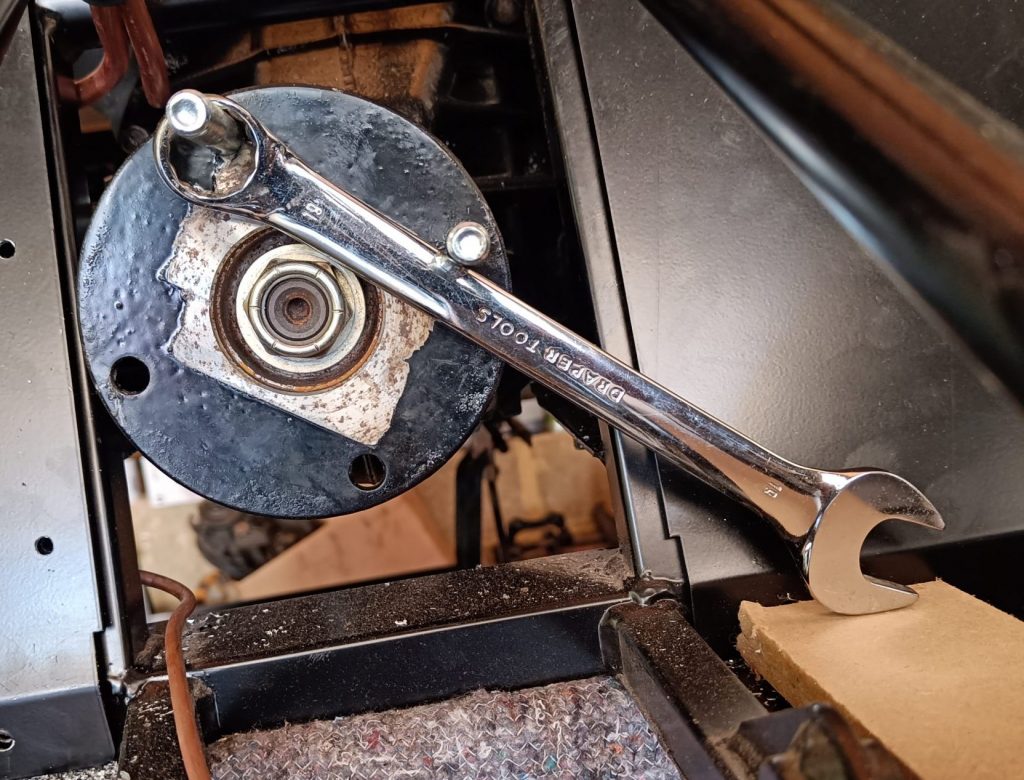
Bracing the diff input flange to torque the pinion nut.