Day 7 – Need to pick up the pace…!
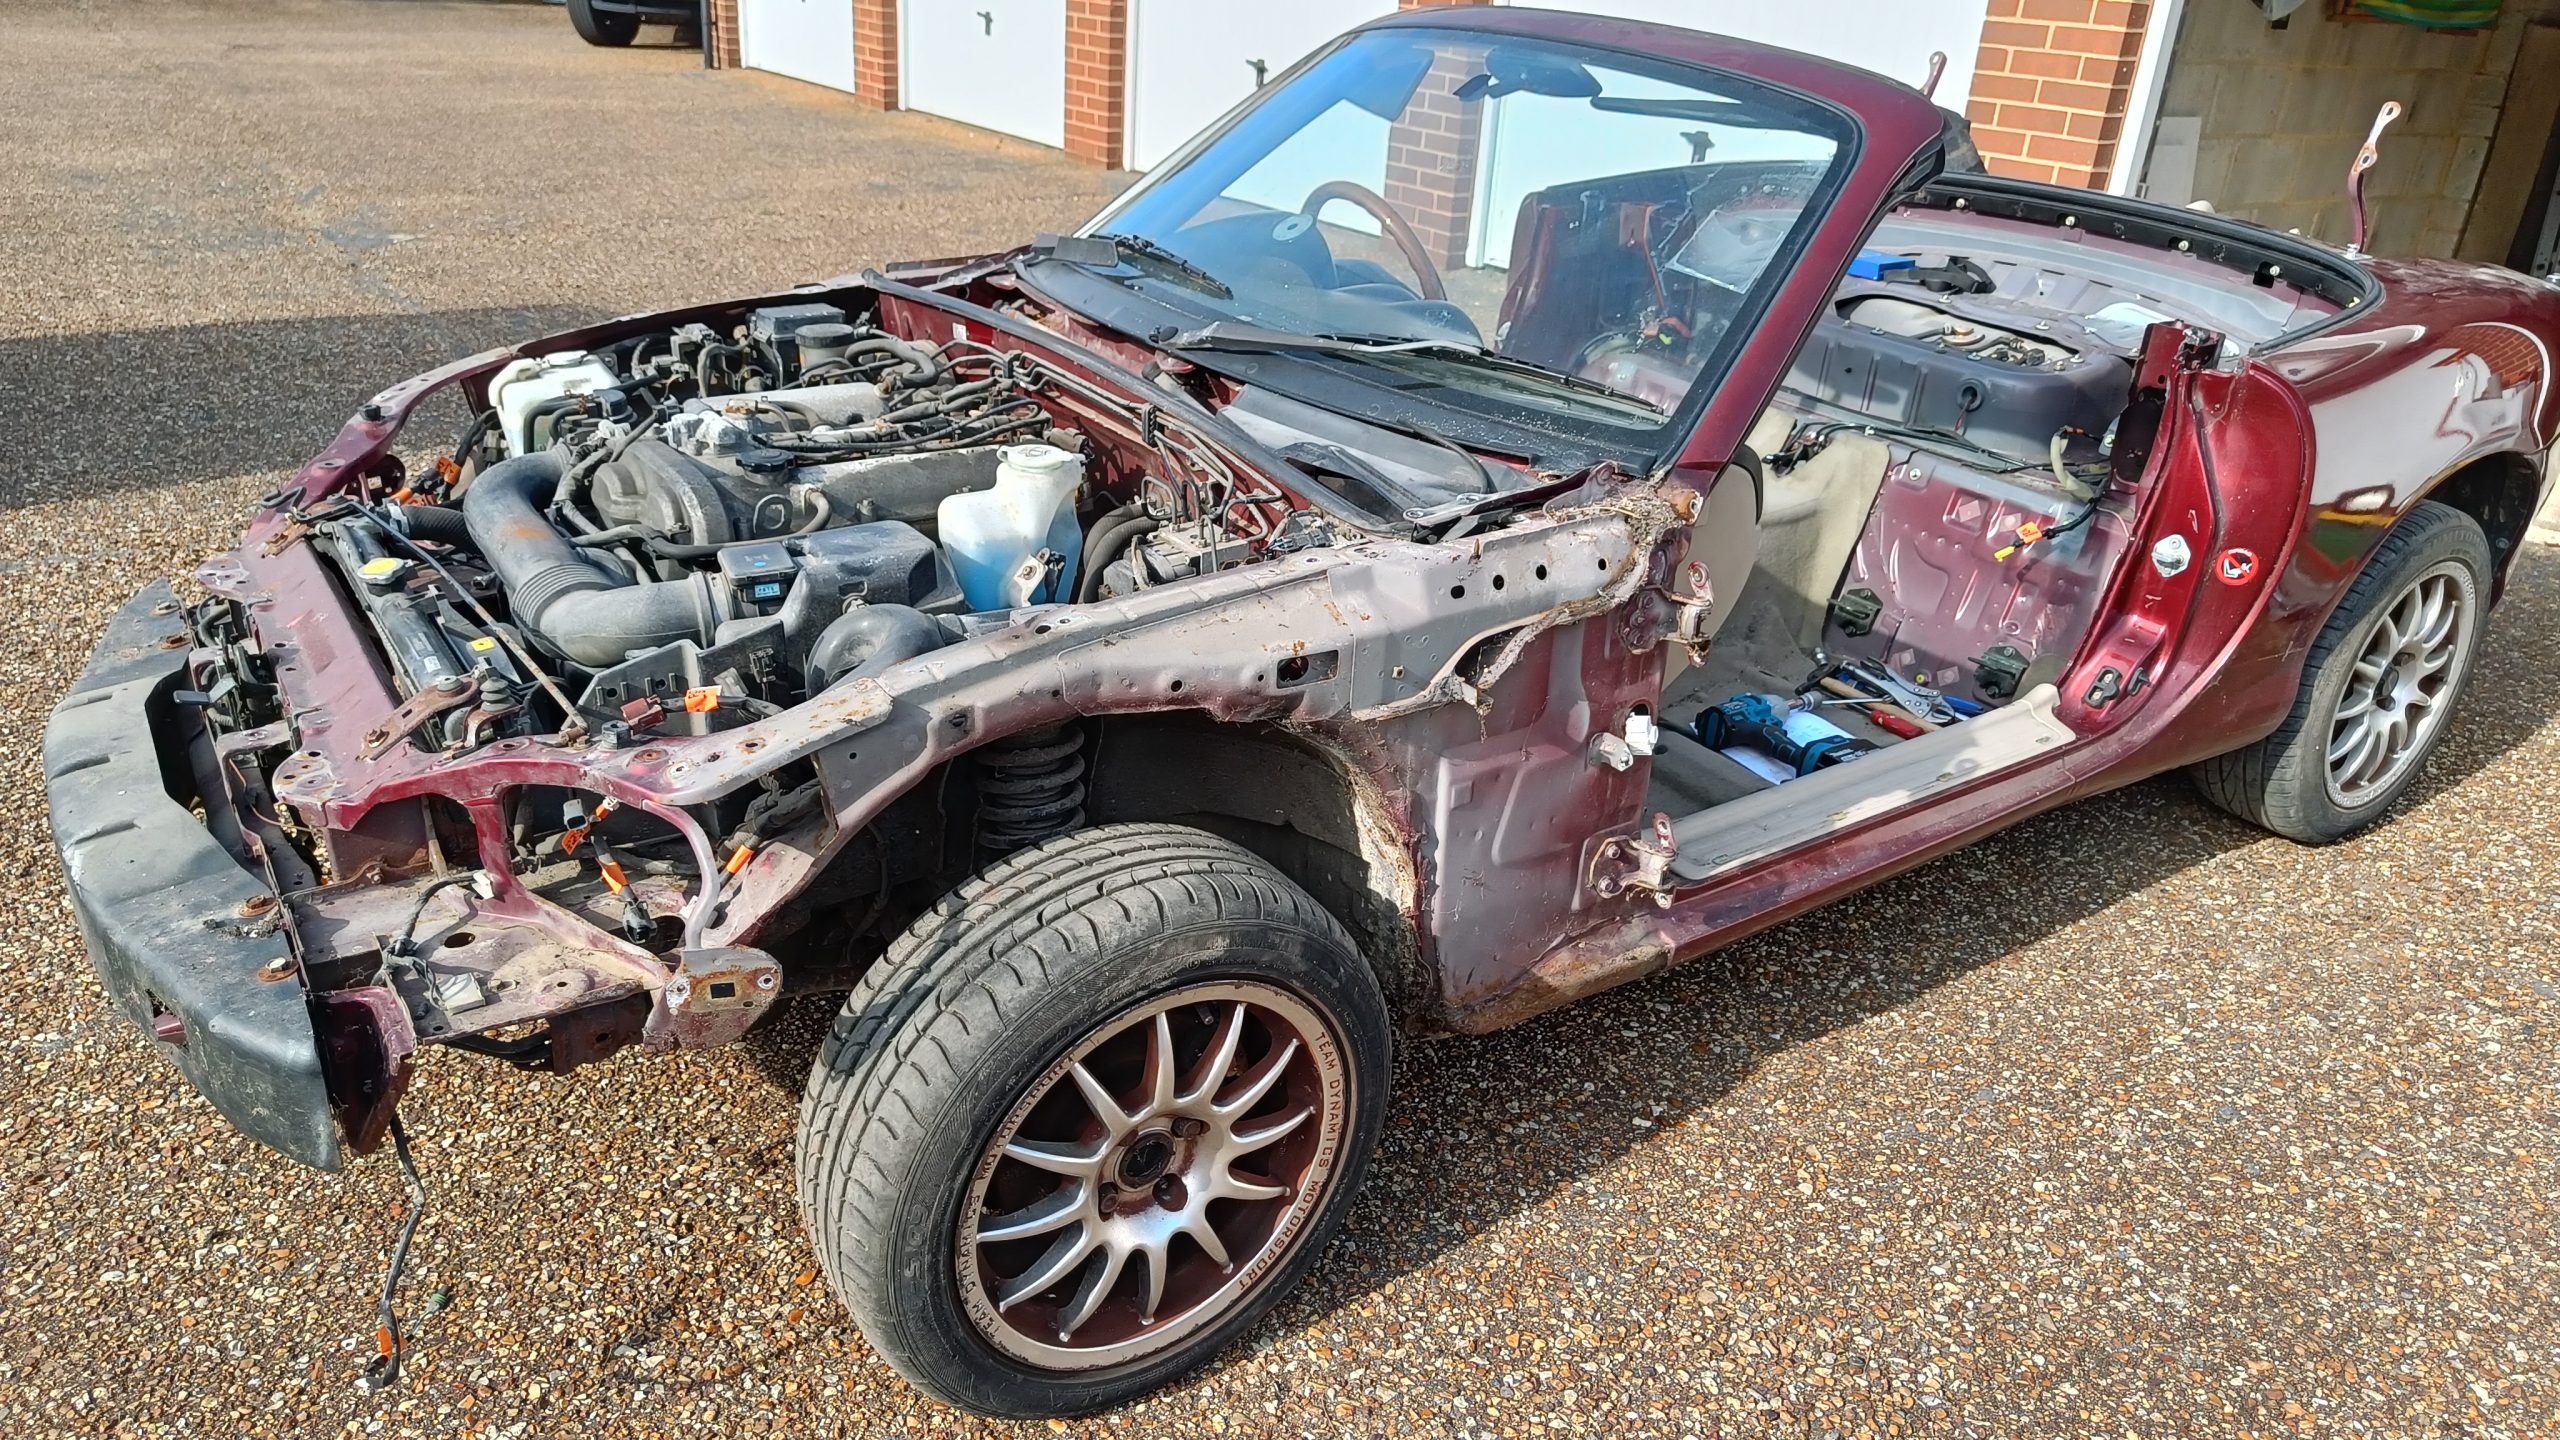
Time to crack on with the dismantling as my RX-5 has just gone into the build phase at MK Sportscars!
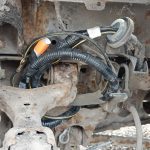
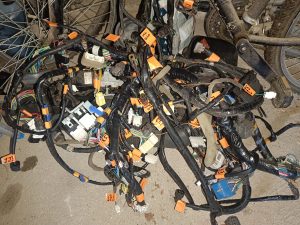
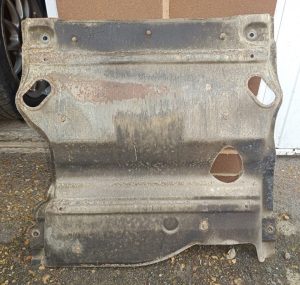
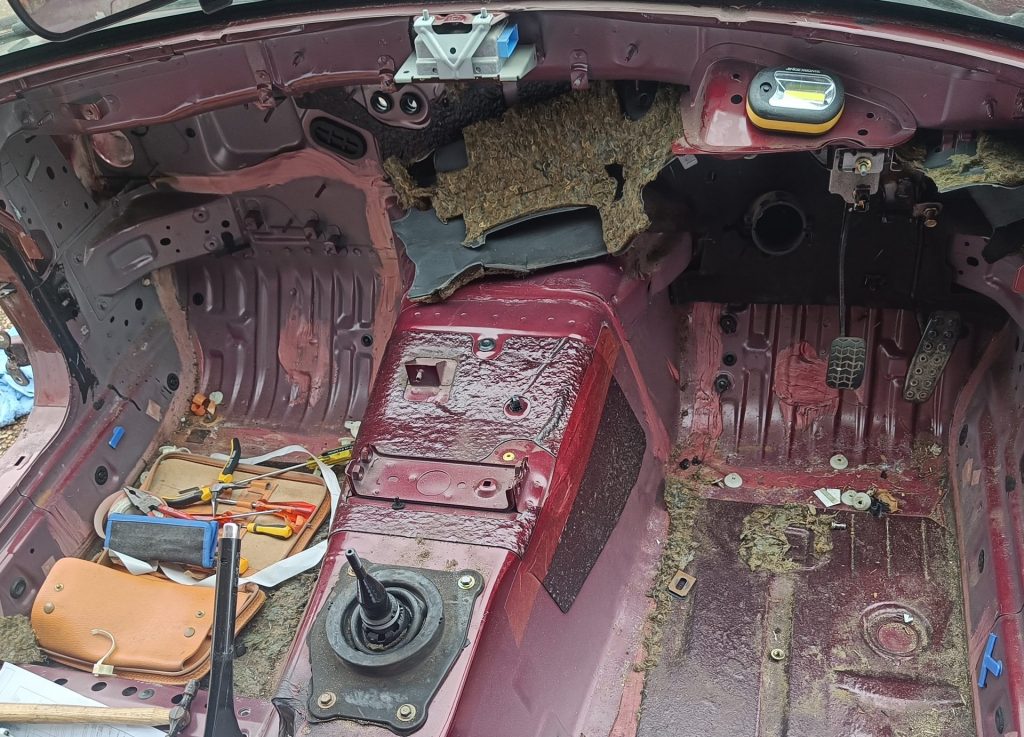
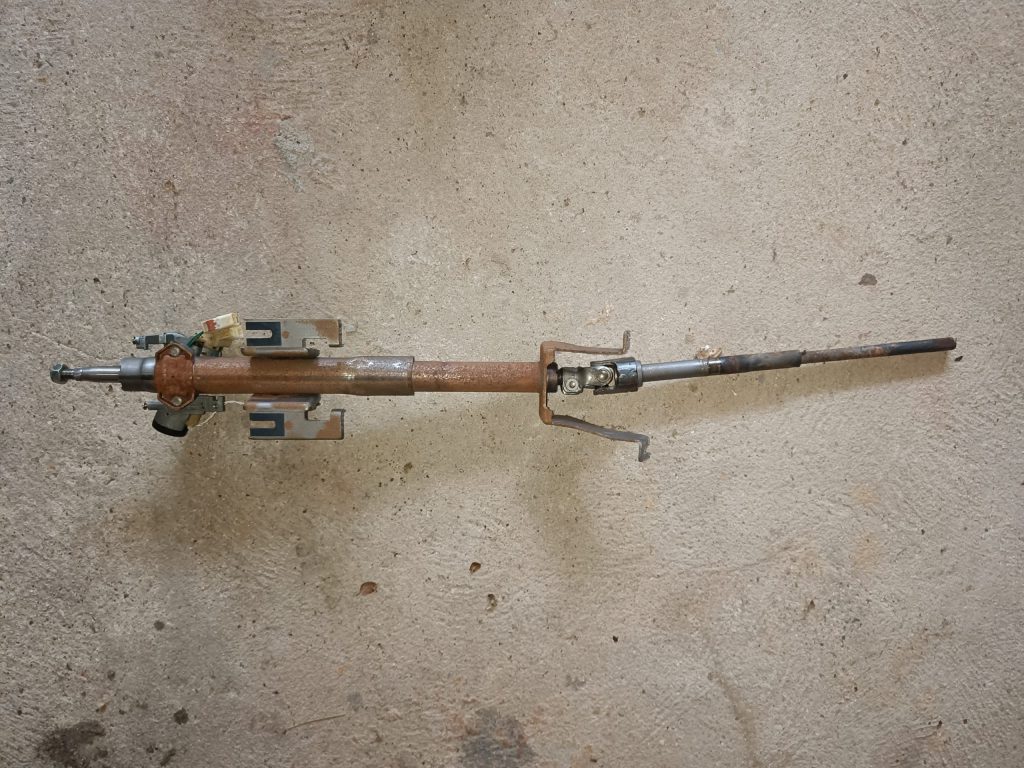
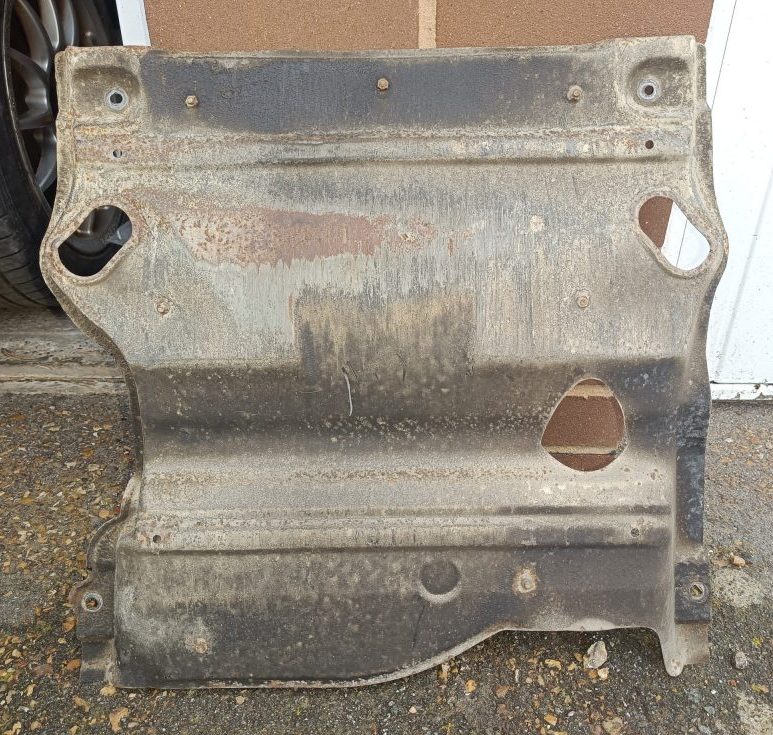
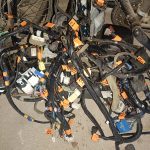
Out came the rest of the loom today along with the heater matrix, clutch pedal and steering column. Also managed to remove the under body bracing without jacking up the car. I was lucky, the four M10 bolts holding it up were not rusted in – happy days!


Day 8
A good 5 hours working on the strip down today. Jobs done were:
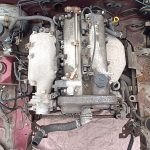
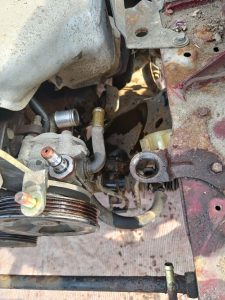
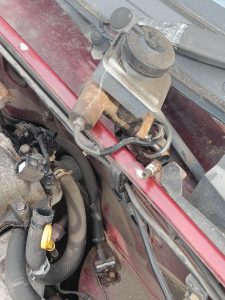
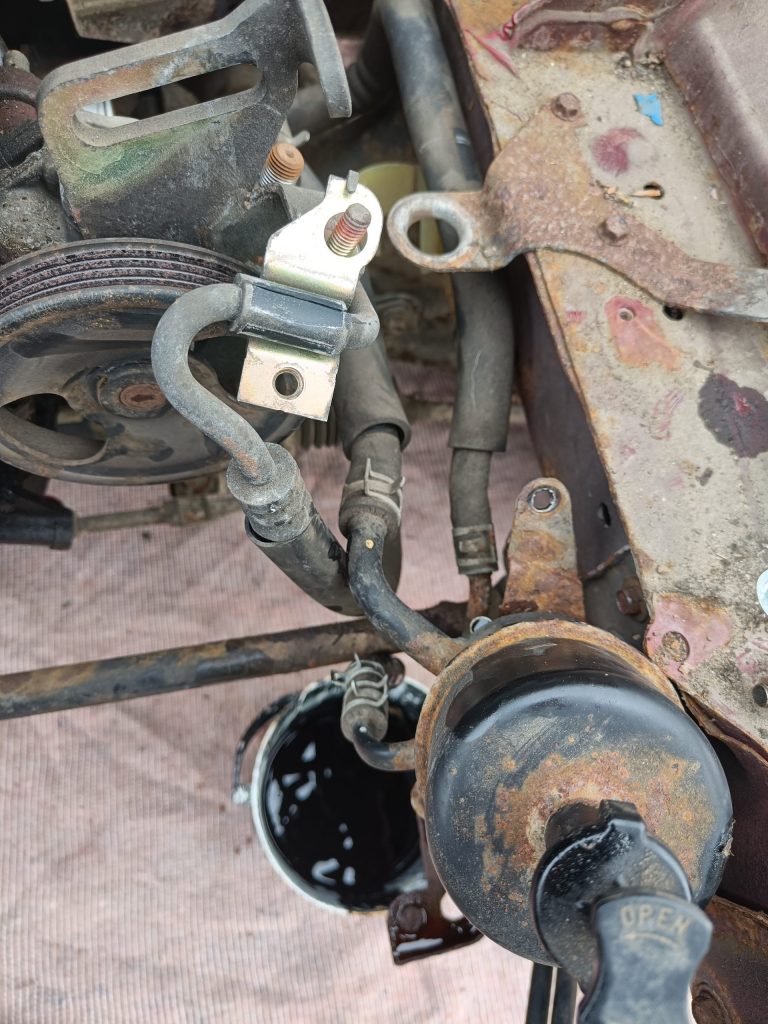
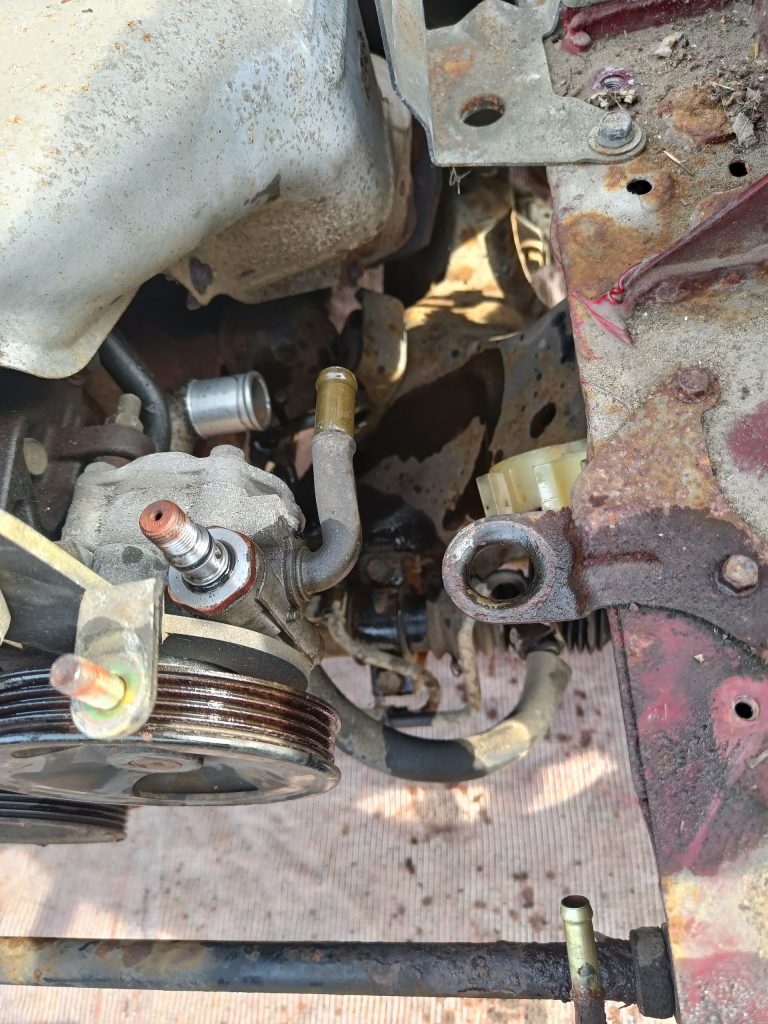
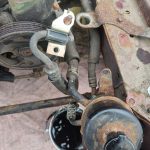
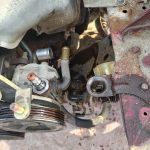
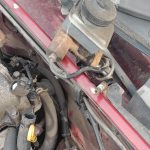
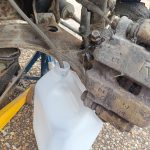
1. Remove power steering header tank and connections between engine and body shell (fluid cooler loop).
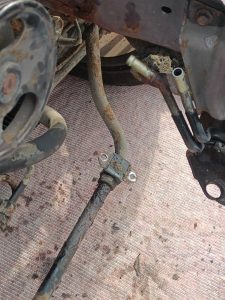
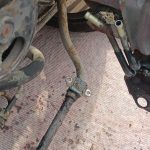
2. Drop front anti roll bar.
3. Remove clutch master cylinder and pipe connection to slave cylinder.
4. Disconnected front brake lines.
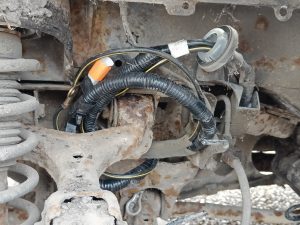
5. Disconnected rear lambda sensor – I now know what the cable does at the rear of the passenger side of the transmission tunnel!
6. Cut the two exhaust silencer hangers.
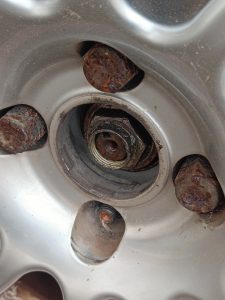
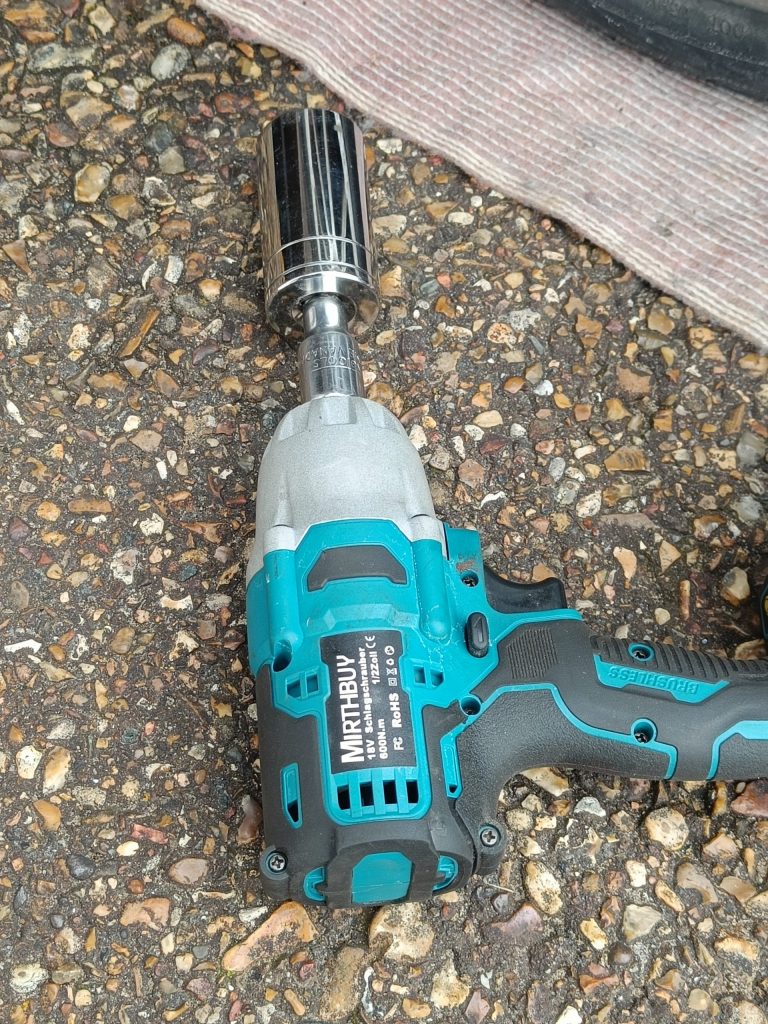
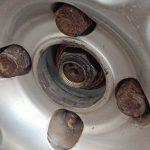
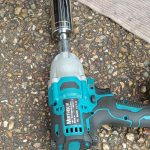
7. Cracked off the two driveshaft hub nuts. A 32mm socket and my 600Nm ugga dugga gun made the job so easy. Ugga dugga was only £50 from Amazon.
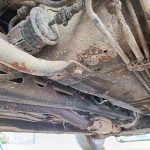
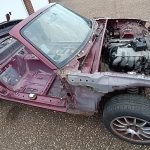
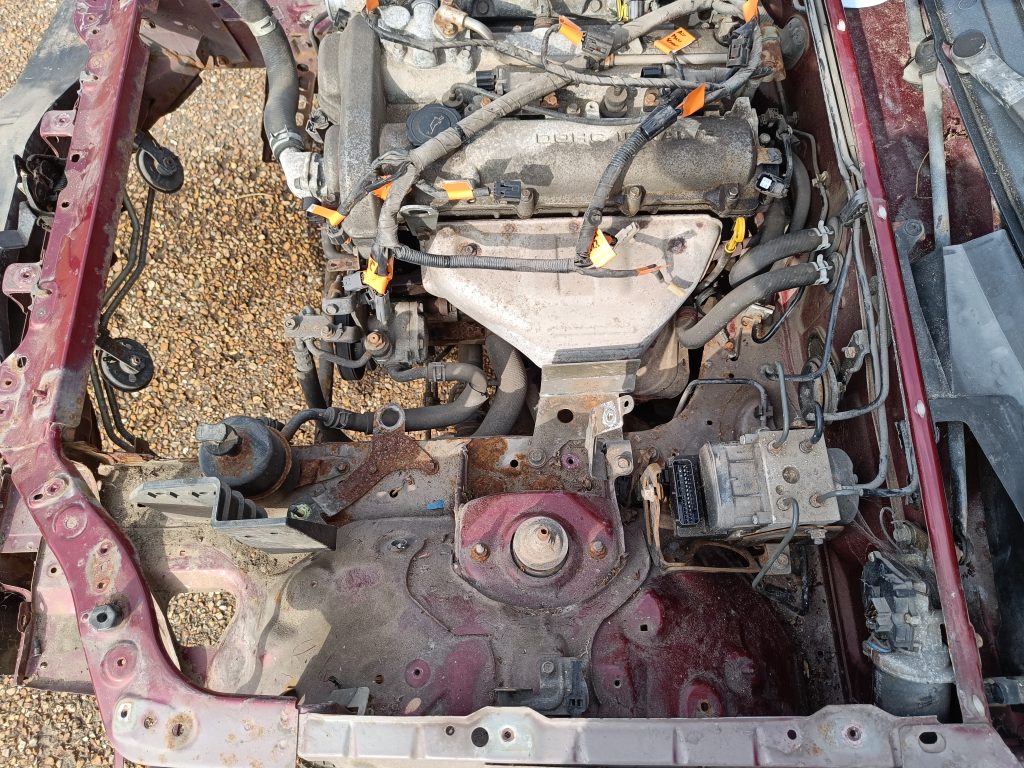
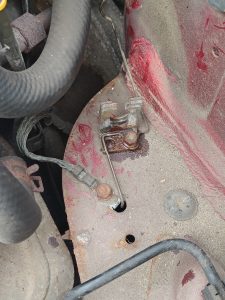
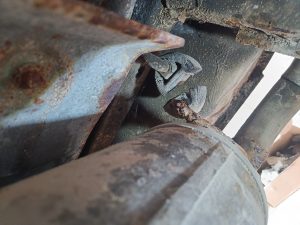
8. Started to remove the subframe / body shell bolts. Seems that on my MK2.5 there are four on each side at the front – 2x 19mm nuts behind the coilover, and two 17mm bolts at the rear of the subframe. Made a bit of a school boy error by removing all but one of the front bolts (and that was left because I needed a long 19mm socket for one bolt on the O/S). I thought I’d be OK doing this until the body was actually lifted but the coil overs pushed the body upwards and the front suspension collapsed as I pushed the car back into the garage. Fortunately with a trolley jack and a scissor jack I was able to push the subframe back up and loosely fitted one 17mm bolt and the two 19mm nuts. I can now push the car again without crabbing across the garage! ![]()


Days 9 & 10
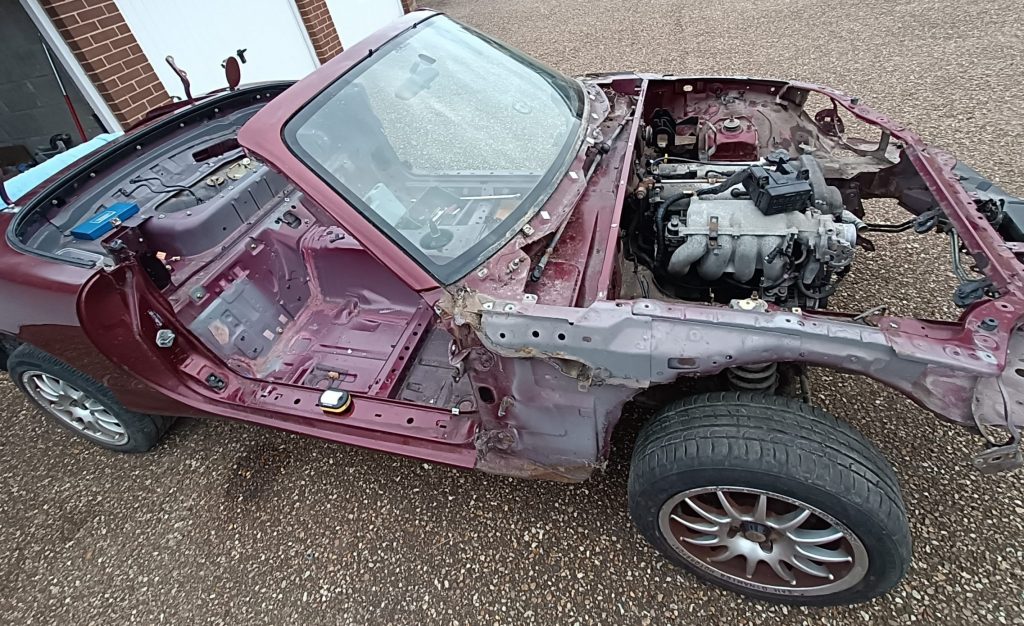
Another couple of days put in and the body shell is ready for lift off! A few interesting points revealed during this final prep
1. Had a look at the brake discs I have on the 1.8vvt and they’re standard Mk2 sizes (255mm front, 251mm rear). This means that the 13″ wheels I’ve ordered from MKS will fit without any caliper bracket changes.
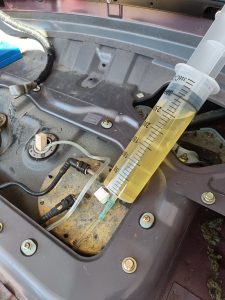
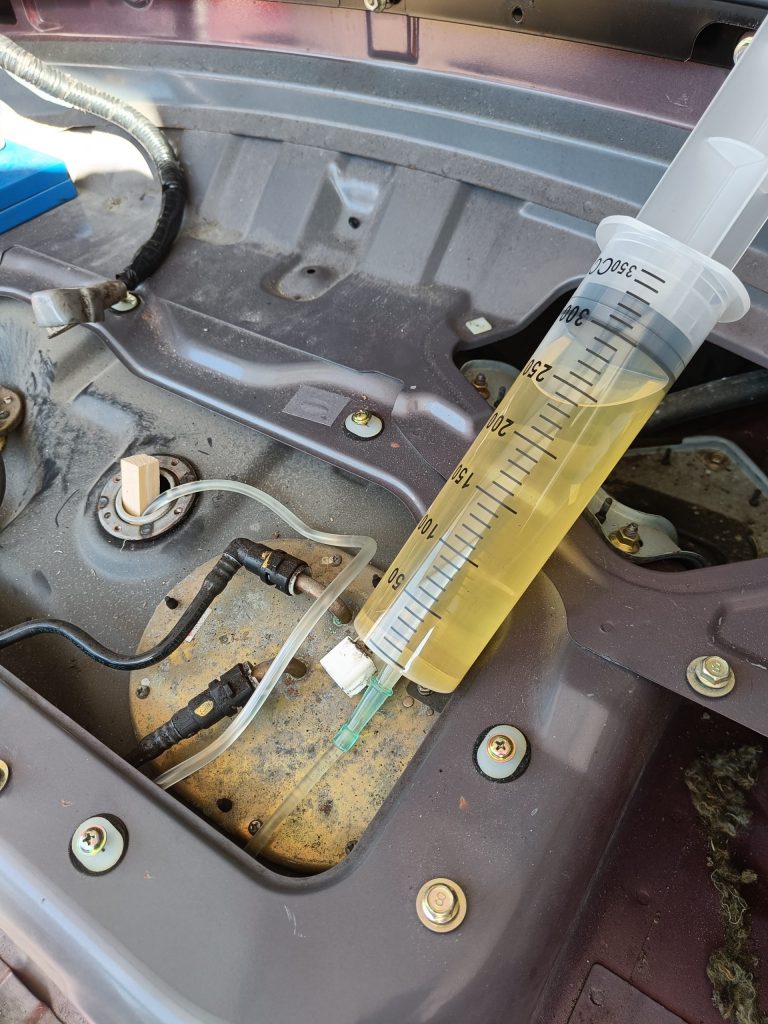
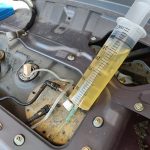
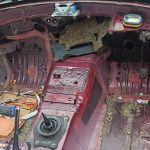
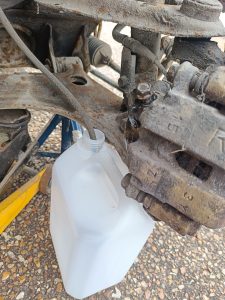
2. Syringing out the fuel tank seemed more like a scene from Carry On Matron!
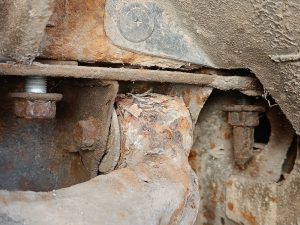
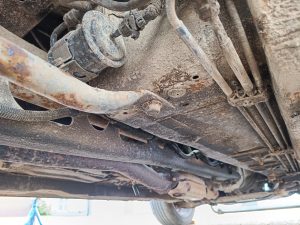
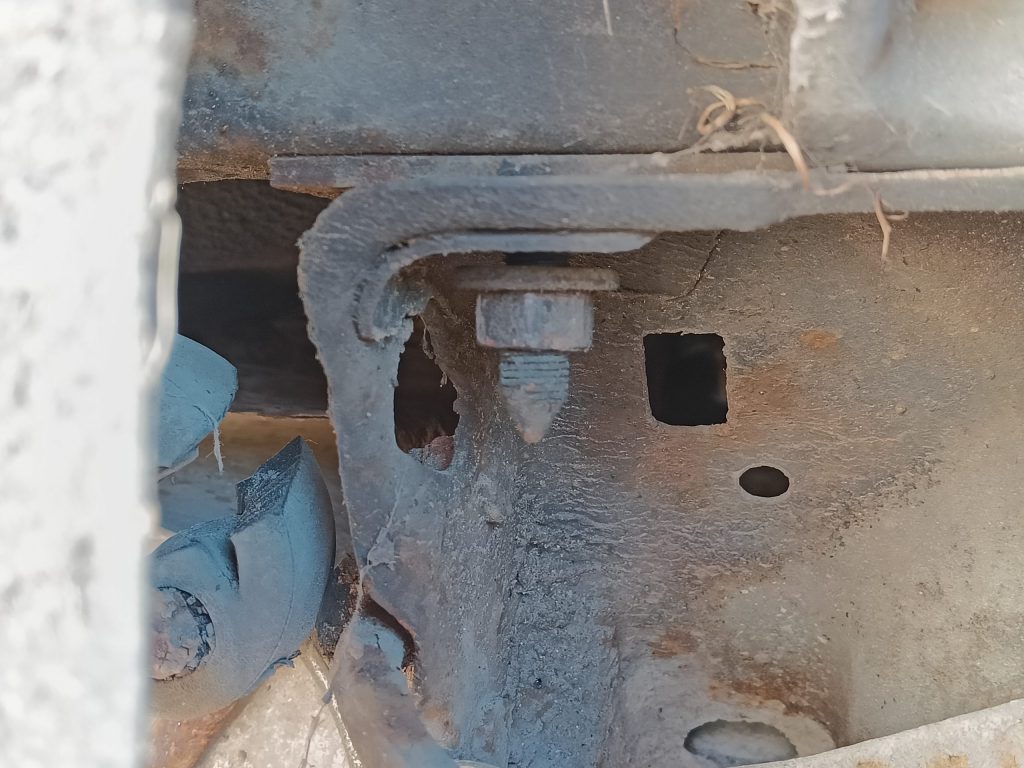
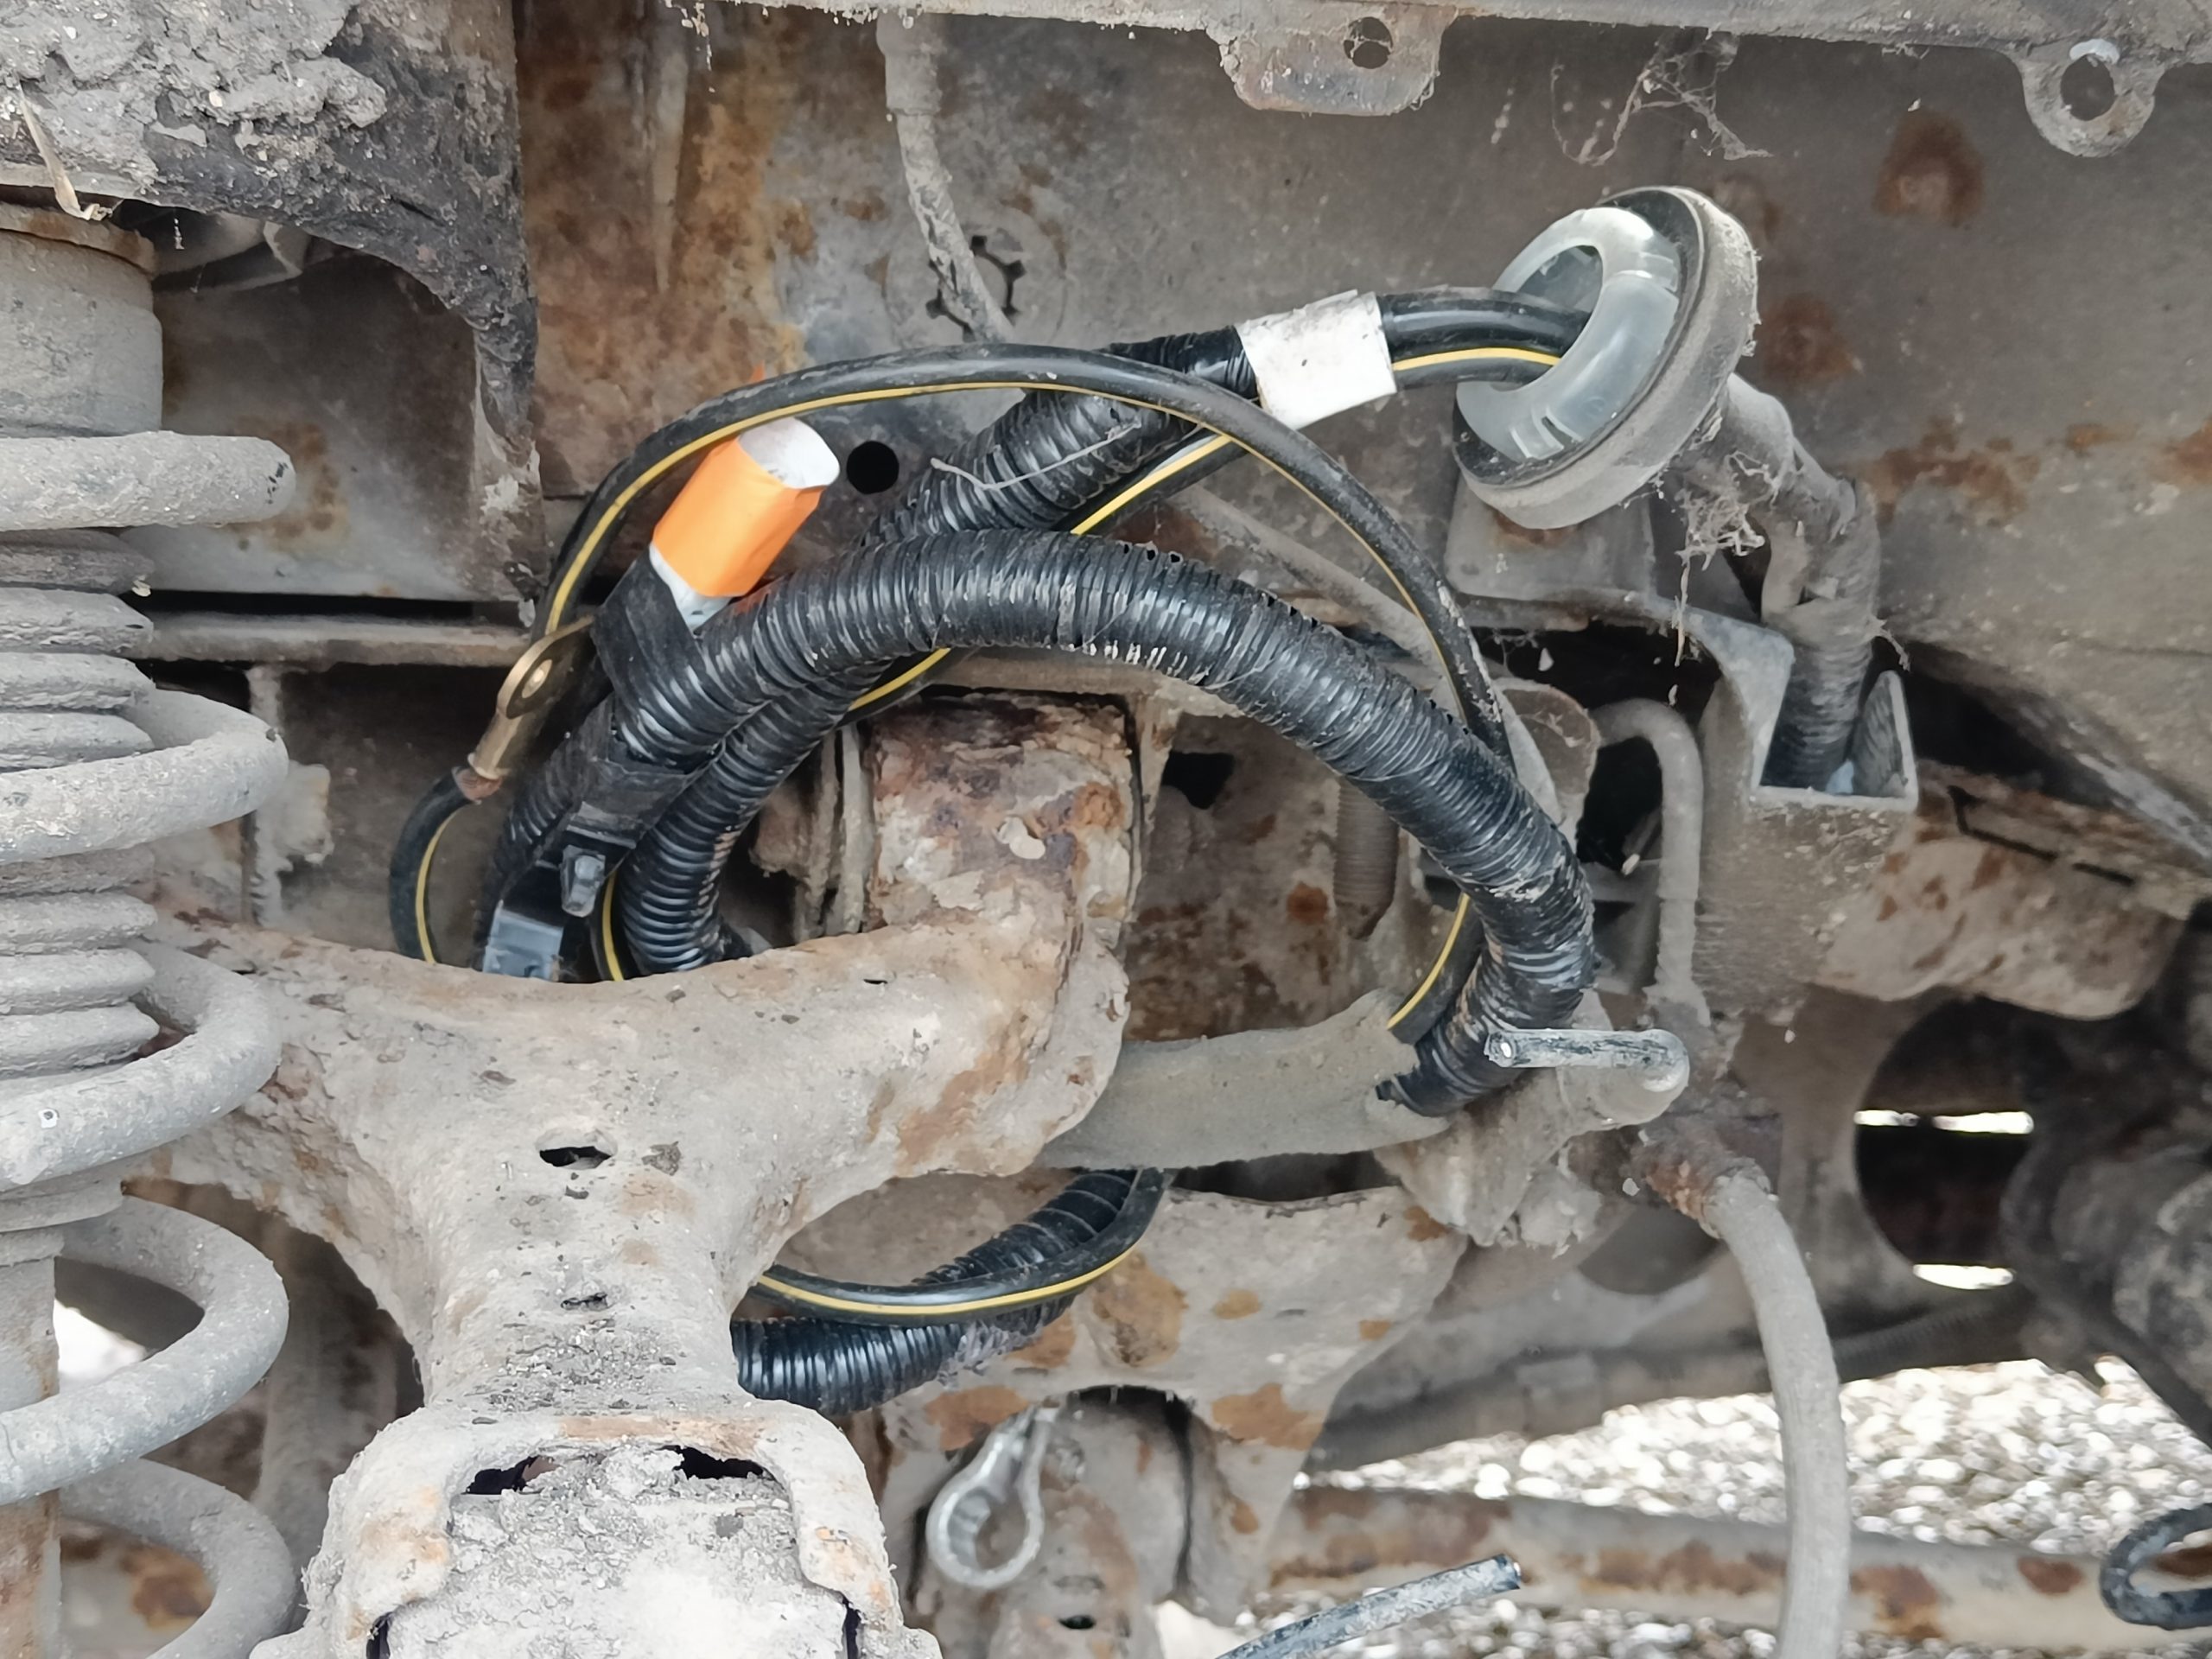
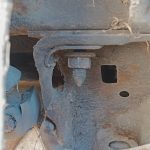
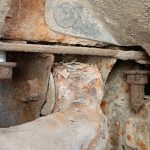
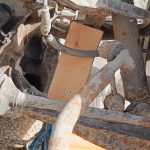
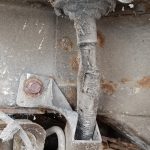
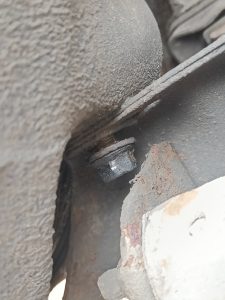
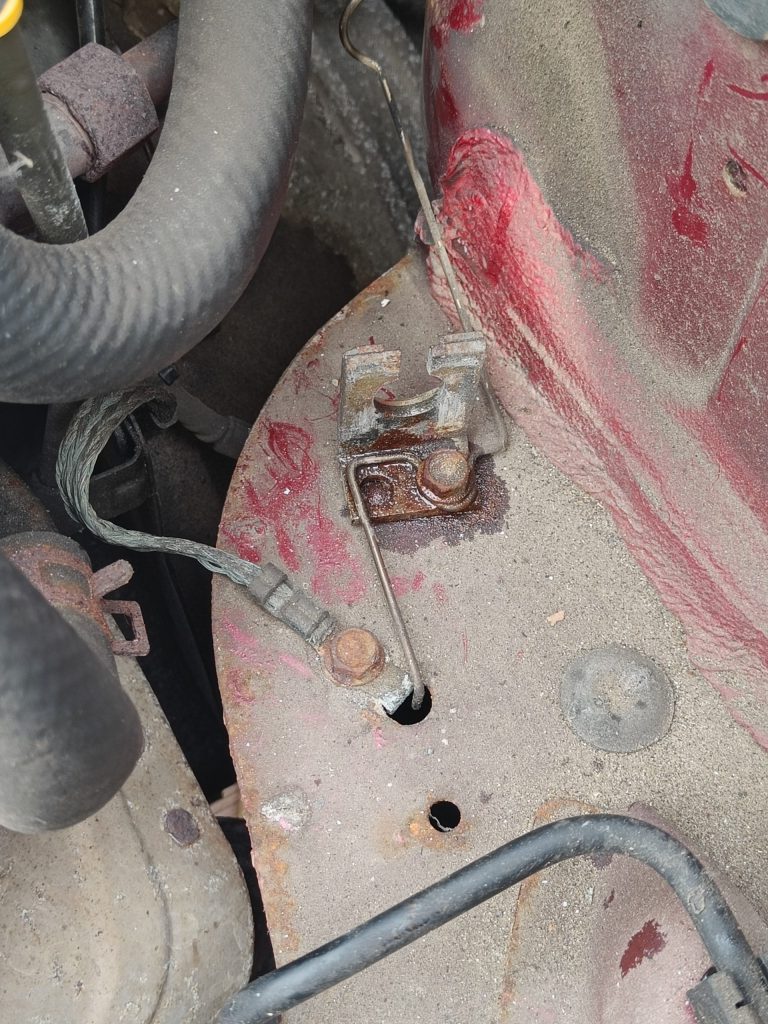
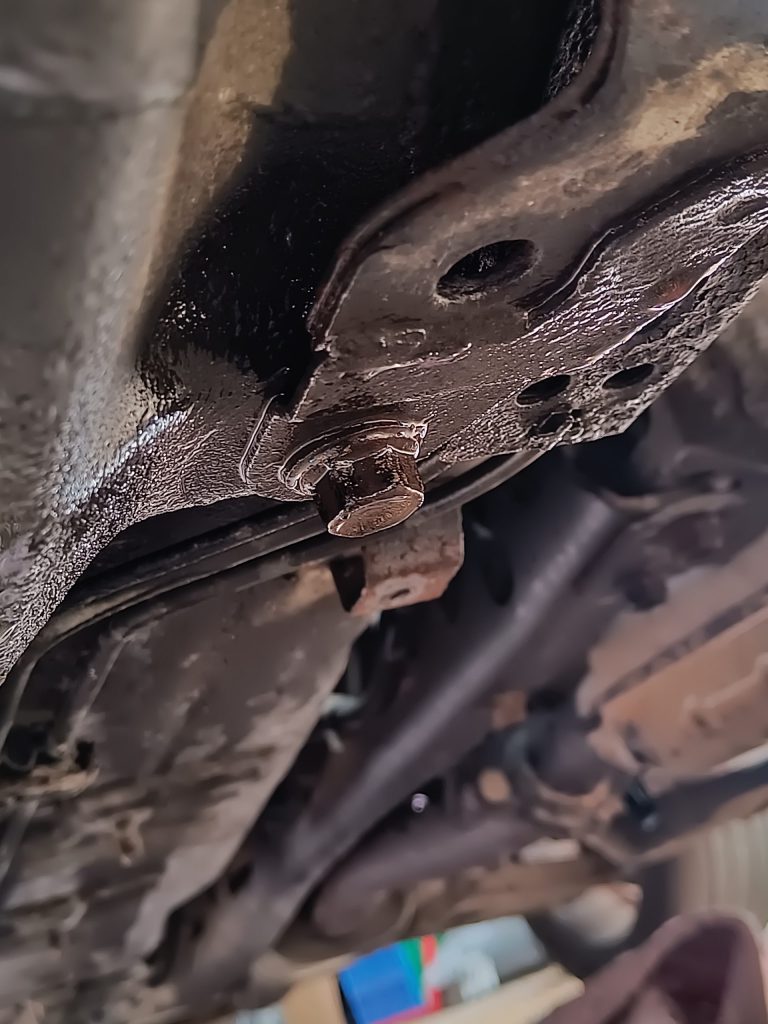
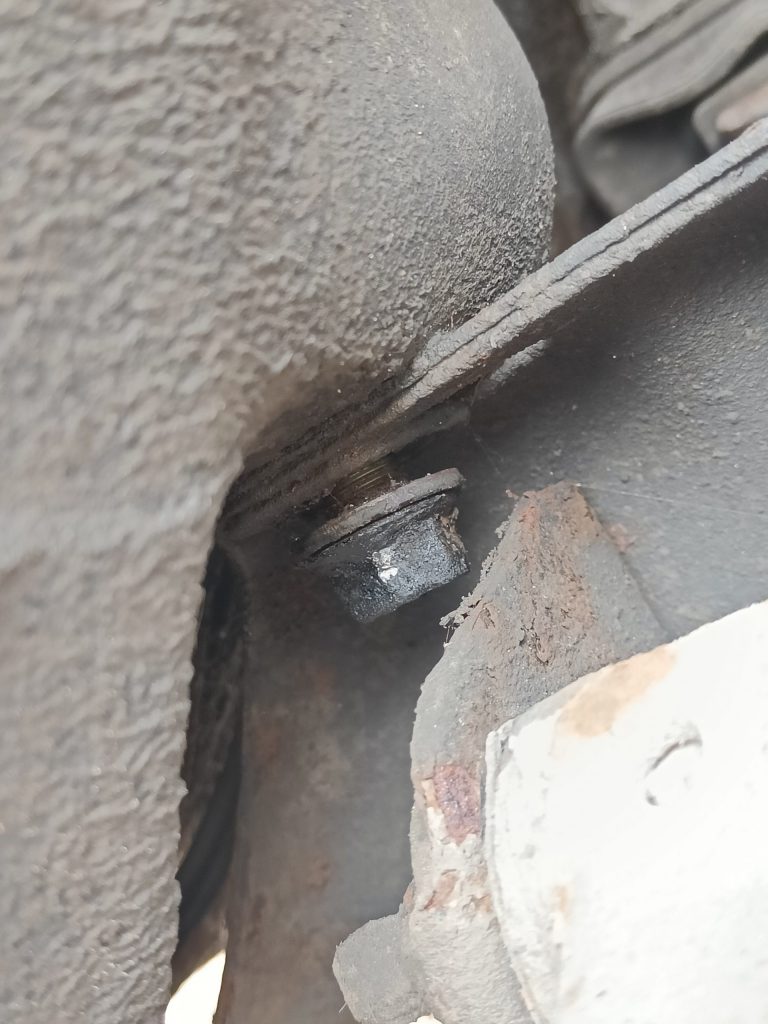
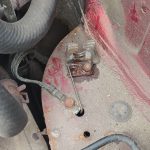
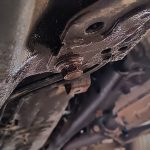
3. Like the front subframe, the rear subframe also has four bolts through to the body shell. See pics below.
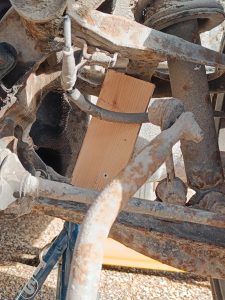
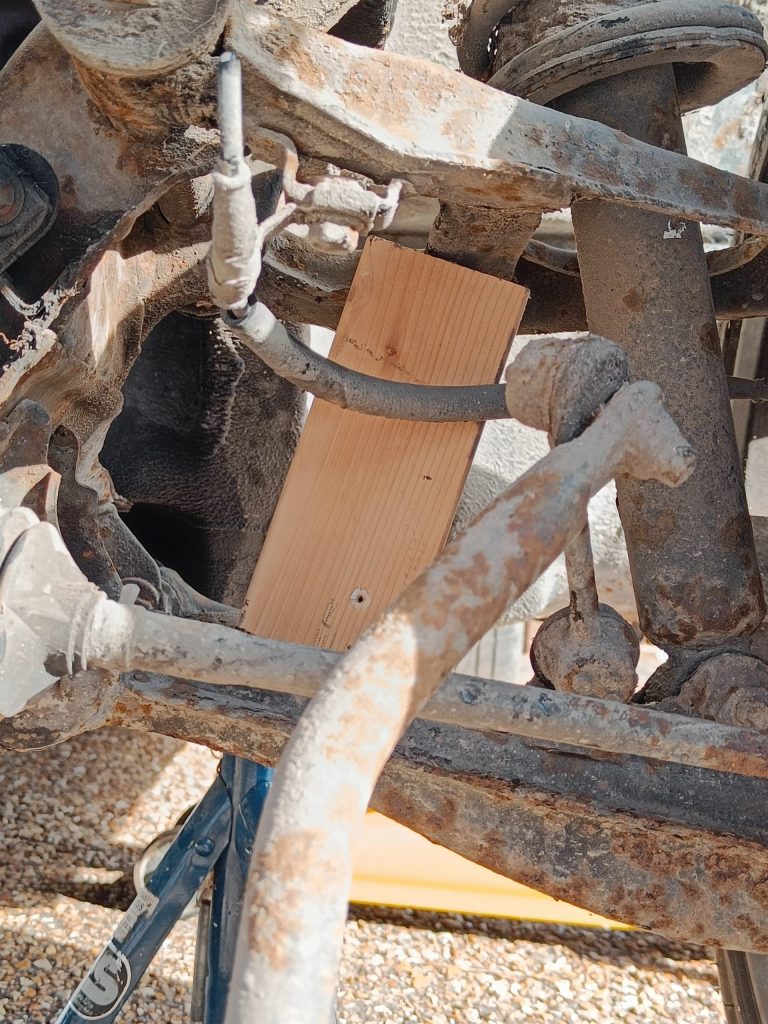
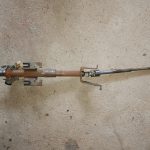
4. Put the wooden blocks inside all of the wishbones before removing the bolts / nuts holding the subframes to the body shell. The suspension will partially collapse even with the bodyshell still in place.
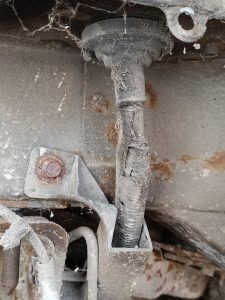
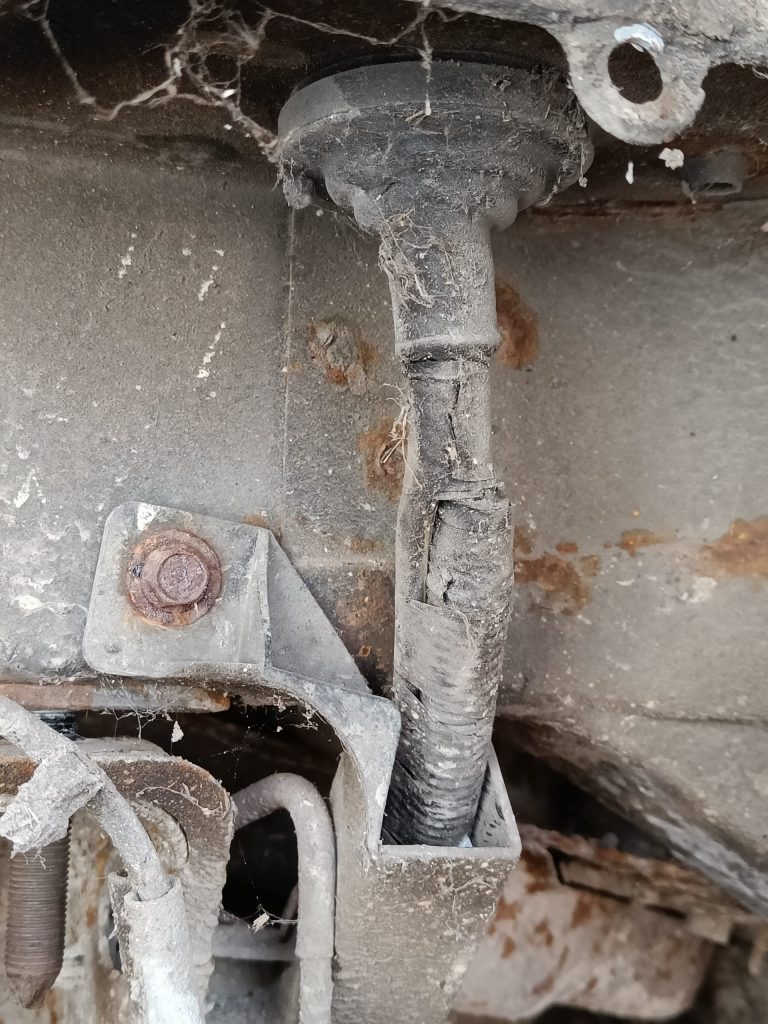
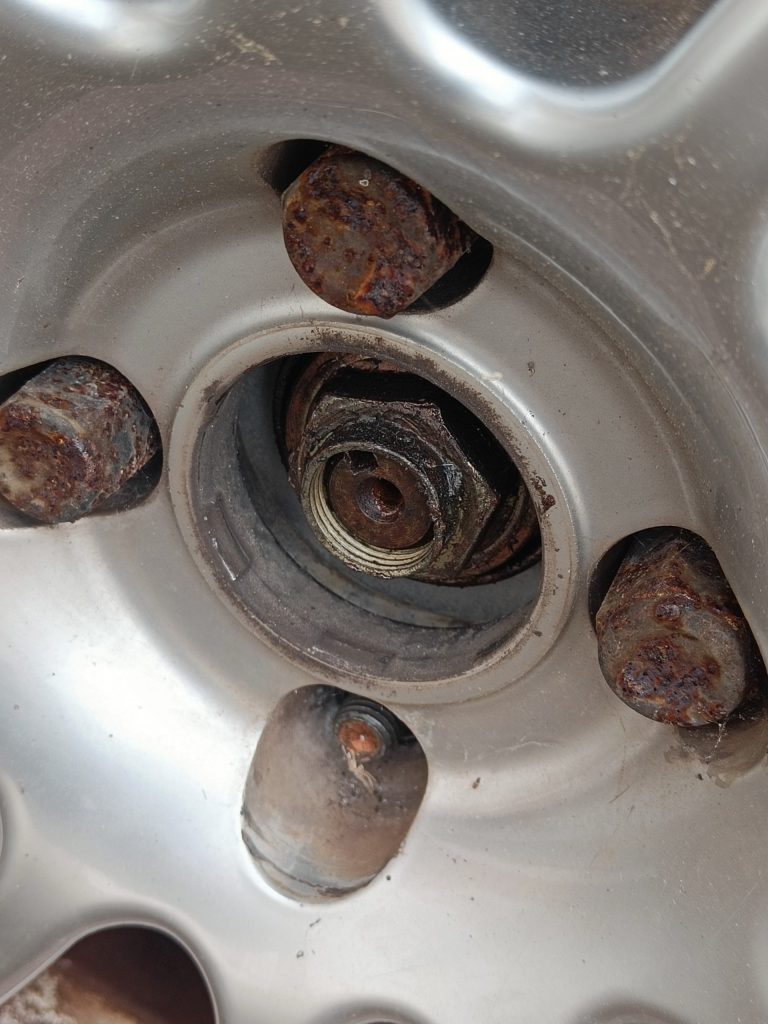
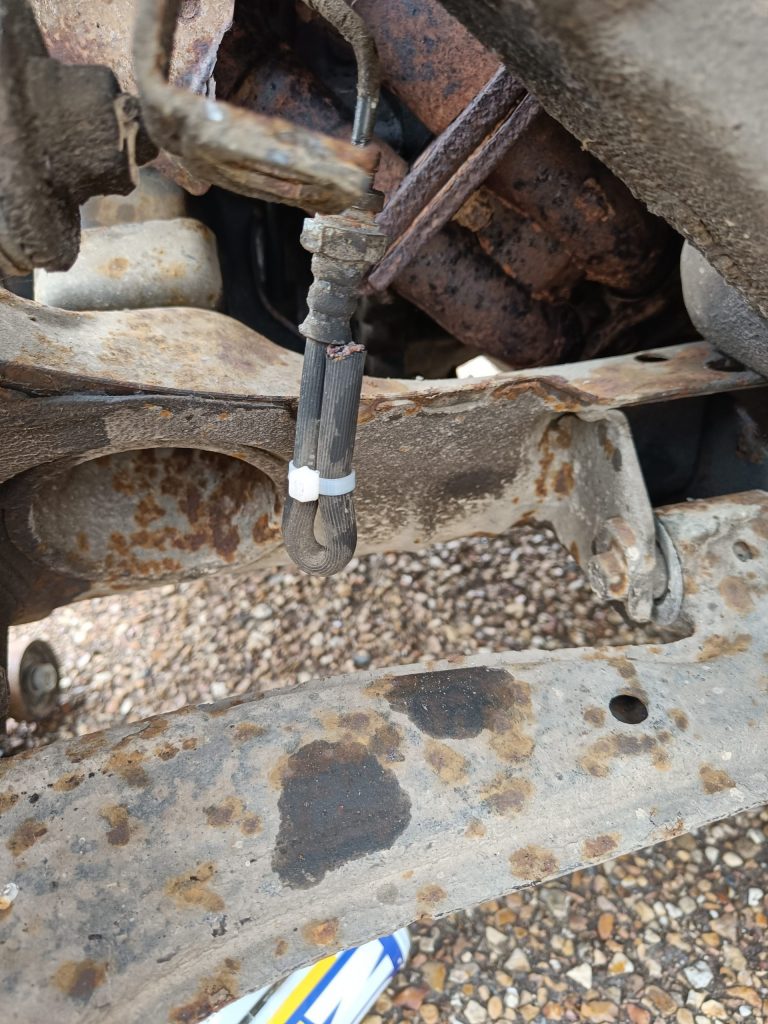
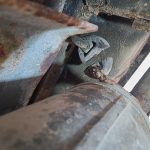
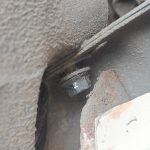
5. Only one nut has caused me angst during the whole process so far – the near side rear rearmost coil over nut. Even the ugga dugga wouldn’t shift it and it rounded the 14mm nut. Had to drill it off and it is in a particularly awkward place to get to (remove the tank filler and breather pipe).