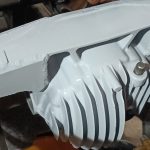
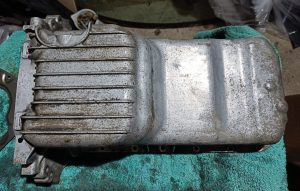
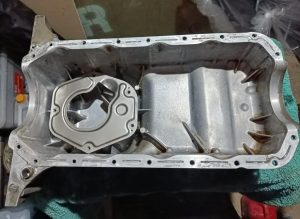
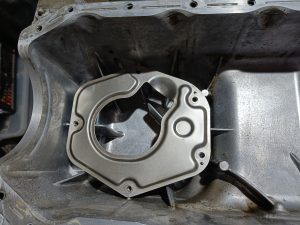
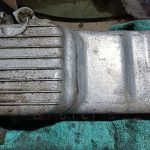
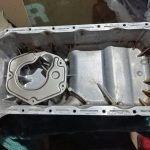
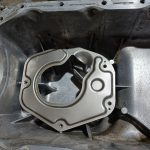
Oil sump
Having removed the engine it was time to remove the oil sump and pick-up and clean it up ready to send to MK Sportscars for modification. The baffle plate will be refitted once the sump has been shortened.


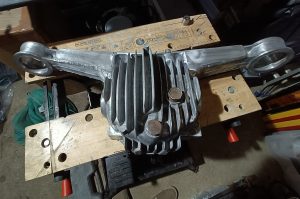
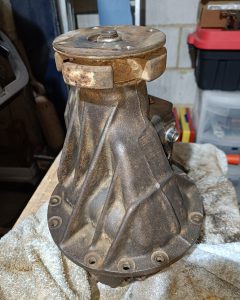
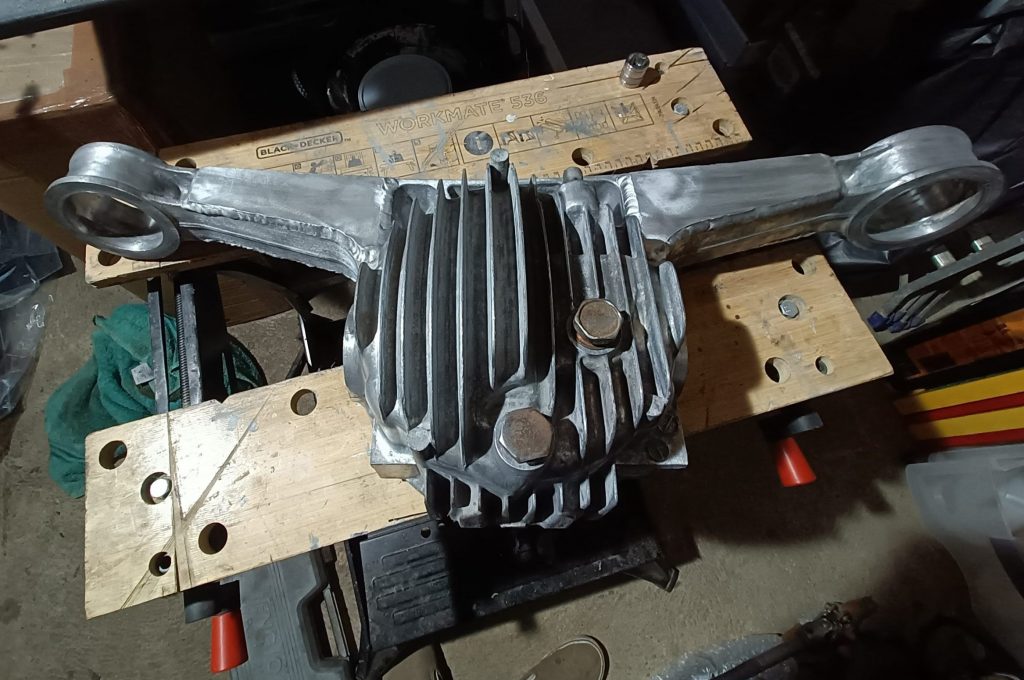
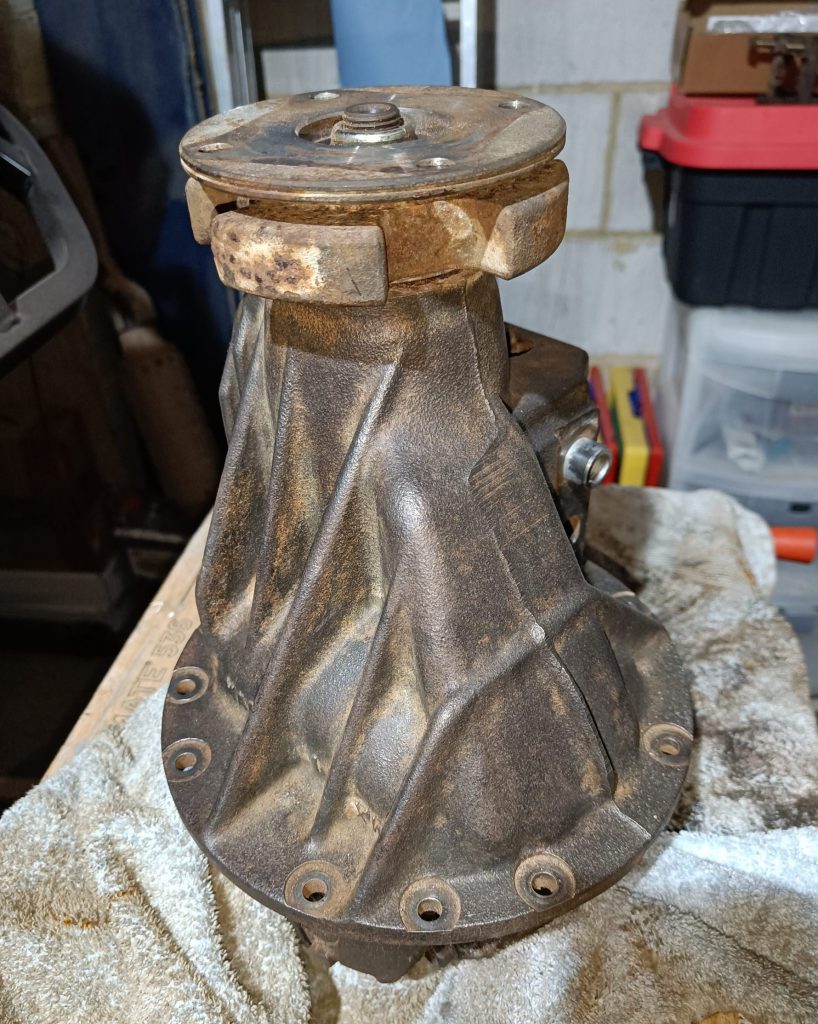
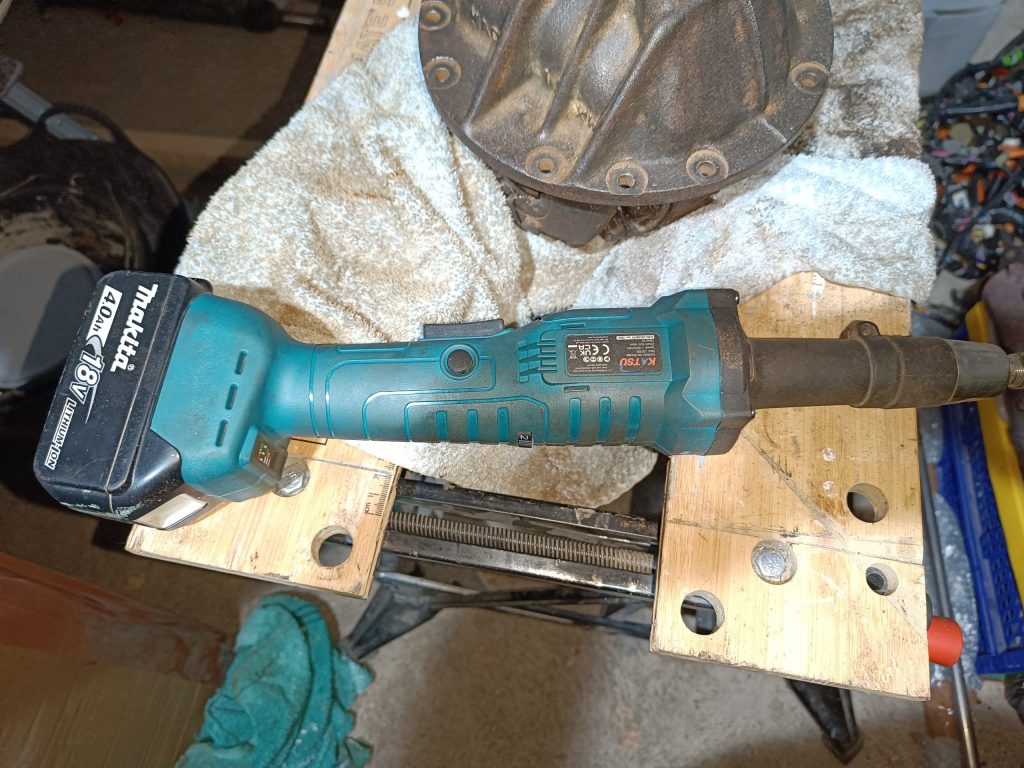
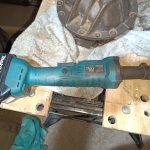
More differential prep.
Another couple of hours in the garage today preparing the diff for painting. I can highly recommend the battery die grinder, it’s like an uber dremmel and makes short work of cleaning off the rust and corrosion.

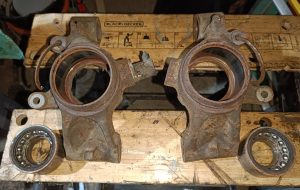
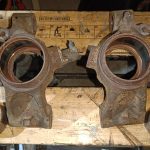
Hubs and uprights prep begins
Two more hours spent today (Jan 1st 2025!) stripping down and prepping the front and rear hubs / uprights for paint and new bearings.

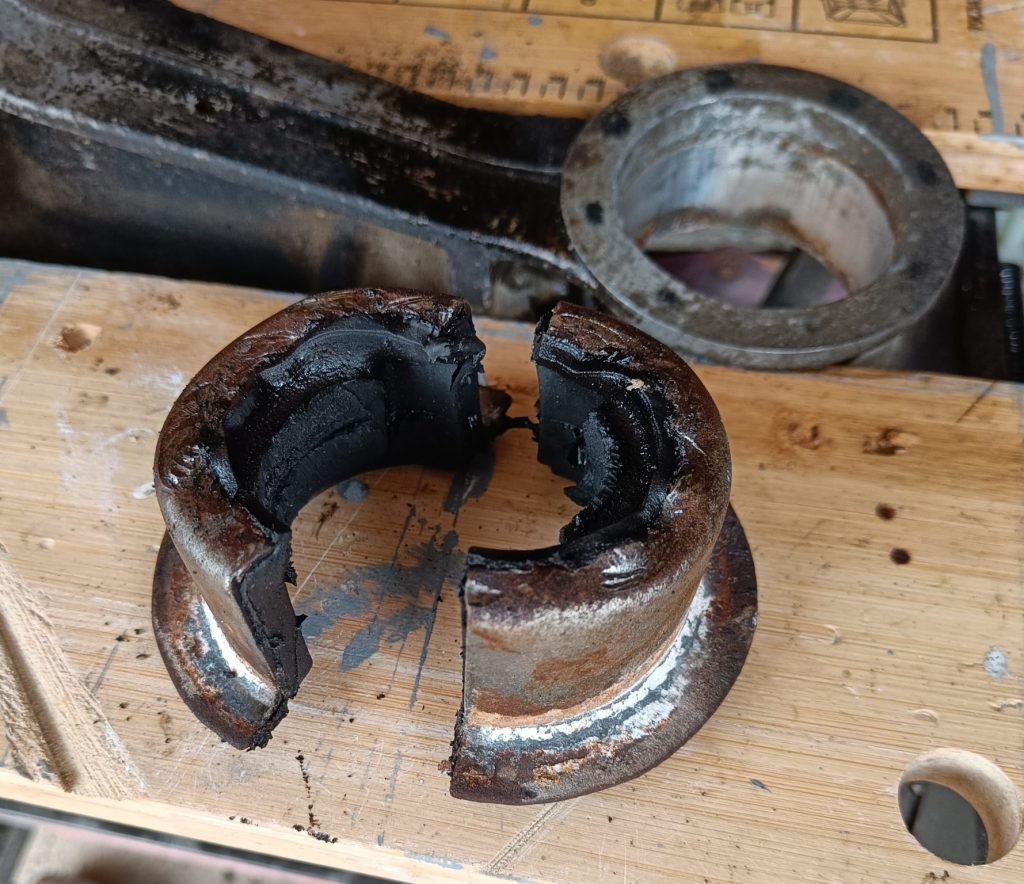
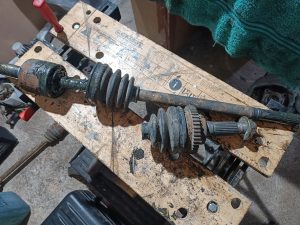
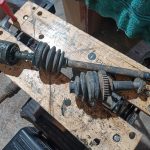
Driveshafts…
Three more hours today (5th January 2025) spent on further prep of the uprights / hubs for paint, and started on the driveshafts – a really messy job!
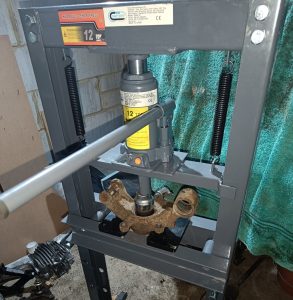
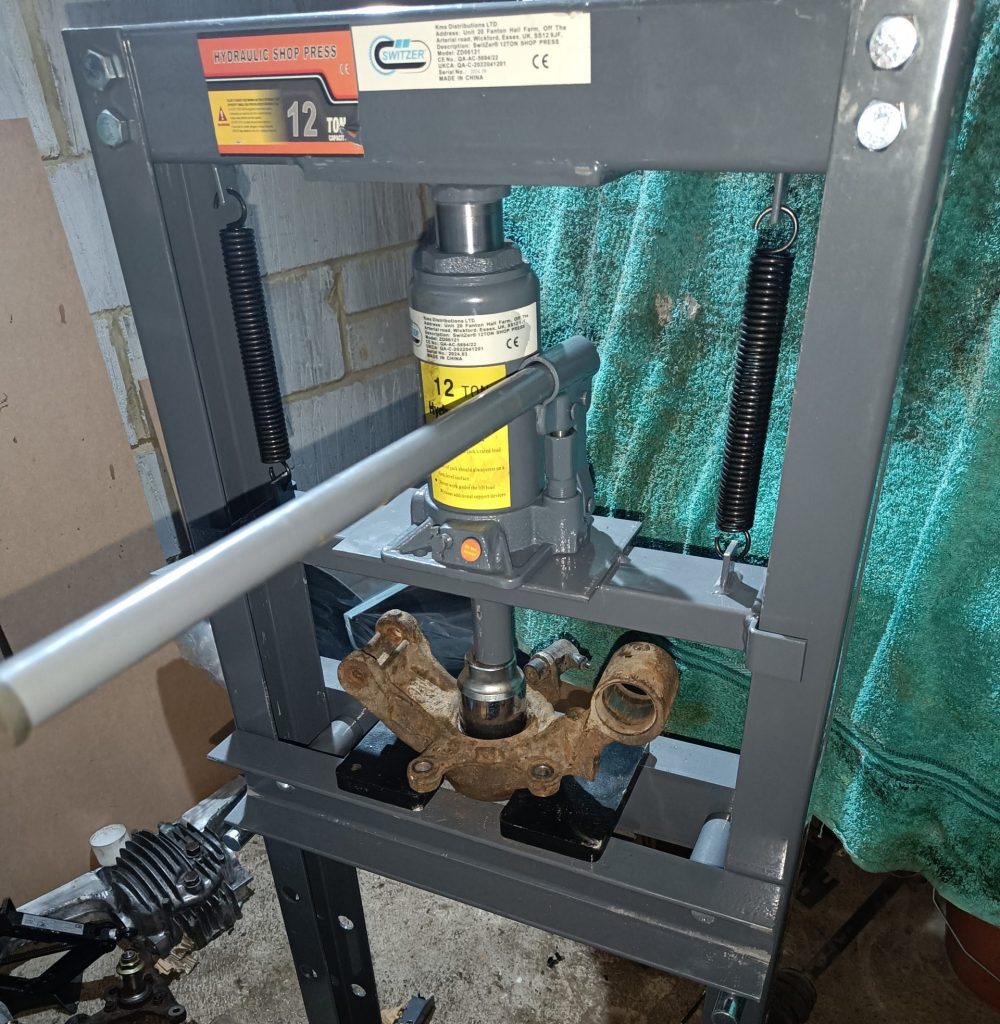
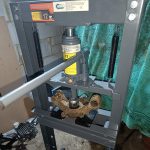
I also built up my latest tool, something I’ve always lacked but now’s the time. Maybe a little extravagant, but at £98 from Amazon, the 12 tonne press it was well worth it, and took longer to build than it did punching out the bushes and bearings in the rear uprights!


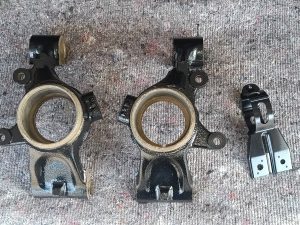
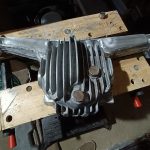
Paint prepping.
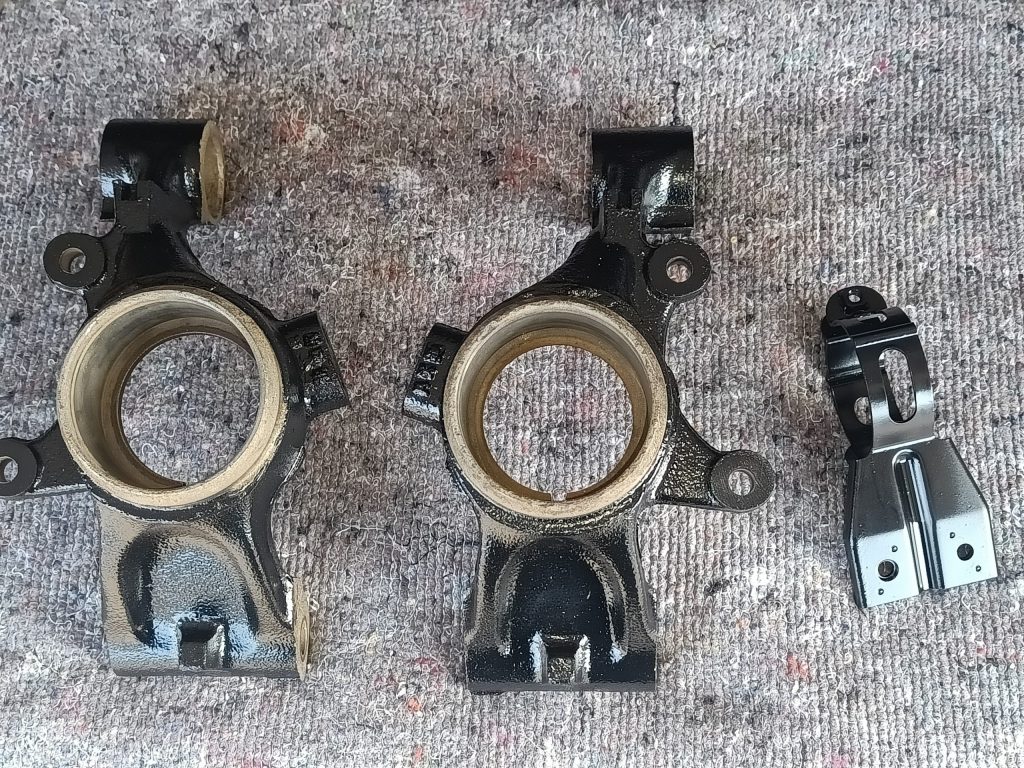
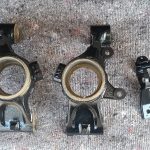
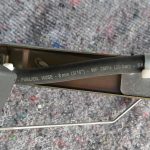
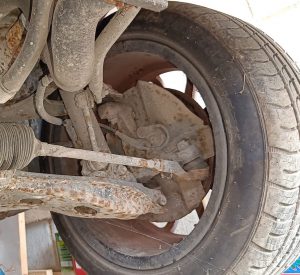
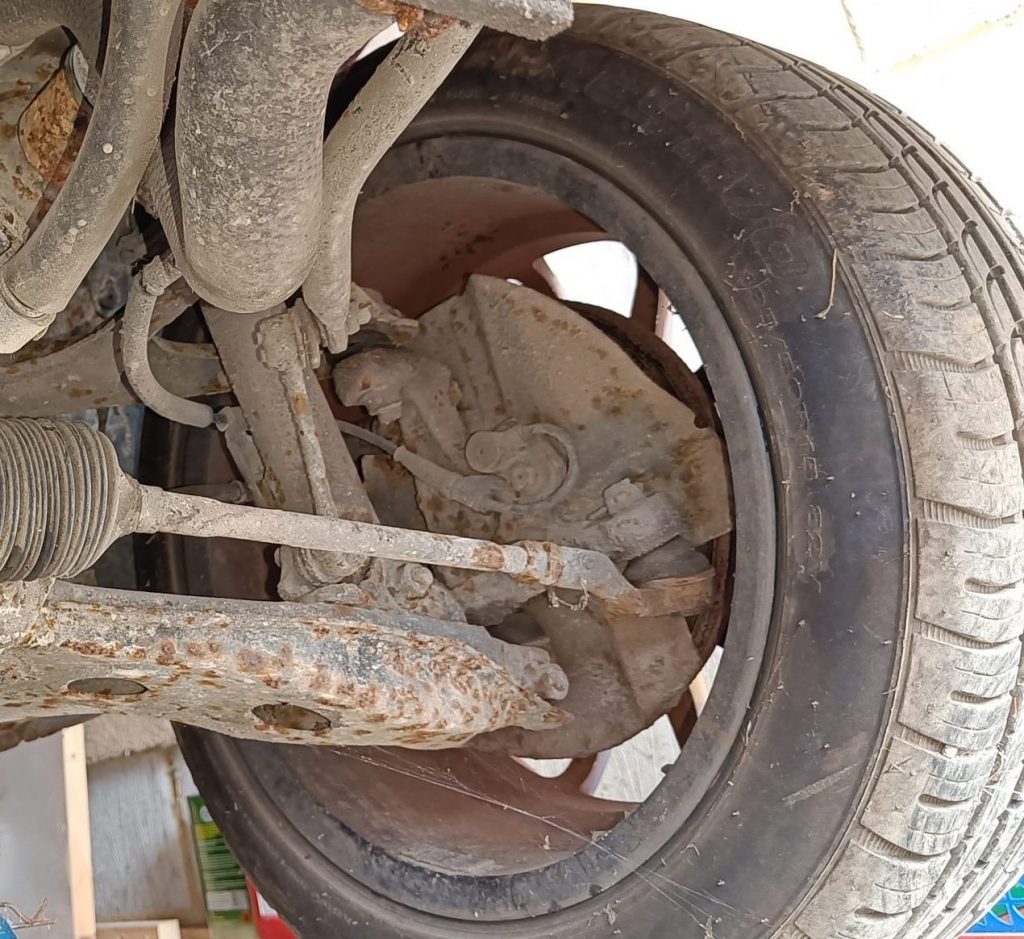
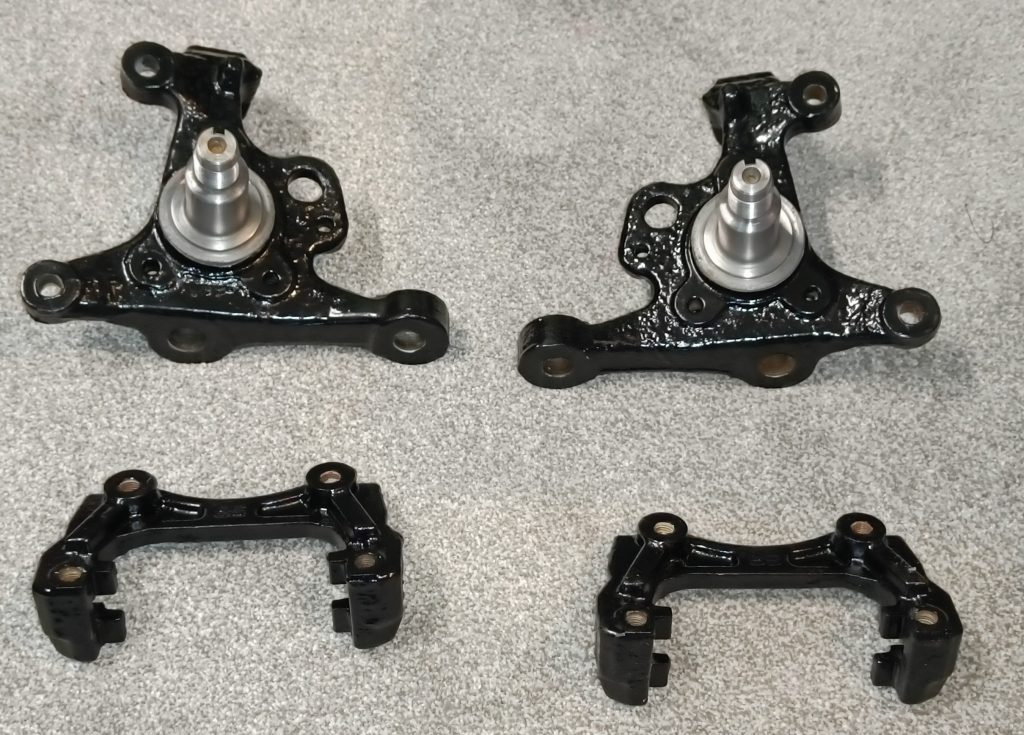
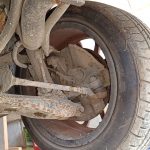
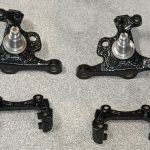
Prepping parts for paint. Here’s the two front knuckles and the rear caliper brackets after 24 hours in ‘Evaporust’ (the worst of the road grime and corrosion had been brushed off prior – see ‘before image’ earlier in this post).

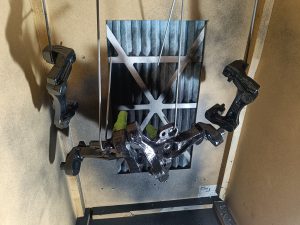
Painting begins.
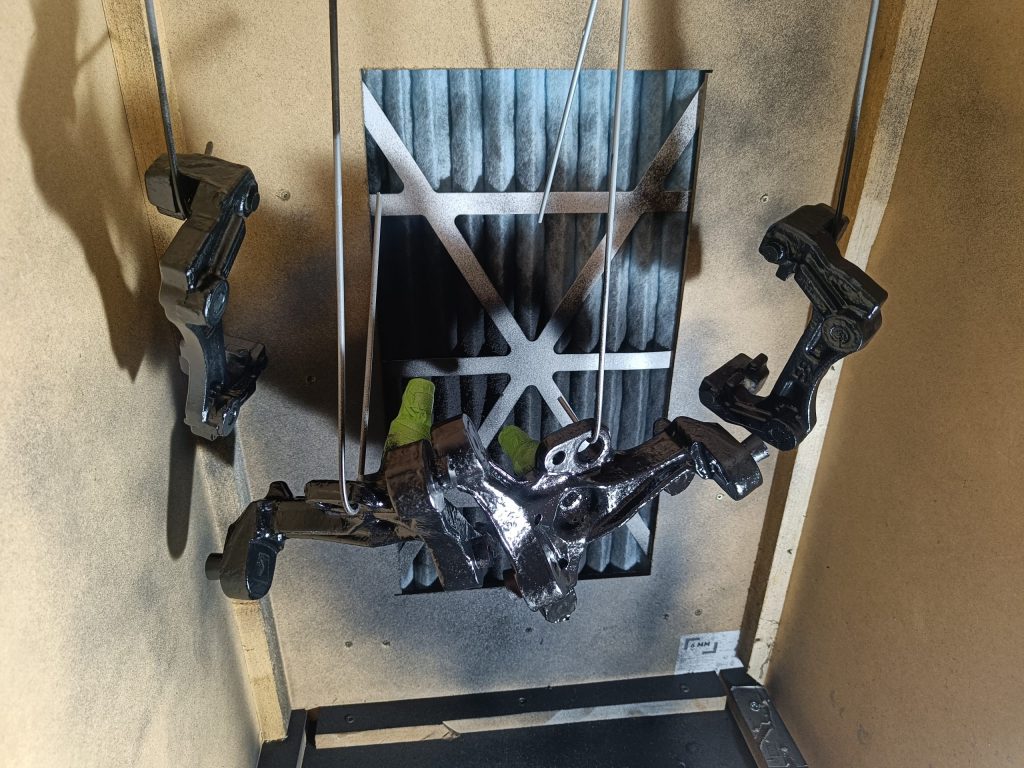
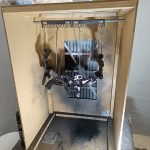
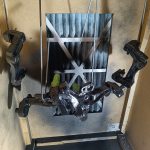
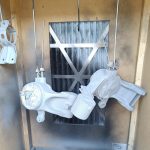
Recently managed a few hours on the build, painting the front knuckles and rear caliper brackets. Over the last few weeks I’ve been working on another project initiated by W.I.F.E. (Wellbeing & Interior Furnishings Executive) and it’s been too cold to paint inside my garage. To resolve this contradiction, I built a small spray enclosure / booth and set it up in the soon to be decorated en-suite! An 8″ industrial fan (eBay) draws the overspray through a commercial airbrush filter (eBay) and out through the existing vent – perfect! Yes it took a little time to build, and about £65 in parts, but well worth it to be able to paint indoors in the warm!
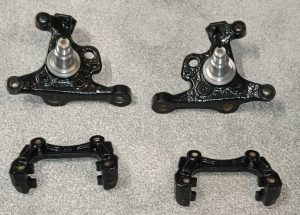
The front knuckles and rear caliper brackets were the first items from the MX5 that I’ve fully derusted, treated and painted – not too bad for a first attemp and I learned a lot. Maybe I shouldn’t be so critical looking at the ‘before’ condition..
Next up are the rear hub carriers and drive shafts. Leaving the diff until I’ve got my paint spraying ‘eye in’.


More paint and fuel system modifications…..
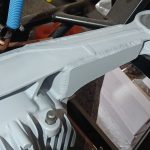
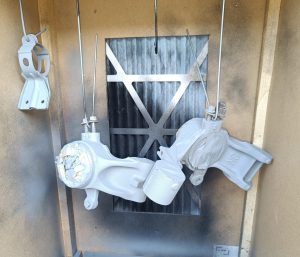
Etch primed a few more parts today in the sunshine! Different paint approach for the rear uprights compared to the front knuckles. The fronts had POR-15 rust coating applied before POR-15 top coating. However this didn’t go as well as I’d liked as there were still areas of OE paint on the knuckles which the POR-15 ‘primer’ did not adhere to whatsoever (to be fair this is well stated on the POR website). So for the rear uprights, where the same OE paint issue also occurs, I went for an etch primer (having removed all rust using DEOX-C) and will then top coat with POR-15.
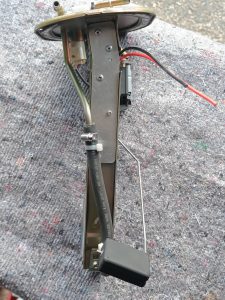
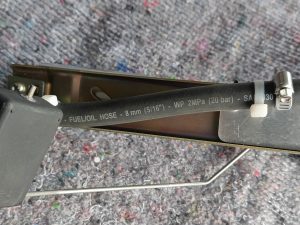
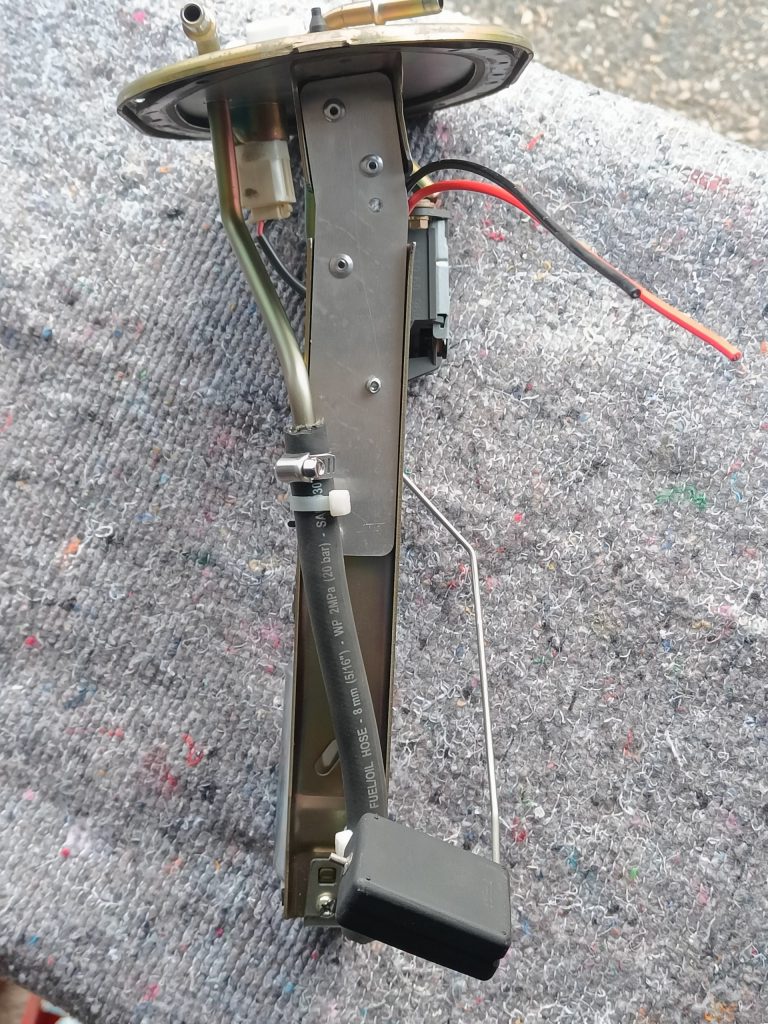
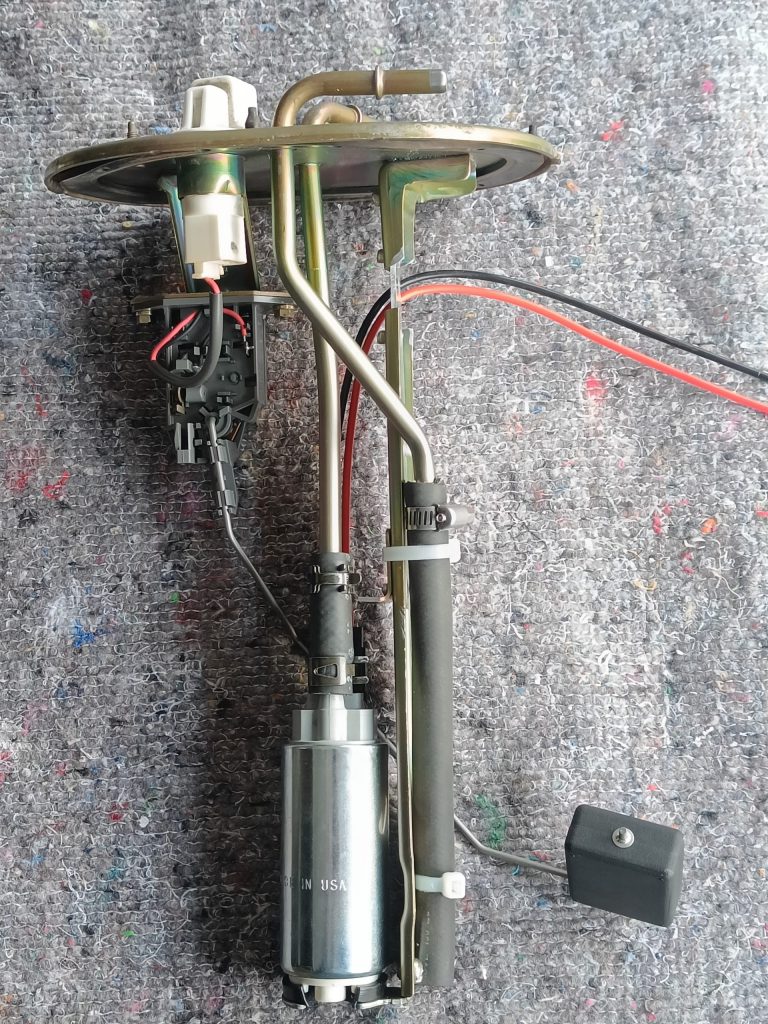
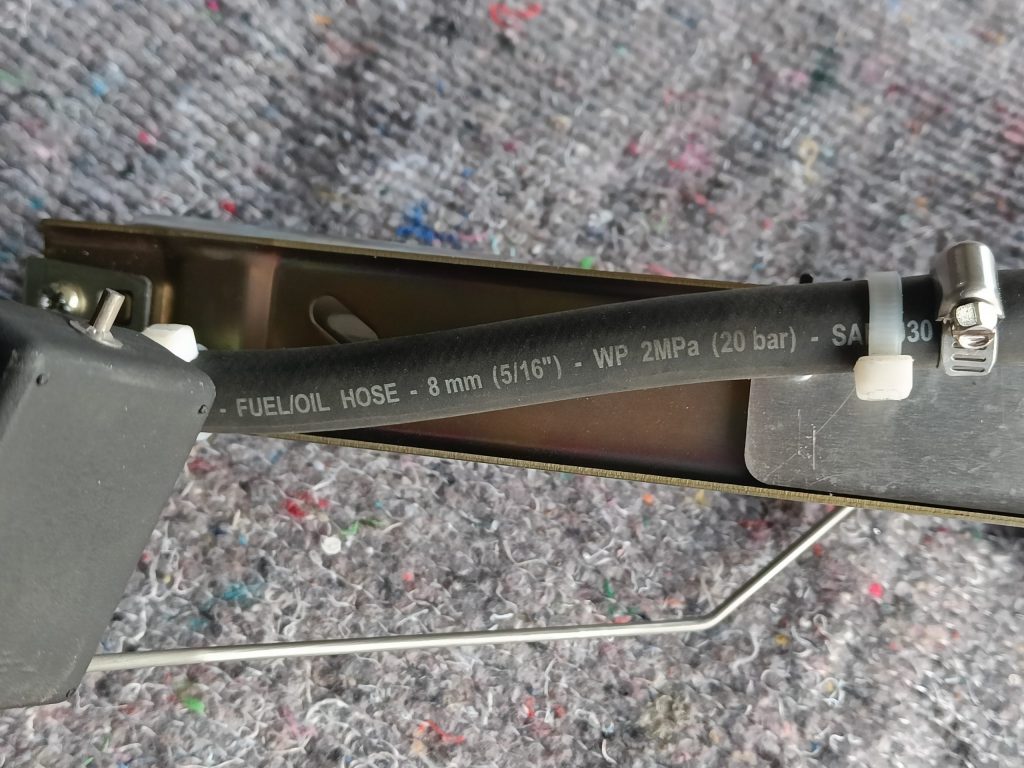
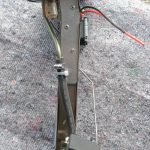
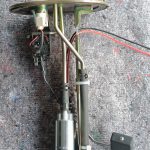
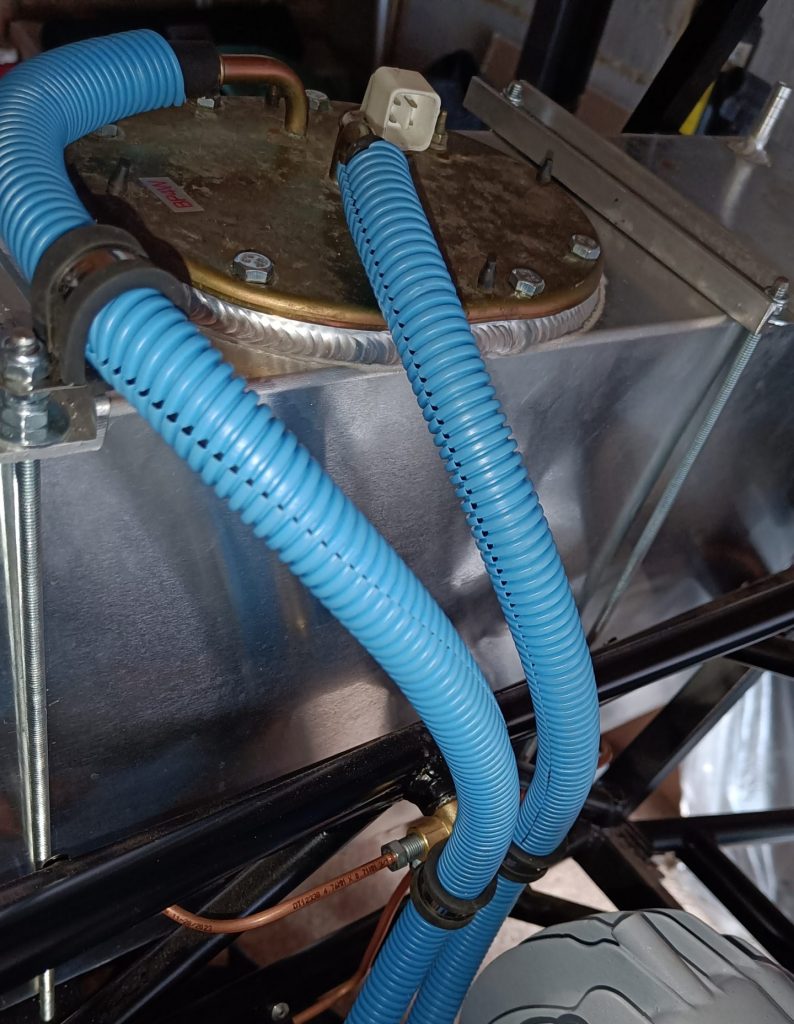
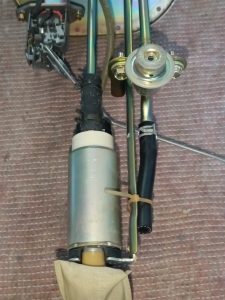
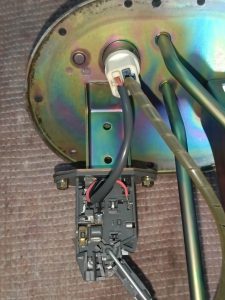
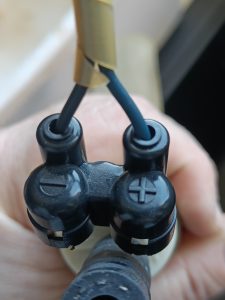
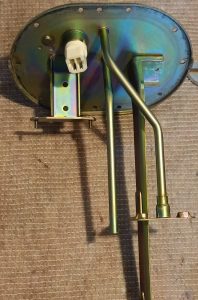
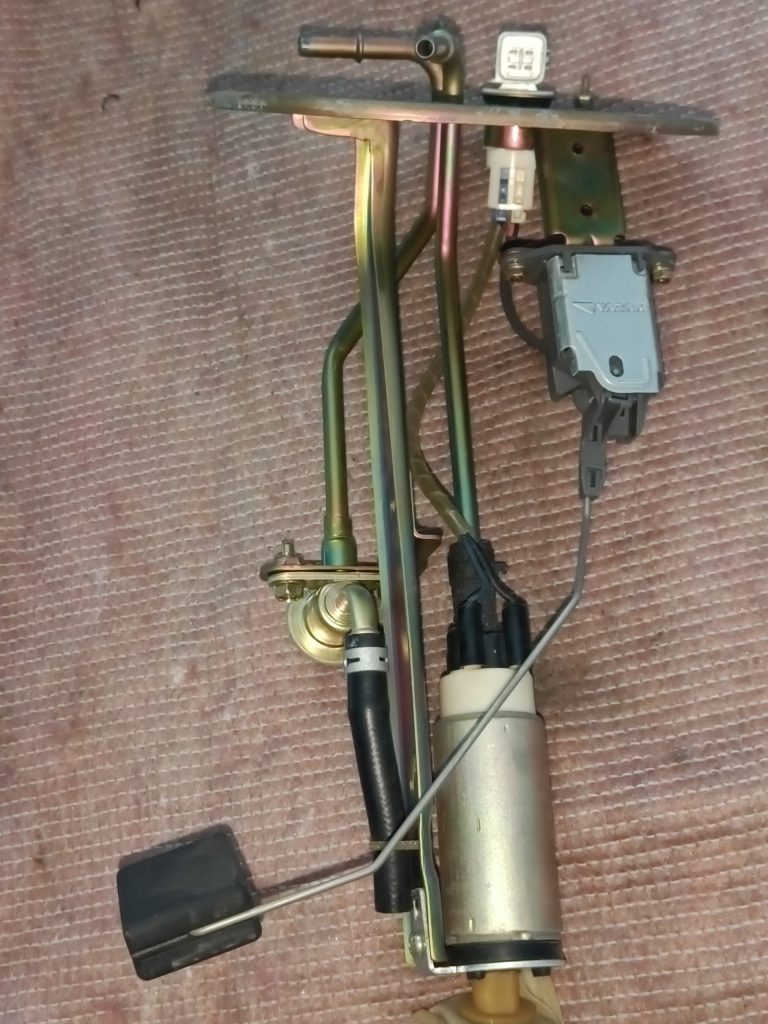
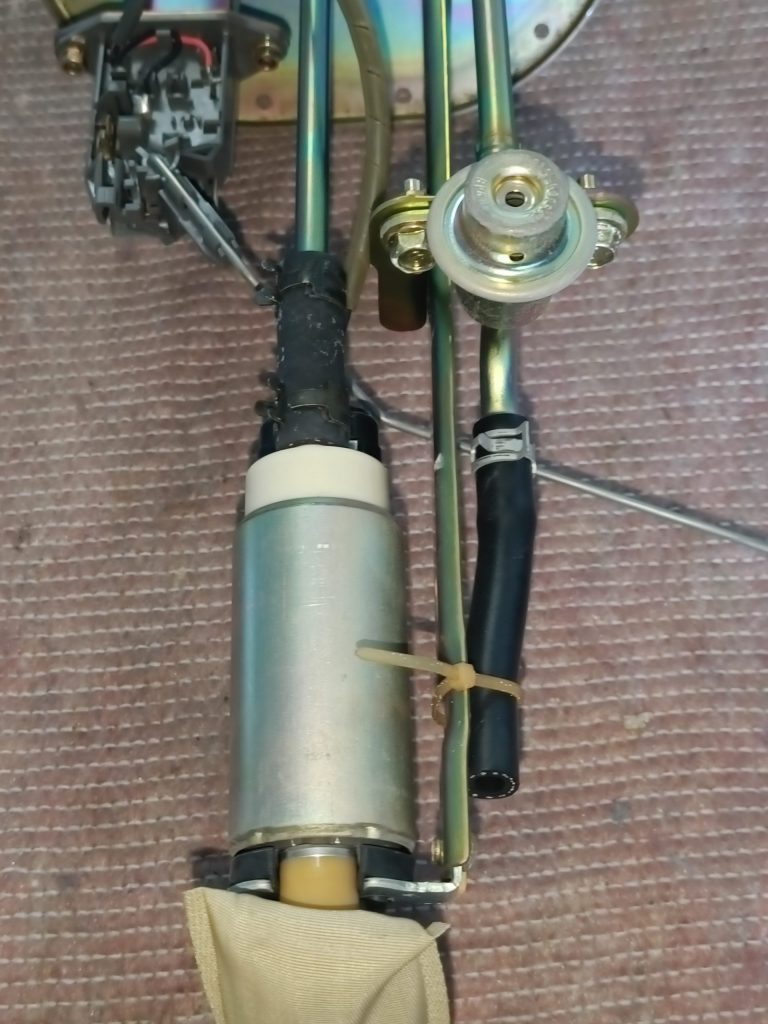
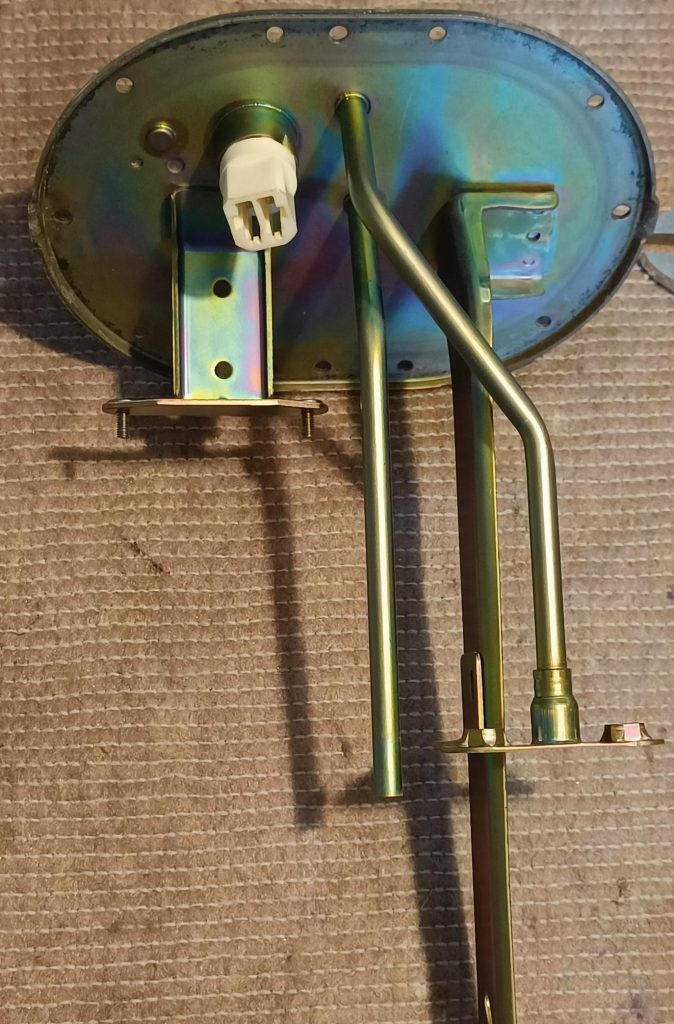
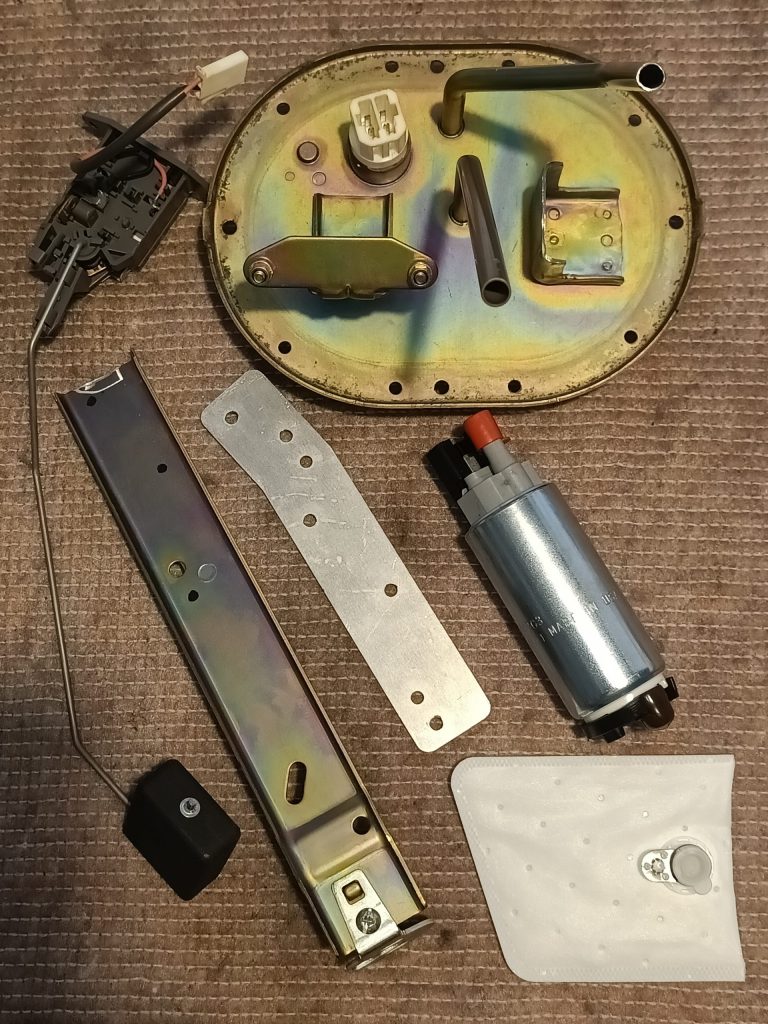
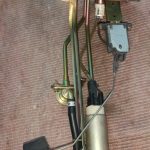
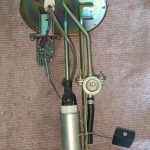
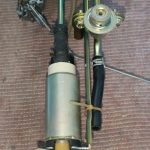
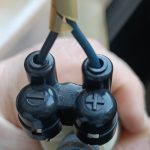
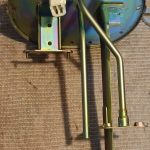
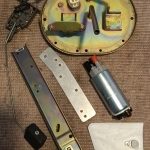
Also started the OE in-tank fuel assembly modifcation to fit the MK tank. In addition I’m replacing the stock fuel pump with a higher pressure pump for future proofing (in this case a Walbro 255LPH pump) and remove the in-tank fuel regulator. The latter will be replaced by an adjustable pressure regulator in the engine bay (Turbosmart FPR Kompact Uni 1/8″ NPT).

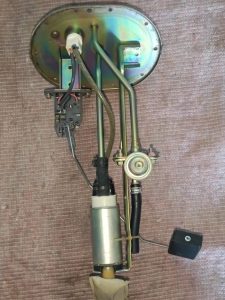


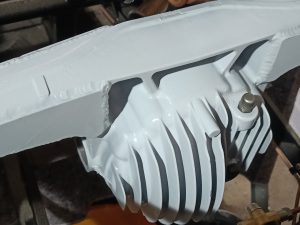
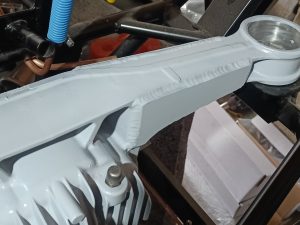
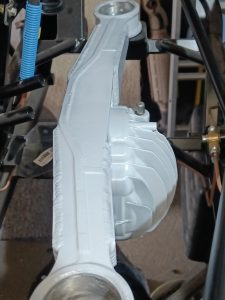
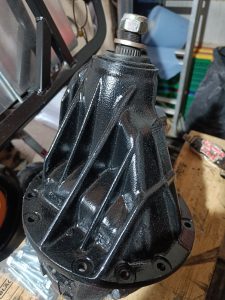
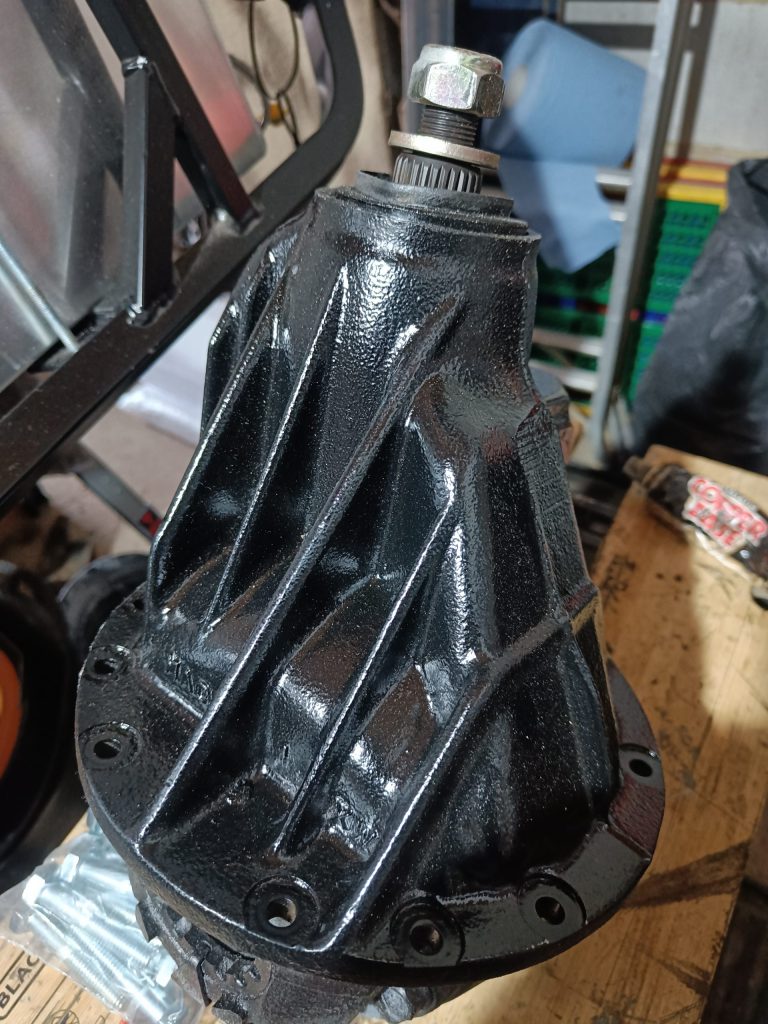
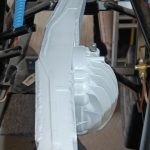
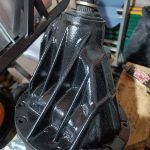
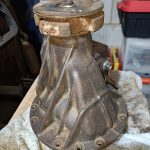
Painted differential & rear uprights and fuel pump assembly mods too!
Pleased with how the diff housing and nose painting came out. Both had three coats of etch primer and then two coats of POR-15 top coat – clear for the housing and well, err, black for the nose, obviously! Same approach for the rear uprights and fuel filter bracket.
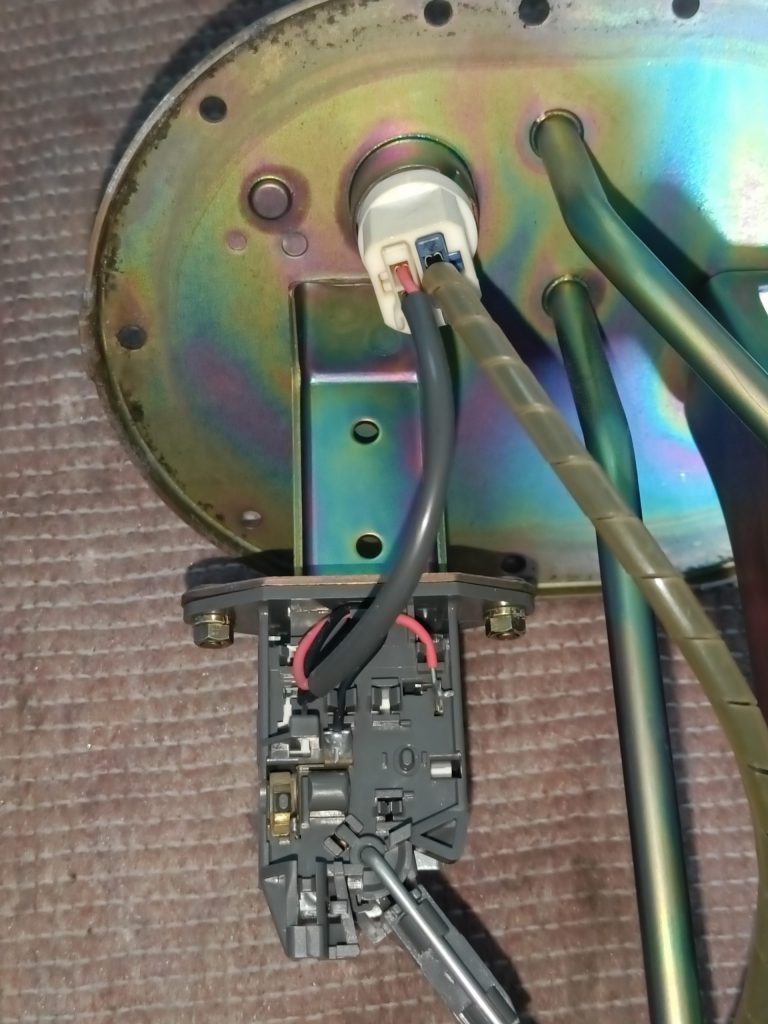
Also very pleased with how the fuel pump assembly modifications are going. Just need to splice the new pump’s power cable into the Mazda connector.